Wednesday, January 30, 2013

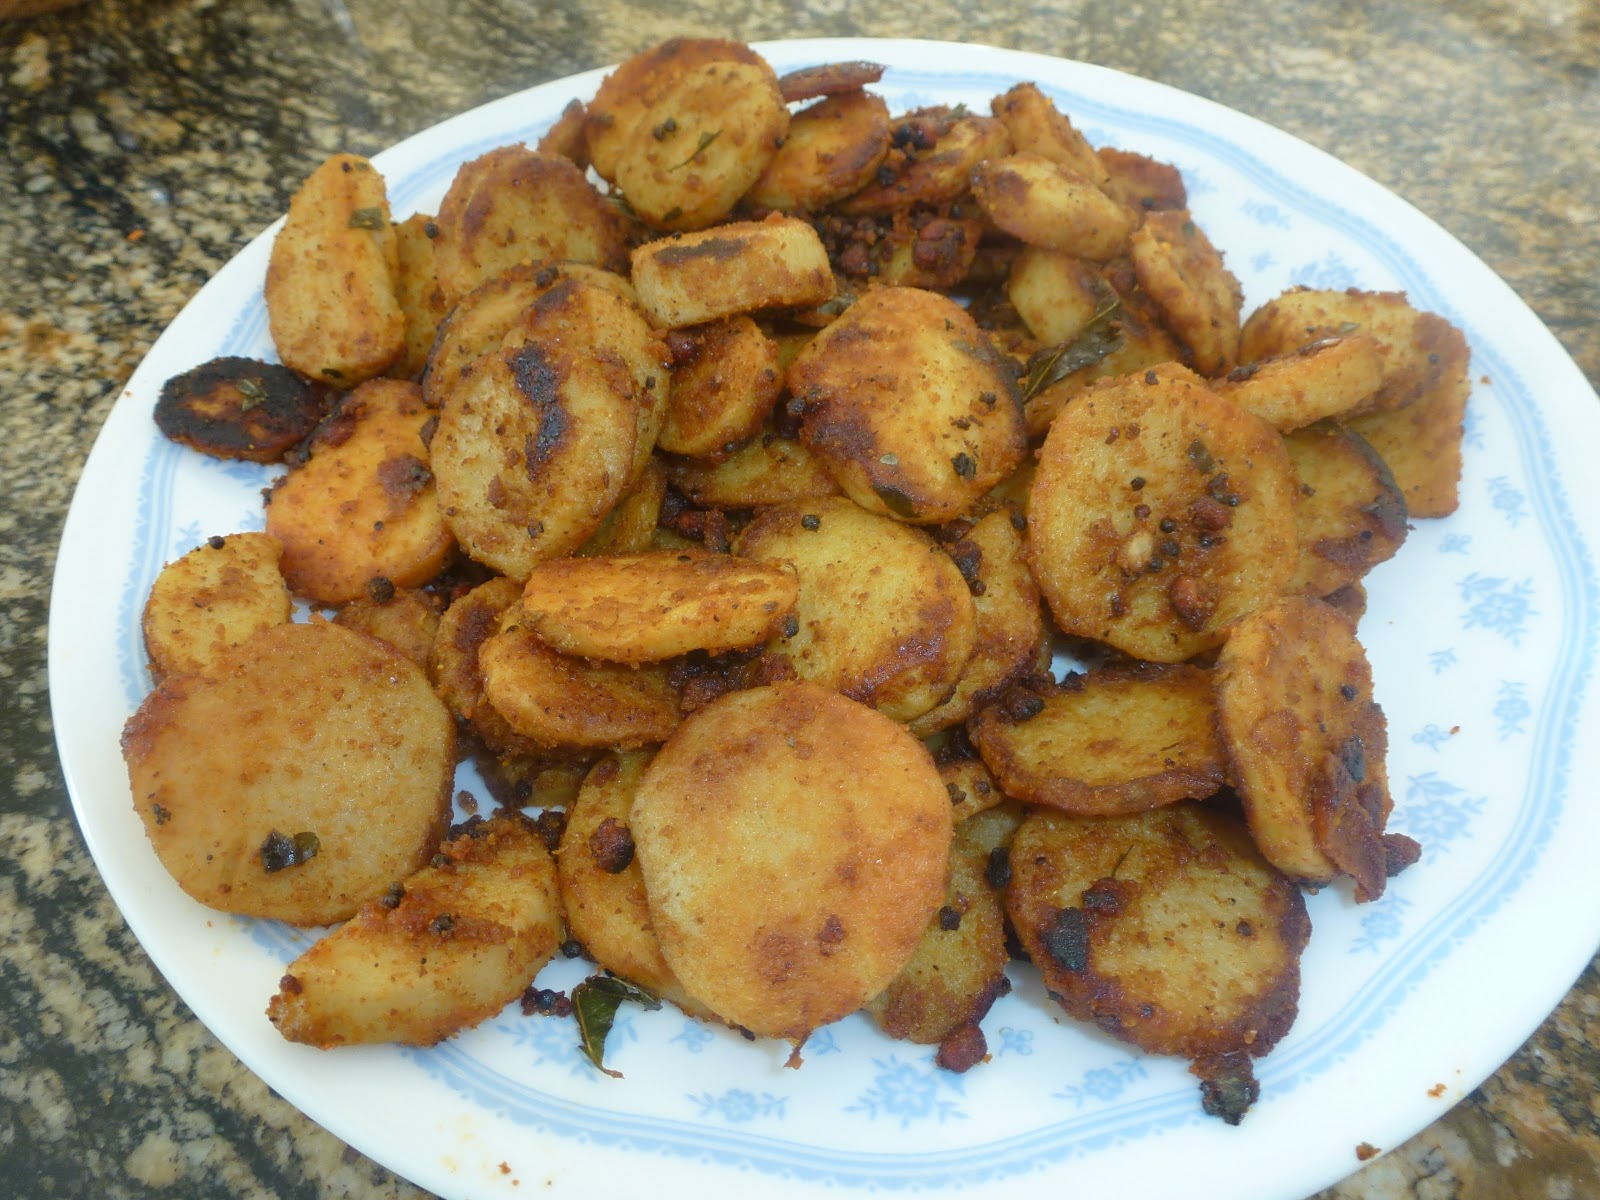
Cheppankizhangu Fry / Cheppankizhangu Varuval / Chamadhumpa fry / Colocasia Fry / Taro Root Fry / Chamadumpa Fry


Hi to all my dear friends and bloggers. After a long break, I stepped in again with lots of determination to post all the drafts I have made. In this year 2013, I am going to post regularly and make it more exciting for you all.

Wishing you all a very Happy New Year 2013.

Start with, I am giving my version of Cheppankizhangu Fry ( Taro Root / Colocasia Fry ).  Though I love this fry, somehow I was not a big fan of that sticky kozha kozha Cheppankizhangu Fry. To avoid that stickiness, I tried a different method to make the curry more delicious and presentable. My family loved this version and the appreciations at home made me to present this to you all in my blog confidently. This fry is definitely going to be an excellent side curry during any occasions. Instead of having our regular Potato fry, try to substitute this yummy Cheppankizhangu Fry in your menu and see the difference. Your comments and suggestions are always welcome to improvise this dish and also my blog.

Ingredients

Cheppankizhangu -  15 to 18
Oil - 2 tbsp
Hing - 1 Dash
Mustard Seeds - 2 tsp
Urad Dal / Ulutham Paruppu - 2 tsp
Curry Leaves - 1 Stem
Turmeric Powder - 1 tsp
Red Chilli Powder - 3 tsp
Sambar Powder - 1/2 tbsp
Coriander Powder - 1 tsp
Salt - As required
Rice Flour - 1/2 tbsp

Method

  • Peel the skin of the Cheppankizhangu and cut them into mini rounds or any shapes you desire. Generally the mini rounds would get fried uniformly and are best suited.
  • In the frying pan, add the oil and heat it on medium flame. When its heated, add hing, mustard seeds, urad dal and curry leaves in order and when the tempering process is done, add the mini rounds of Cheppankizhangu into the kadai carefully.
  • Add the turmeric powder alone first into the kadai and add little water ( about 1/2 a glass ).
  • Allow the cheppankizhangus to cook on low flame for nearly 10 minutes. Stir it in the middle and add little more water if required while cooking. When its cooked three fourth, add required amount of salt into the kadai / pan.
  • When the cheppankizhangus are completely cooked to your satisfaction, add the other powders and little more oil into the pan.
  • Coat the cheppankizhangu rounds with all these powders on all sides and allow them to get fried uniformly on medium flame. Flip the rounds carefully during this process.
  • When they turn golden brown, switch off the flame. Let the curry remain in the pan till you actually serve.

Wednesday, November 14, 2012

Happy Navarathri - 2012

Navarathri Golu 2012 - Home
 
My Dear Bloggers, wishing you all a very Happy Navarathri this year. We expanded our golu this year with more dolls we collected since last year but nothing could beat the traditional dolls which we had at home in India. Chanted Lalitha Sahasranama everyday and offered Sundal Neivedhyam in the evenings. Mainly we invited many families and friends for the Thamboolam ( Kumkum ) during these days and had an elaborate dinner. Kids had fun too and dressed up in their traditional dresses.
 
We could feel the divinity during the entire Navarathri period and the positive energy prevailed in the mind which in turn boosted many activities at home. Sadly packed up the dolls after the durga pooja but cant wait to set the Golu next year. I hope you all would have celebrated navarathri with the same mindset and I wish you all once again. May Goddess Durga bless everyone in the world to have peace of mind, happiness and good health.
 
Sarva Mangala Mangalye Shive Sarvartha Sadhike
Charanye Thrayambhake Gowri Narayani Namosthuthe
 
Yaa Devi Sarva Bhooteshu Buddhi Roopena Samsthita
Namastasyai Namastasyai Namastasyai Namo Namaha
 

Krishnashtami / Gokulashtami / Krishna Jeyanthi / Krishna Jayanthi


Krishnashtami / Krishna Jeyanthi is celebrated by all Hindus all over India and also in some parts of the world where they worship Krishna. Krishna Jeyanthi festival marks Lord Krishna's birth and its celebrated with grand show. People decorate their houses with flowers, rangoli and balloons welcoming Baby Krishna on this auspicious day and they draw small footprints of baby krishna from the entrance of the home till the Pooja place. There's a belief that baby krishna would walk on these foot steps into their house and enjoy their prasads on this special day. As Lord Krishna liked milk, butter, curd during his childhood, they offer many milk based sweets to him along with the traditional seedai, murukkus, payasams and aval ( poha ) based food items.
 
We celebrated Krishna Jeyanthi at our house with Aval ( Poha ) based prasadams this year.
 
Krishnaya Vasudevaya Devaki Nandanayacha
Nandagopa Kumaraya Sri Govindaya Namo Namaha.

Thursday, September 20, 2012

Happy Ganesha Chathurthi / Ganesh Chavithi / Vinayaka Chathurthi - Festival


Wishing you all my dear friends, family and my dearest bloggers a very Happy Ganesha Chathurthi / Chavithi.

Lord Ganesha, who is the supreme God is well known for wisdom, prosperity, good fortune and he is being worshipped first before starting any new venture. Ganesha Chaturthi / Chavithi is a Hindu festival which is celebrated all over India on the occasion of Lord Ganesha's Birthday. This festival generally falls between August and September.  In some parts of India, this festival is celebrated for 10 days and a grand immersion festival is being celebrated on the last day of Ganesh festival.
 
Hope you all would have celebrated Ganesha Chathurthi / Chavithi in a grand manner in your homes with wonderful decorations and yummy prasadams. We also celebrated the festival with lots of happiness, devotion, elaborate pooja and yummy prasadams. Out of all the festivals, I love this festival so much mainly due to the tasty modhagam / Kozhakattais. Since childhood, I have been a big fan of this Kozhakkatai and Ganesha is my favorite God. My mom used to make different varieties of Modhagams on that day and my father used to decorate Lord Ganesha and pooja place and perform the pooja elaborately.
 
In our household, we prepare 5 or 7 varieties of prasadams and offer to Lord Ganesha. This time I prepared three types of Kozhakkattai, Palaarthi, Pappu arathi, undrallu, Chickpeas sundal. I always try to include both andhra and tamilian style prasadams in every festival to balance both my side and my husband's. 
 
I will post the recipes of the prasadams in my following posts.
 
My Husband made a home made ganesha using turmeric powder, sandal powder and rice flour. Its really difficult for us to take out the Ganesha as we love this cute little ganesha so much..
 

Powerful Ganesha Mantra

"Gajananam Bhoota Ganadi Sevitam,
Kapittha Jambu phalasara bhakshitam
Umasutam Shoka Vinasha karanam
Namami Vighneswara pada pankajam"
 

Meaning

"Oh Elephant-faced, worshiped by the existing beings, of all living beings, tasting the elephant apple (kaith) and jambolana (jamun), the Son of Uma, destroyer of grief, I bow to the lotus feet".
 
Will post the recipes of Sweet / Salt Kozhakkatai, Undrallu, Pal arathi, Pappu Arathi, Chickpeas sundal in my following posts very soon.

Thursday, September 13, 2012

Baingan Bharta / Baingan Barta / Low fat , Healthy Style Baingan Bharta


I have tasted different versions of Baingan Bharta so far but this one is unique and special. My Mother-in-law has been making this type of Baingan Bharta since ages and she learnt this version during her calcutta days. My husband is a core fan of this version and he loves to eat this dish with hot rotis. Recently, I made this Baingan dish using our home grown Eggplant and it turned out very well. To my surprise, my daughter loved this spicy baingan dish and requested me to make this often. Though I am not a big fan of this version, due to its simplicity and less oil  I love to enjoy this dish occasionally.
Ingredients
Eggplant - 1 Big or 2 Medium
Red Onion - 1 Medium ( I strongly prefer red onion )
Lime - 1/2
Green Chillies - 2 Big or 3
Salt - To Taste
Coriander Leaves - To Garnish
For the Tadka / Tempering :
Oil - 1/2 tbsp
Hing  Asafoetida - 1 Dash
Mustard Seeds - 1 tsp
Cumin Seeds / Jeera - 1 tsp
Urad Dal / Ulutham Paruppu - 1 tsp
Channa Dal / Kadalai Paruppu - 1 tsp
Dry Red Chillies - 2 Medium
Curry Leaves - 2 or 3
Method
  1. Shred the onion and green chillies into small pieces and keep them ready. Squeeze the lime juice and keep it ready. Wash and crush the coriander leaves into pieces and keep them ready.
  2. Wash the eggplant ( Brinjal ) and wipe it off with the tissue. Poke 2 or 3 holes into the eggplant and roast the eggplant directly onto the flame using a suitable spatula. Rotate the eggplant in all directions till it turns black. The eggplant should shrink in all directions, get cooked inside completely and the skin of the eggplant should turn dark and lightly dry. This denotes the completion point and we could peel off the skin.
  3. If its roasted fully, then it would be very easier to peel off the skin. After peeling the skin, mash the cooked Eggplant thoroughly either using hands or masher in a big mixing bowl.
  4. Add the shredded onion, green chillies, lime juice, coriander leaves, required amount of salt into the mashed eggplant.
  5. In a frying pan, add oil. When its heated, add all the ingredients for the tempering process one by one and pour them over the mixing bowl.
  6. Mix everything well and finally garnish with coriander leaves. Enjoy this oil free side dish with your hot rotis.
Tips / Variations
  • Instead of directly roasting the eggplant, you can microwave the eggplant or broil the eggplant in the oven too. But I adopt this method as the directly roasting process enhances the taste of the Baingan Bharta.
  • If the size of the Bharta is medium, its easier to roast than the big ones.

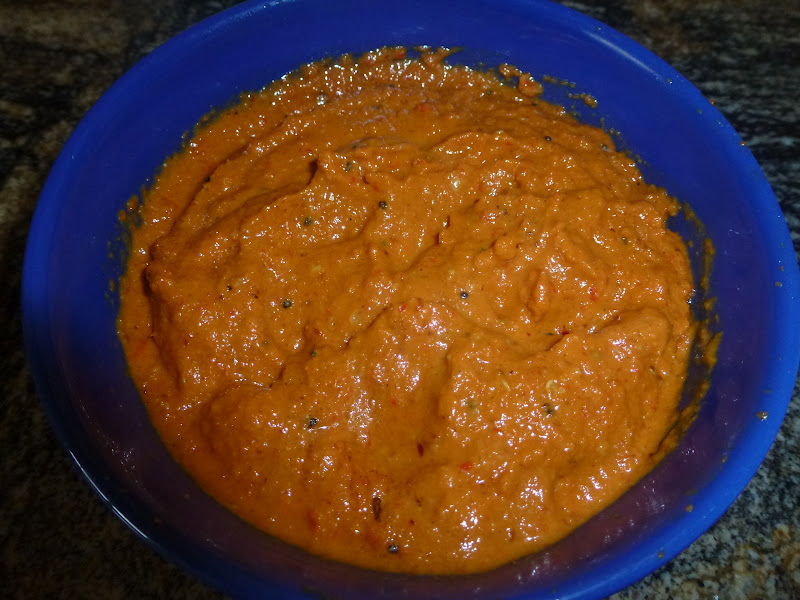
Small Onion Red Capsicum Chutney / Spicy Red Chutney


Using the small red onions and red capsicum, I tried to make a spicy chutney for my Vendhaya Dosai and the chutney was a very good accompaniment to the Dosas. I should definitely say that this chutney triggered my nerves and woke me up mentally!!!! It was a sleepy, cold morning and I started doing the chores physically with half sleep.  Try this spicy red chutney and start your morning with more briskness !!! Due to the addition of small pearl onions, the taste was amazing too..
Ingredients
For Grinding :
Small Red Onions / pearl onions - 10 to 13
Red Capsicum - 1 Medium ( cut into small pieces )
Oil - 1/2 tbsp ( Enough to fry the onions and capsicum )
Salt - To Taste
Urad Dal / Ulutham Paruppu - 3 tsp
Dry Red Chillies - 7 Medium
Green Chili - 1 Small
Tamarind - 1 pinch
Jeera /Cumin Seeds - 1 tsp
Ground nuts / Peanuts - 1 tbsp
Channa Dal / Kadalai Paruppu -  2 tsp
Jaggery - 1 small pinch or 1/2 tsp
 
For Tadka / Thalimpu :
Hing / Asafoetida - 1 Dash
Mustard Seeds - 1 tsp
Cumin Seeds - 1/2 tsp
Urad Dal / Ulutham Paruppu - 1 tsp
 
Method
  • In the frying pan, add oil first. When its heated, fry all the ingredients for grinding on medium heat except small onions and red capsicum. Do not add salt and jaggery piece at this point.
  • When they turn golden brown, transfer them into the mixer grinder. In the same pan, add the peeled small onions, red capsicum pieces and fry them till they become translucent. While frying them, cover the lid and allow them to cook for 1-2 minutes and fry in the middle.
  • When they are cooked and fried enough, transfer them too into the mixer grinder. After the contents are cooled, grind them nicely. Add salt and jaggery piece while grinding and transfer the chutney into the serving bowl.
  • In the frying pan, add the contents for making the thalimpu and pour the contents over the chutney. Enjoy with your hot idlies, dosas or any other tiffin...

Thursday, September 6, 2012

Peach Thokku


Peach is a wonderful fruit with a twist of tangy and sweet taste. We can make milk shakes, smoothies, yummy desserts using Peaches. But I did not have an idea of making thokku or pickle out of it. One of my good friend's mother visited my home last week and she made this delightful peach thokku within minutes. Thokku tastes heavenly, tastes like our mango thokku and we all liked it. Its difficult to hide this thokku at home as it's the best accompaniment for curd rice. Just 4 or 5 big peaches are enough to make a decent quantity. Try this peach thokku and enjoy..
 
Ingredients
Peach - 4 or 5 Big
Hing / Asafoetida - 1 Dash
Salt - To Taste
Fenugreek Powder / Methi Powder - 1 tsp
Red Chili Powder - Between 3 to 4 tbsp ( Depending upon your taste )
Gingelly Oil / Nalla Yennai - 1/4 cup
Method
  • Wash the peaches and grate them with the skin.
  • In the cooking pan, add the Gingelly Oil first. When its heated, add the Hing, grated peach and fry them for 2-3 minutes.
  • Add all the other ingredients and fry them on a medium flame for about 5-6 minutes till it thickens to the thokku consistency.
  • Allow the thokku to cool completely and store the thokku in a suitable container.

LinkWithin

Related Posts Plugin for WordPress, Blogger...