Showing posts with label Festival Recipes. Show all posts

Monday, March 1, 2021

Banana Flower Vadai / Vaazhaipoo Vadai / Arati puvvu Vada


Banana Flower / Vaazhaipoo in Tamil / Arati Pavvu in Telugu is one of the Superfoods which is easily available in markets. This banana flower blossom has many medicinal properties and is highly nutritious. In TamilNadu, they widely use this flower to make many dishes in the kitchen. Though cleaning the banana flower florets is little tedious, my mom never failed to make this curry or Usili using this flower. During childhood, we often saw either banana flower curry or banana stem kootu in our meal.  Vaazhaipoo vadai / banana flower vada is one of the delicacies of Tamil Nadu. You can either fry this lentil based vadai in oil or cook them in air fryer too. 

Ingredients 

Channa Dal / Bengal Gram Lentil - 2 Cups
Fennel Seeds / Sombu - 1 tsp
Rice Flour - 1/4 tbsp
Garlic - 2 Pods
Ginger - 1 small cube
Green chillies - 4 Medium
Dry Red Chilli - 1 
Chopped coriander leaves - 1 handful
Crushed curry leaves - 1 stick
Hing / Asafoetida - 1 Dash
Salt - To Taste
Oil - Enough to fry the vadas
Water - Enough to grind the batter coarsely. 
Banana Flower florets of 1 flower thoroughly cleaned and chopped.

Preparation

Cleaning Banana flower 

Cleaning the Banana flower seems to be a little time consuming job initially. Once you know the technique of it, its a matter of few minutes and you will nail it easily everytime you buy.
  • Rub your hands with little oil while doing this job as your hands might turn sticky and black during this process.
  • Open the purple petals one by one and take out the yellow colour florets carefully.
  • Remove the two parts from every floret carefully.
  • In the picture I added, I showed the two parts that are to be taken out from each floret. One part looks like a plastic ear phone and the other part is a thick long stem with a thick dot on its top.
  • Chop the cleaned florets under each petal and immediately put them in a diluted buttermilk in a vessel. This is mainly to prevent colour changing.
  • Follow the same process for all the petals till you notice a small cone shaped yellow tender bud. As this tender yellow cone is also highly nutritious, chop them too finely and add it to the vessel. Keep the chopped florets ready.

Vada Batter Preparation

  • Wash the dal thoroughly and soak them in warm water for an hour.
  • Meantime, clean the banana flower florets and keep the chopped florets ready. 
  • Grind the dal along with garlic, ginger, dry red chilli, fennel seeds to a coarse paste. Transfer the dal batter into the mixing bowl.
  • Add required amount of salt, hing, little rice flour, chopped coriander leaves and curry leaves, finely chopped green chillies, banana flower florets into the vada batter. Drain the chopped banana flower florets from the buttermilk mix and use the diluted water later. 
  • Simultaneously keep the kadai with oil on medium flame. When you notice slight smoke on top, then the oil is ready for frying.
  • Grease the palms with little oil and take a small portion of the batter and make a round pattie shaped  vada.
  • Gently drop them one by one into the heated oil. Fry them on both sides till they turn golden brown on medium heat. 
  • Serve the crispy banana flower vada / Vaazhaipoo vadai with a cup of coffee or tea.!!

Tips / Suggestions

  • Don't add too much water while grinding. Sprinkle little water which is just enough for grinding.
  • Don't fry the vadas on high flame as it will not help in getting golden vadas. It might turn them darker and also the inner part of the vadas might not get cooked perfectly.
  • Adjust the number of chillies as per your spice level.

Friday, February 5, 2021

Thai Velli Maa Vilakku - Healthy Maa Vilakku


"Maa Vilakku"  in Tamil means Edible light with a small dent in the middle to hold the ghee. Its generally lighted during the month of "Thai" and "Aadi" in our place as a prasadam / offering to Goddess. This edible lamp is made out of processed rice flour and powdered Jaggery.  Still I remember how my mom used to light these traditional edible lights in our native place Thanjavur in front of the Goddess Bangaru Kamakshi Amman. She used to follow all the traditions in her own unique way in spite of having a hectic work schedule.  Following her traditions with heartful of thanks and respect, I made the Maa Vilakku today in our home but with a small twist. I have substituted rice flour with my processed millet flour, little almond flour, sesame seeds powder and Jaggery.  The consistency of the prasadam was good enough to make a nice ball and it tasted very good.  

Next time try this Maa Vilakku at your home especially when you want to have a healthy millet option.

Ingredients


Processed Millet Flour - 1.5 Cups 
Almond Flour - 1 Cup
Brown sesame seeds powder - 1/2 cup
Ghee - 2 tsp
Powdered Jaggery - Between 1/2 cup to 3/4th.
Elachi powder / cardamom powder - 1 tsp

Method 

1.  Soak the Kodo Millet / Varagu in water for 1 hour. Drain them completely and dry them on a dry paper towel or on a thin muslin cloth for 20 minutes. Powder them in a blender.
2. Add a cup of almond flour, sesame seeds, crushed jaggery into the blender and grind them nicely.
3. Pour the grinded mix into a bowl. Add elachi powder and ghee into the mixture.
4. Divide them into two portions and make a round lamp with a small dent in the middle.
5. Pour ghee into the dents and keep them on a silver plate. Decorate the plate with kumkum, flowers and light this divine Maa Vilakku in your pooja.

Suggestions

I used Kodri Millet / Kodo Millet for making this prasadam. You can use any millets of your choice.

Tuesday, March 14, 2017

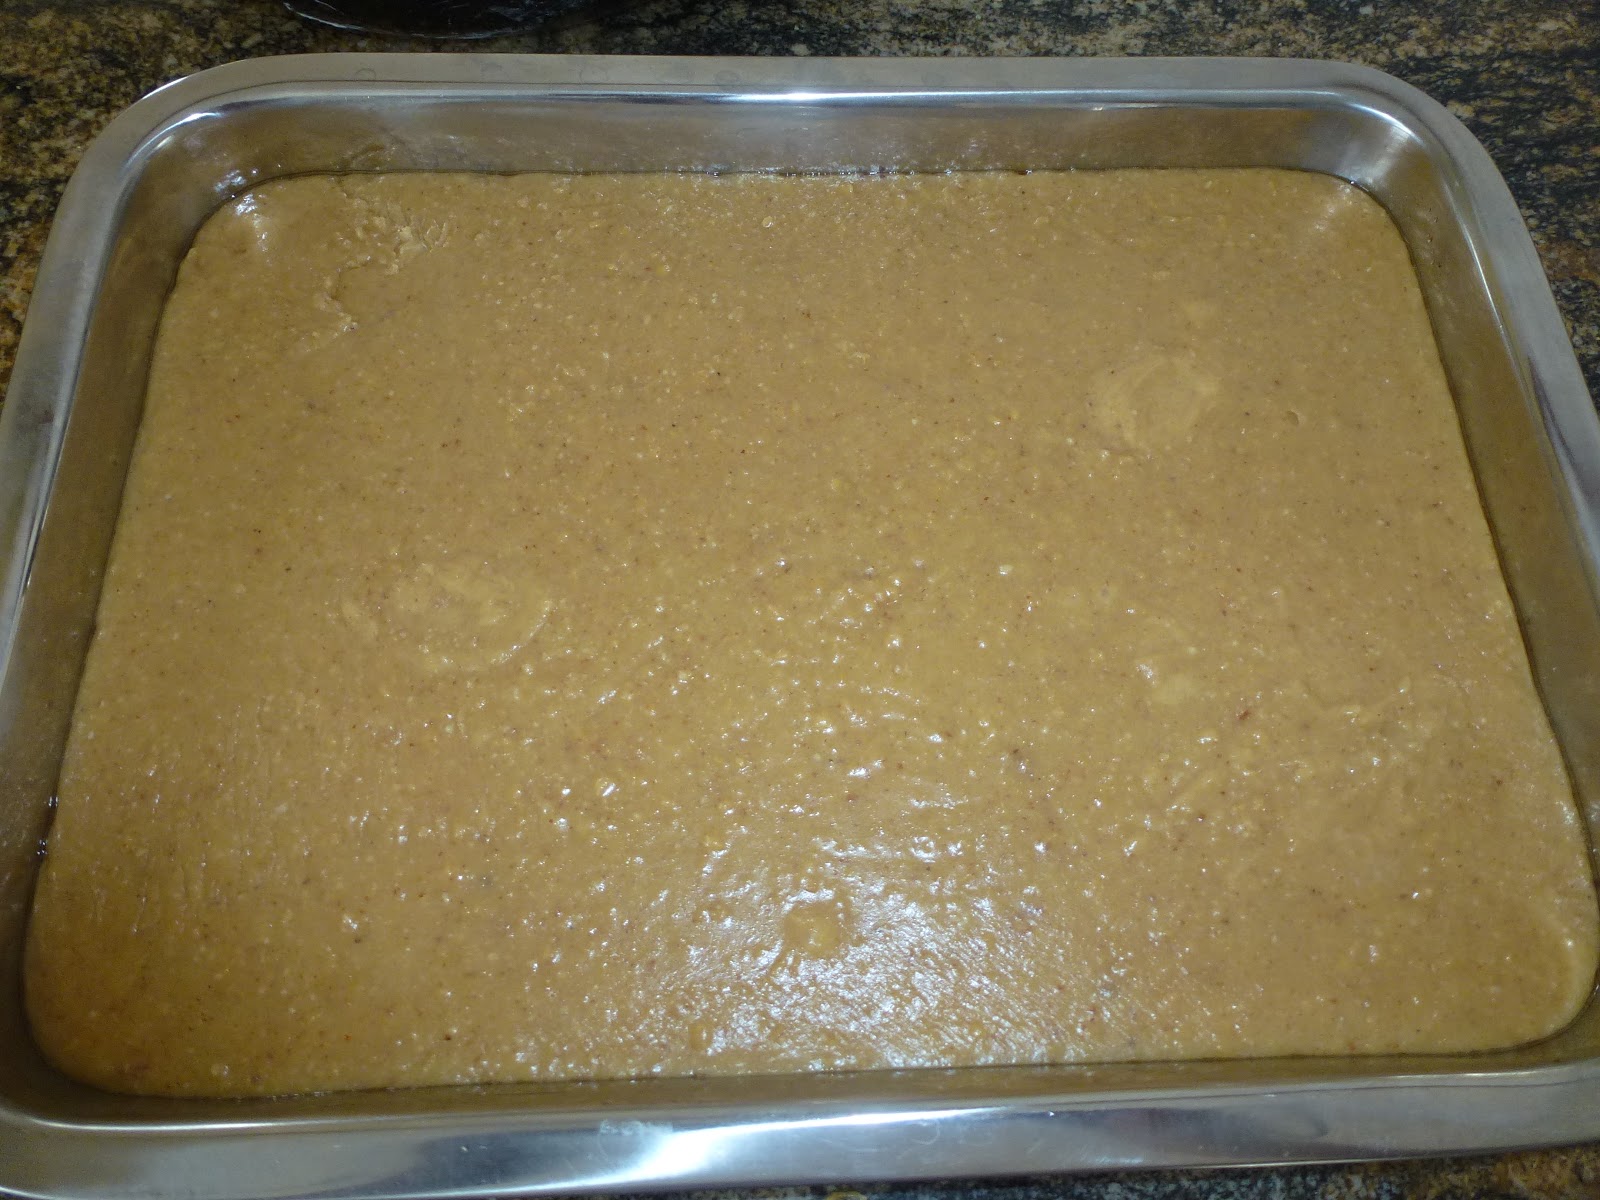
Annavaram Sathyanarayana Swamy Prasadam


Sathyanarayana Swamy Vratham is one of the main poojas which we try to do at home at least once a year. Though this vratham can be performed at any day of the month with at most dedication, ekadasi and pournami days are considered to be the most auspicious days for performing this vratham. When I think of this vratham, I cannot stop thinking about the yummy prasadham we make at home for this vratham. In Annavaram where the Sathyanarayana Swamy temple is located, they make this everyday as Neivedhyam and distribute it to the devotees. Its made of broken wheat , jaggery and plenty of ghee. Oh, the aroma of this prasadam will take you to heaven and it just melts in your mouth.I made with 3 cups of broken wheat as we all have sweet tooth. You can make it with 1 cup of broken wheat rava too. Reduce the other quantities while making and enjoy. 

Ingredients

Broken Wheat Rava - 3 Cups
Jaggery powdered - 2 cups
Sugar - 2 cups
Cardamom Powder - 3 tsp
Pachai Karpooram / Cooking camphor - 1 small pinch
Saffron - Few Strands
Whole Milk - 2 Cups
Water - 6 Cups
Ghee - 1 Cup
Cashew Nuts - 2 tbsp
Dry Grapes / Raisins - 2 tbsp


Method

  • In a thick bottomed cooking vessel, add a tbsp of ghee and fry the Cashew nuts and raisins till they get golden brown. Store them in a container separately as they need to be added at the end.
  • In the remaining ghee, add the broken wheat rava and fry them for few seconds. Add the milk, saffron strands and water and cook them well.
  • Once they are cooked perfectly, add jaggery and sugar into the vessel. It would start melting and the mixture would turn slightly watery. 
  • Add 1/4 cup of ghee and stir the mixture on medium heat. Slow cook the mixture till the consistency gets little thicker. 
  • Add the crushed cardamom powder, cooking camphor into the mixture and add the remaining amount of ghee into the vessel at intervals.
  • Cook the prasadam on medium heat till the consistency gets perfect and comes to a thick semi solid halwa.
  • Garnish with the roasted cashews and raisins and offer the prasadham to Sathyanarayana Swamy.


Notes / Tips 
  • Slow cooking greatly helps in getting the right consistency.  
  • The ghee you added will ooze out on its sides completely after its cooked perfectly.
  • Addition of cooking camphor, saffron strands, cardamom greatly enhances the aroma and taste of this prasadam.
  • Some people make this prasadam using only Sugar too but I added Jaggery and Sugar equally just to get the exact taste of the Annavaram prasadam.

Thursday, February 12, 2015

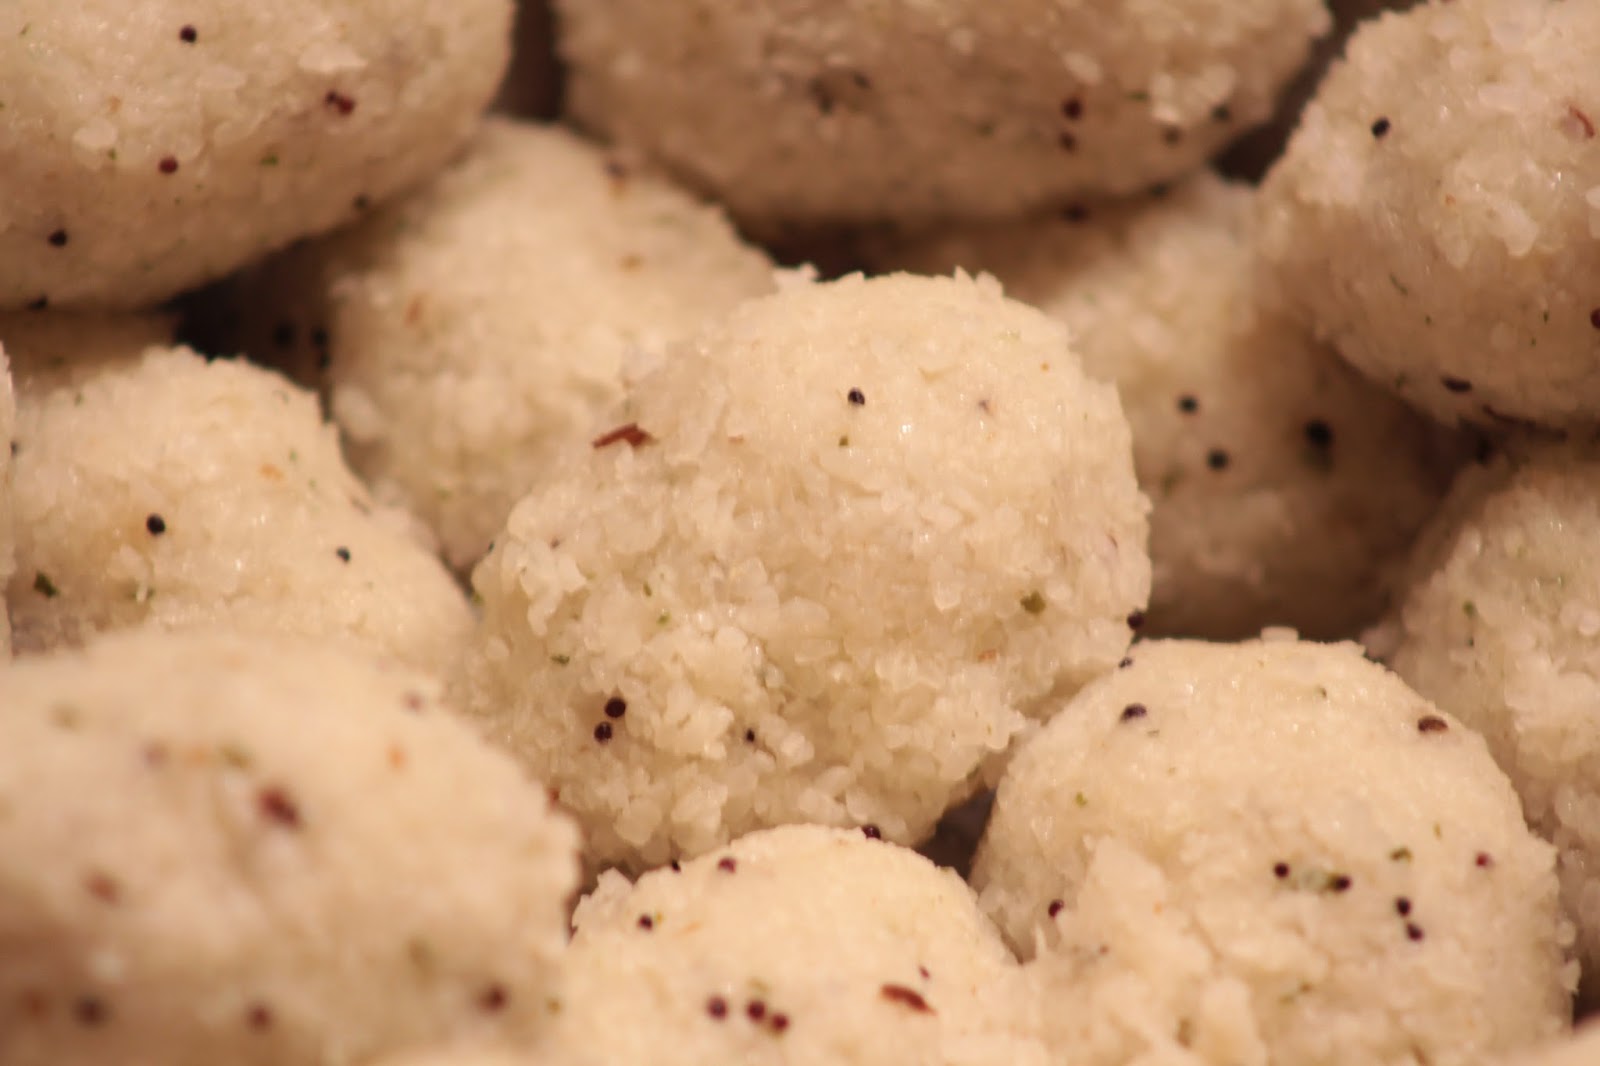
Upma Kozhukattai / Upma Kozhakattai / Pidi Kozhukattai - Steamed Rice Balls


Upma Kozhukattai is one of my favourite childhood tiffin varieties. These steamed rice balls can be made in both sweet and salty taste. Its an excellent tiffin option especially for kids who refuse to enjoy upma as such.!!! Well, my mom would have tricked us and offered these balls when we were kids. I love both the versions of this upma Kozhukattai. Sweet balls can be served with few drops of melted ghee to make it more delicious whereas the salty balls can be served with a spicy chutney on its side.

Salt Upma Kozhukattai / Salt Steamed Rice Balls

Idly Rava / Broken Rice Rava - 1.5 Cup
Hing - A Dash
Salt - To Taste
Oil - 2 tsp
Mustard Seeds - 2 tsp
Cumin Seeds / Jeera - 1 tsp
Urad Dal - 1 tsp
Channa Dal - 1 tsp

To Grind :
Fresh Coconut Flakes - 1 tbsp
Green Chillies - 2 Medium
Cut Ginger pieces - 1/2 tbsp
Fresh Curry Leaves - 4 or 5
Water - As required to grind and make a paste


Method 
  • You can make the broken rice rava at home start from scratch or can use the store brought Rice Rava / Idly Rava to make this upma balls.
  • This time, I tried with store brought Idly Rava only and it turned out very good and tasty. But it cannot compete with the taste made using the home made rice rava. I always vote for homemade Rice Rava.
  • Before starting, grind the paste with the ingredients as given above and keep it ready.
  • In a big kadai / cooking vessel, add oil first.  When its heated, add mustard seeds, cumin seeds, urad dal, channal dal in succession.
  • Then, add the grounded paste into the kadai / vessel. Stir them for a minute. 
  • Add the rice rava into the vessel and mix them well. 
  • Add 3 cups of water and required amount of salt at this stage into the vessel. 
  • Allow them to cook on medium flame with the lid on.
  • When its cooked, switch off the flame and allow them to cool down a bit.
  • When its warm enough to make balls, take a lemon size upma and make small balls and arrange them on a wide plate. 
  • Its wiser to apply a coat of oil on your hands and palms before making the balls which eases the process.
  • After making the balls with all the cooked upma, arrange the balls on a steaming plate carefully and steam them for 5- 8 minutes on medium flame.
  • You can steam them either using an Idly Steamer or any other steamer. 
  • After they are steamed properly, serve them with a side of spicy coconut chutney or any spicy chutneys of your choice. 

SWEET KOZHUKATTAI / SWEET STEAMED RICE BALLS

Ingredients

Broken Rice Rava / Idly Rava - 1 Cup
Powdered Elachi / Cardamom Powder - 1.5 tsp
Jaggery - 3/4 of a cup
Water - Enough to make the Jaggery Syrup
Ghee - 3 or 4 tsp
Grated Coconut flakes - 1 tbsp
Ghee roasted cashew flakes - 1/2 tbsp ( optional )


Method of Preparation 

  • In a cooking vessel / kadai, dry roast the idly rava on a medium flame with few drops of ghee.
  • When you get a nice aroma, add 2 cups of water into the vessel and cook them on low flame.
  • Meantime, make a jaggery syrup in a separate vessel by adding the jaggery and little water ( 1/4 cup ). The syrup is just the melted jaggery in water. So the syrup should be neither thick nor thin. It should be in melted form. Add the crushed cardamom powder and pour the jaggery syrup into the vessel and mix them thoroughly.
  • After a minute, add ghee and fresh coconut flakes, roasted cashews into the vessel.
  • Mix them well and switch off the flame.
  • After its cooled little bit, make the sweet balls as we did earlier for the salt version.
  • Steam cook them in an Idly cooker or any suitable steamer.
  • After its cooked perfectly, sprinkle some drops of ghee over the sweet balls and serve hot.

Tips and Suggestions

  • Steam the balls till you notice some sweats over the balls. I consider this as my checking point and switch off the flame. If we miss that, then the balls might get over cooked and get mushy. 
  • While making the sweet balls, apply a coat of melted ghee on your palms and apply regular oil while making salty ones.
  • I prefer to grind curry leaves, coconut flakes, green chillies everything and then add it as a paste just for my kids. Otherwise, they are patient enough to knock out every curry leaf, green chillies from the balls.

Wednesday, November 19, 2014

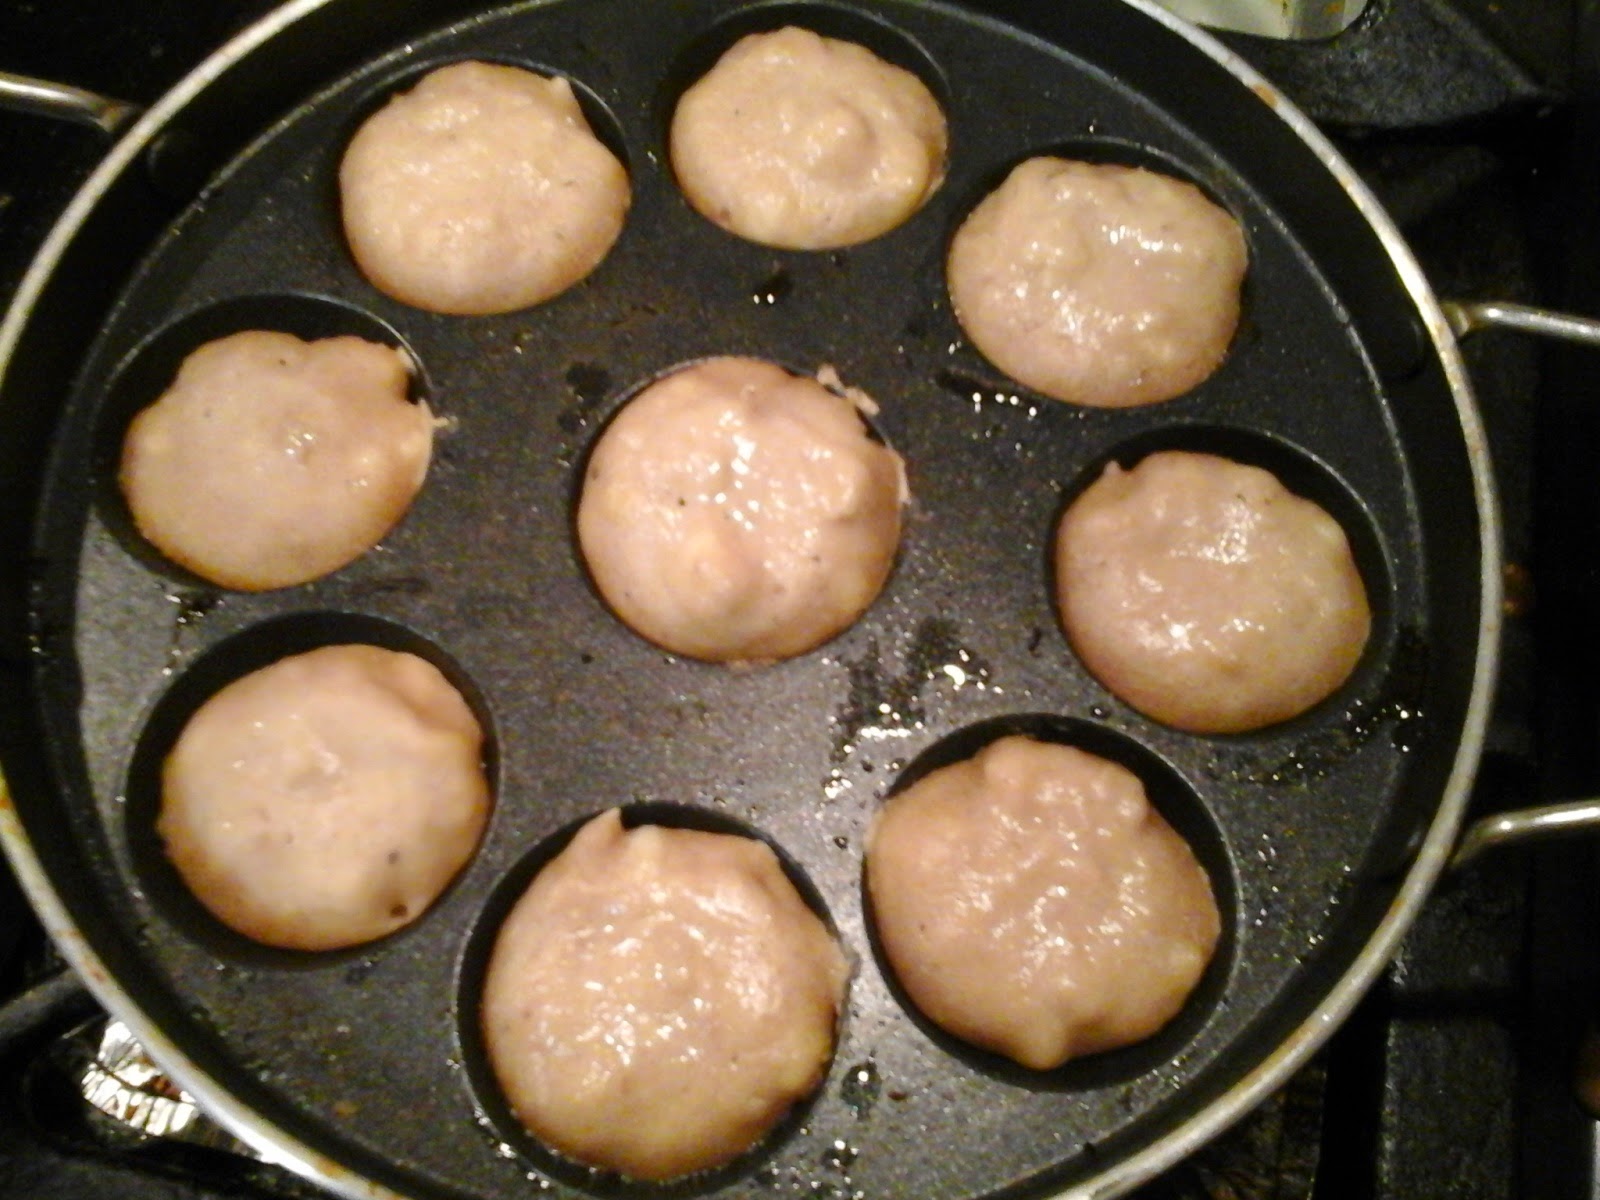
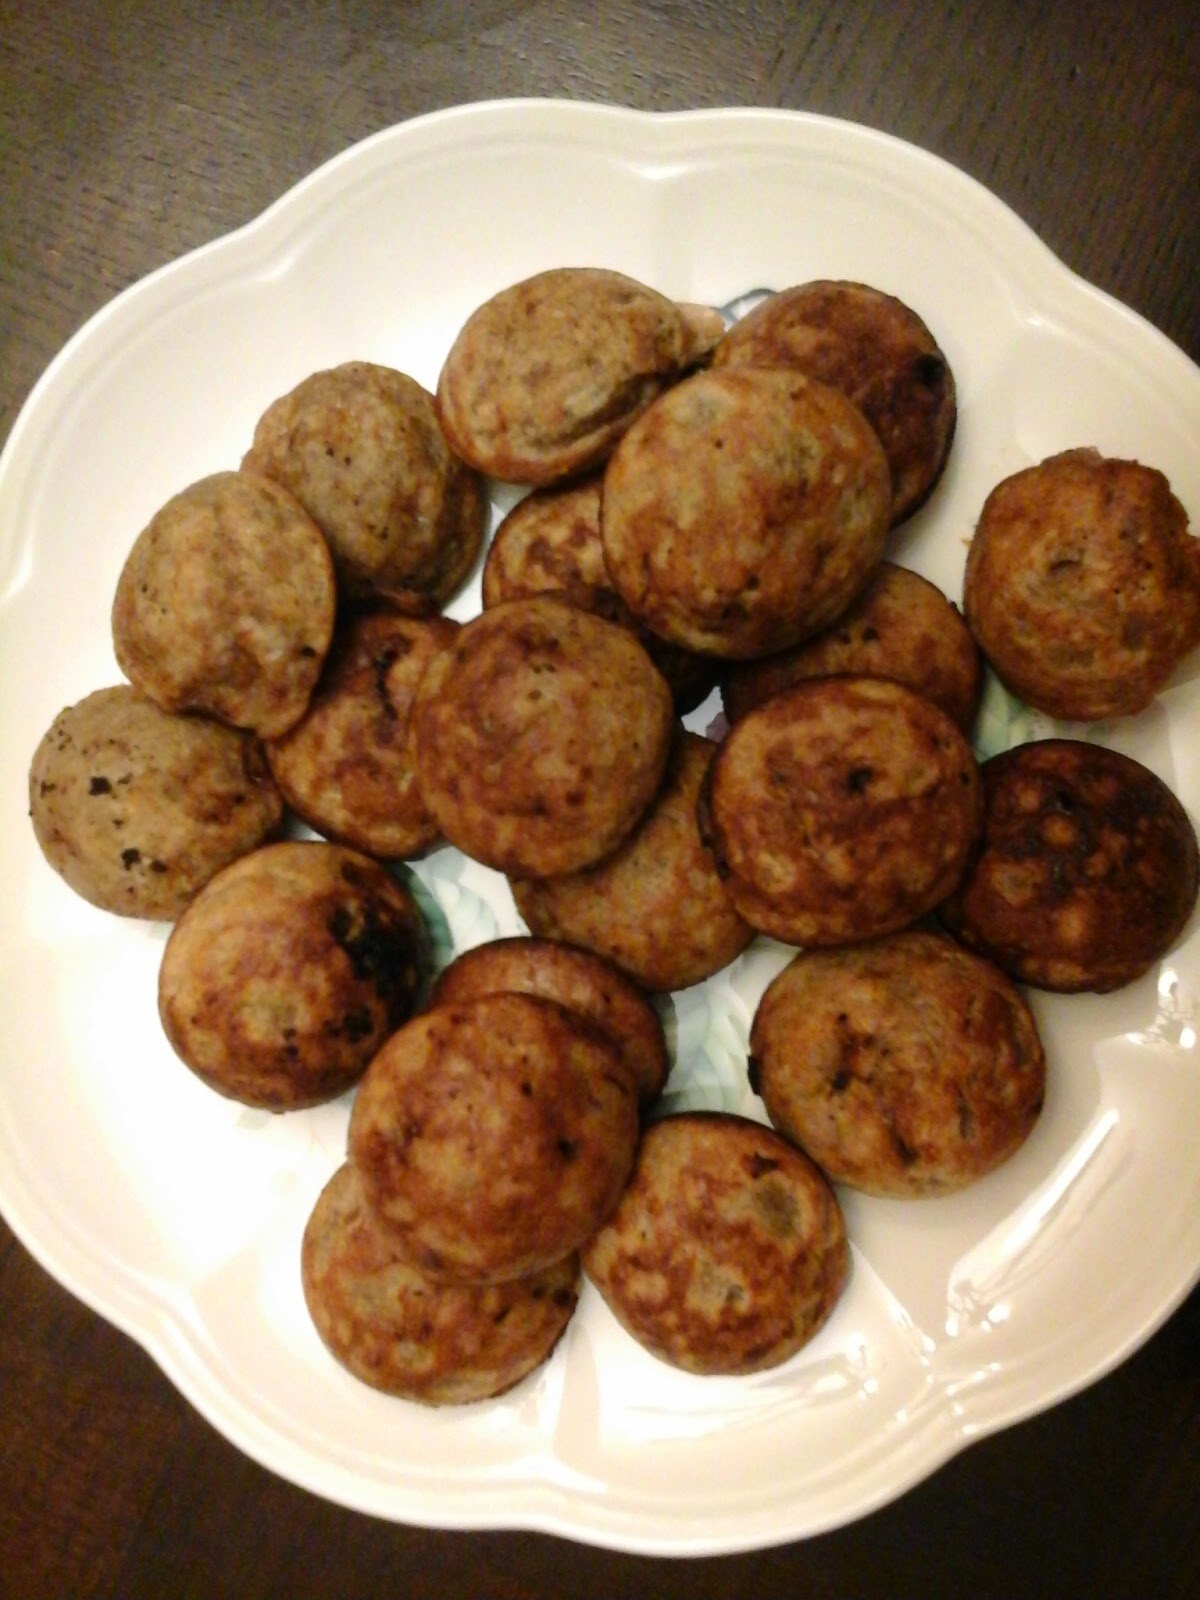
Banana Walnut Kuzhi Paniyaram / Vella Kuzhi Paniyaram / Kuzhi Paniyaram / Sweet Paniyaram

Fully ripened bananas in the banana stand will always be sympathized and thrown away in our home. Just wanted to rescue those ripened soggy bananas, I made these yummy sweet treats called as "Banana Walnut Kuzhi Paniyaram".  Tiny round shaped muffin like Paniyarams melted in the mouth and its an excellent treat for the kids at any time. Well, I served these sweet Paniyarams for breakfast one day. Kids loved those paniyarams and more than them, my husband loved those. So, he's got into the habit of leaving 2 or 3 bananas in the stand nowadays.!!! Creativity starts once you wish to transform something in your kitchen and make an edible food item. Like that, we moms do this everyday and come out with great ideas, right. My dear bloggers, try to ignite the spark in you and share with us your thoughts and findings.

Ingredients
Fully ripened bananas - 4 or 5
Chopped walnuts - 1/2 cup
Powdered Jaggery or Brown Sugar - 1 Cup
Whole wheat flour - 1 Cup
Cardamom Powder / Elachi - 2 tsp
Water - As required to make the batter.
Ghee - Enough to brush the moulds and paniyarams.

Procedure
  • In a big mixing bowl, add the powdered jaggery first with little water. Let it completely get dissolved in the water. Then, add the other ingredients into the bowl and mix them into a thick batter. Consistency of the batter should not be too thick ( like chappathi dough ) and not too thin ( like rava dosa batter ). It should be in a medium thick consistency enough to pour them into the small round moulds. 
  • While preparing the batter, heat the Kuzhi Paniyaram pan on medium heat. Brush the rounds with little ghee.
  • When its heated enough, reduce the flame and pour the batter into the paniyaram moulds carefully. Spilling the batter or improper pouring might result in shapeless paniyarams or might spoil the round shaped treats.
  • After pouring into the moulds, slowly heat the pan on medium heat with the lid closed. Rotate the pan slightly so that the heat is spread uniformly across the entire pan. 
  • After 3 minutes, open the lid and check whether the sweet paniyarams are steamed properly. Flip the paniyarams onto the other side carefully using a thin spoon. Brush the top of the paniyarams with little ghee. 
  • After 3 minutes, check if the paniyarams are fully cooked and turned into golden brown colour. Take out the paniyarams from the moulds and repeat the process with the rest of the batter.


Tips and Suggestions
  • Make sure the flame is not high while making the paniyarams. Otherwise they might turn black very quickly.
  • You can add chopped nuts like almonds, cashewnuts, pistachios into the batter as well and make it more nutritious and tastier.
  • You can add ghee drops on the sides of the moulds if you wish to. I just brushed the moulds with little ghee and brushed the paniyarams with little ghee for flavour.

Thursday, October 16, 2014

Green Dried Peas Sundal / Pachai Pattani Sundal / Green Peas Sundal


"Pachai Pattani" in tamil is mostly added in many south indian tiffin along with other vegetables. Pattani Sundal is also one of the popular navarathri sundals that can be prepared easily. Process of preparing sundals is almost the same except that the soaking time might differ. Green Peas / Pachai Pattani sundal can be made in different ways. Here I have blogged the common version. We can also add shredded carrots, tiny pieces of mango and make a colourful version called "Thenga Manga Pattani Sundal". Needless to say that the leftover sundal can be added in sambar, kootu or kuruma along with other veggies at the end.

Ingredients
Green Peas / Pachai Pattani ) - 1 Cup
Water - Enough to soak the green peas.
Oil - 2 tsp
Hing / Asafoetida - 1 Dash
Mustard Seeds - 2 tsp
Urad Dal / Ulutham paruppu / Mina Pappu - 1 tsp
Curry Leaves - 1 small stick
Dry Red Chillies - 2 
Salt - As Required
Fresh coconut flakes - 1 tbsp
Method
  • Soak the green dried peas / pachai pattani in water for 7-8 hours. Drain the water from the soaked peas.
  • Pressure cook them for 2-3 whistles.  Drain the pachai patani and keep aside.
  • In a cooking pan, add oil first. Add mustard seeds , urad dal , curry leaves, dry red chillies and temper them.
  • When the mustard seeds sputter, add the drained cooked green peas into the pan.
  • Add required amount of salt into the pan. Allow them to set for a minute with the salt.
  • Finally add the grated coconut flakes into the pan and garnish them.
  • Enjoy this sundal either as an evening snack or with meals. But its a very healthy option for kids.
Tips
  • Do not overcook the green peas in the pressure cooker.
  • You can make some special sundal powder ( using coriander seeds, red chillies) and sprinkle them at the end to enhance the taste of any sundal.

Wednesday, October 15, 2014

Yellow Dried Peas Sundal / Vellai Pattani Sundal / White Vatana Sundal


Yellow Dried Peas called as "Vellai Pattani" in tamil, "Vatana" in Hindi is a good source of Protein. Vellai Pattani sundal is definitely prepared on one day during Navarathri at my home. We all like the buttery taste of this Vellai Pattani sundal. Even if we have some leftover, it can be easily transformed into Kurma or added into sambar. I love making this Sundal at home during Navarathri and I love to do patties, kurma or other Indian delicacies using this Yellow Peas ( Vatana ) during other time.
Ingredients
White Vatana ( White Peas / Yellow Peas ) - 1 Cup
Water - Enough to soak the white peas.
Oil - 2 tsp
Hing / Asafoetida - 1 Dash
Mustard Seeds - 2 tsp
Urad Dal / Ulutham paruppu / Mina Pappu - 1 tsp
Curry Leaves - 1 small stick
Dry Red Chillies - 2 
Salt - As Required
Fresh coconut flakes - 1 tbsp
Method
  • Soak the yellow dried peas / vellai pattani in water for 7-8 hours. Drain the water from the soaked peas.
  • Pressure cook them for 2-3 whistles.  Drain the vellai patani and keep aside.
  • In a cooking pan, add oil first. Add mustard seeds , urad dal , curry leaves, dry red chillies and temper them.
  • When the mustard seeds sputter, add the drained cooked vatana / yellow peas into the pan.
  • Add required amount of salt into the pan. Allow them to set for a minute with the salt.
  • Finally add the grated coconut flakes into the pan and garnish them.
  • Enjoy this sundal either as an evening snack or with meals. But its a very healthy option for kids.

Tips
  • Do not overcook the yellow peas / vatana in the pressure cooker.
  • You can make some special sundal powder ( using coriander seeds, red chillies) and sprinkle them at the end to enhance the taste of any sundal.

Saturday, October 11, 2014

Bellam Sunnundalu / Bellam Minapa Sunnundalu / Minapa Sunnundalu / Sunnundalu


"Sunnundalu" is one of the mouth watering recipes of Andhra which could be prepared either using Jaggery or Cane Sugar. I opted for the Jaggery version as my other sweets for the festival were made out of Cane Sugar.  Bellam Sunnundalu is a healthy sweet treat for the kids as its made out of Urad Dal totally. Due to Jaggery, Bellam Sunnundalu might be little... sticky in your mouth compared to the Sunnundalu made with just sugar.  Very simple to make with less ingredients and less time. Try making these yummy laddoos for the coming diwali and enjoy.

Ingredients

Urad Dal Flour / Minapappu Flour  - 1 Cup
Cardamom Powder / Elachi Powder - 2 tsp
Jaggery - 1 Cup
Melted Ghee - 1/2 cup 

Method 
  • Dry Roast the urad dal / Mina pappu on medium flame till you get a nice aroma and turns golden yellow.  Dont fry on high flame as it might turn the dal into black before we notice.
  • After the roasted dal cools down completely, blend them with jaggery pieces together to a coarse powder.
  • In a big mixing bowl, transfer the blended powder. Add the cardamom powder into the bowl and slowly add the melted ghee into the mixture.
  • Shape the flour into small round balls and enjoy.  

Thursday, June 12, 2014

Pesarapappu Uppuma / Pesarapappu Upma / Biyam Pesarapappu Upma / Andhra Pesarapappu Upma


Biyyam Pesarapappu Upma is one of Andhra's tradiitional tiffin, which is made with lentils and broken rice steam cooked and tempered with seasonings. Its a healthy heavy tiffin packed with proteins and carbs. With a side of a spicy ginger chutney / allam pachidi and some fresh curd, its heavenly and can be a best option for tiffin night. I tasted this tiffin first at my in-laws home days after marriage. Initially I thought i was going to have pongal upon looking at the ingredients which they took. But what I saw in my plate was some tasty upma in puttu texture and I absolutely loved it. Without having any embarassment or shyness ( especially after marriage ), I finished the whole plate in few minutes and went for the next round. It showed my interests in food indeed.!!! Till today, my mother in law would remember that moment and came to know of my foodie interests through various occasions like this. I learnt the recipe from her and its definitely her recipe. I just followed the way she taught me and we enjoy this upma often in my household. Whenever I visit them during vacation, she never failed to give us a big bag of homemade biyam rava for making this yummy delight. This is once again my mother-in-law's recipe to you all my dear bloggers.

Ingredients
Biyam Rava / Broken rice rava - 1.5 cups
Pesarapappu / Moong Dhal - 3/4 cup
Salt - As Required
Fresh coconut flakes - 1 tbsp
Water - Enough to cook the upma
(Add 2.5 cups of water for 1 cup of rice rava and 1/2 cup of Moong dhal )

Tempering / Tadka 
Oil - 4 tsp
Hing / Asafoetida - 1 Dash
Mustard Seeds - 2 tsp
Jeera / Cumin Seeds - 2 tsp
Shredded Ginger - 1 tbsp
Green Chili - 2 slit into halves
Dry Red chillies - 3 or 4
Curry Leaves - 1 stem

Method
  • In a big thick bottomed vessel, dry roast the moong dal for a minute till a nice aroma emanates. Take it out and store it in a plate.
  • Add oil into the pan and do the tempering process by adding all the ingredients in order.  Once its done, add the Moong Dhal and biyam rice rava and toast the mix with the tempered seasonings for a minute. Add water in the ratio as mentioned above to the vessel. ( I added 41/4 cups of water for 1.5 cups of rice rava and moong dal ).
  • Allow them to cook on medium flame for 10-15 minutes. When its done three fourth, add salt to the upma and mix well. Allow them to cook on low flame for another 10-15 minutes till the rice rava and moong dhal get cooked to the right consistency. Switch off the flame and garnish with coconut flakes just before serving.
  • Enjoy this upma with allam pachidi / ginger chutney and fresh curd.


Tips / Suggestions 
  • Amount of water for cooking depends on the type of rice variety you use. For some rice varieties, it may require more water to cook and so check with the age of the rice you use and add water accordingly.
  • Adding salt at the end of the cooking process is ideal after the mix gets cooked to a fluffy consistency.
  • If this upma's consistency is pasty, its difficult to enjoy. If its in the form of "puttu" consistency ( where cooked rice rava and moon dal is totally separate and dry ), then its enjoyable. So, add right amount of water which is important in this process.
  • If you wish to omit coconut, its totally fine. 
  • Adding coconut flakes is recommended only if you are going to consume then. Becaz storing the coconut sprinkled upma in the refrigerator might not be good option for later use. 

Sunday, April 20, 2014

Ganapathi Homam Prasadam - Fried Kozhukattai and Fried Modak

Ganapathi Homam is generally performed  before starting any new venture or businesses, getting into a new job, before getting into a new home, etc., Its always good to perform Ganapathy Homam once a year to get happiness, prosperity, health and wealth and be victorious in all the deeds we perform. This homam can also be performed to please Kethu so if any person has Kethu Dasa, he could participate in this Homam. In Southern part of India, people starts all rituals first by performing the Ganapathy Homam.

Mostly people do a special kind of Modak ( Kozhukattai ), appam and offer to Lord Ganesha. In addition to these prasadams, the priest prepares a very special prasadam using nuts, dry grapes, honey, aval ( Poha thin flakes ), kalkandu , chopped dates, little rose water. In that, small pieces of  fried modaks and appam will also be added which in turn make the prasadam so tasty. I love this prasadam very much and used to store it for a week atleast and enjoy by myself. Also its a very healthy treat.!!!

Preparing fried Kozhukkati / Modak in specified numbers ( like 16, 21, 51 or 108 as mentioned by the priest ) is a must during Ganapathy Homam. Making the inside poornam is the same as the one we make for the regular white Kozhukattai. For the outer cover, I used whole wheat flour, little all purpose flour and rava ( sooji ). You can either fry the modaks in pure ghee or in regular cooking oil. In temples, they fry the modaks in pure ghee only. So, the modaks which come from the Ganapathy Agraharam temple will always taste the best.!!!

Ingredients ( For Making 28 Kozhukattai )
Outer Cover 
Whole Wheat Flour - 2 Cups
All Purpose Flour - 1/2 cup
Rava - 1 Handful
Salt - As Required ( Should be less )
Water - As required to make a thick dough for the outer cover.

Poornam
Fresh Shredded Coconut - 2 Cups
Jaggery - 1.5 Cup
Cardamom Powder - 2 tsp
Ghee - 1 tbsp

Oil for frying the Modaks. ( In that, I added few tsps of Ghee just for flavour ).

Method

Make a thick dough using the above ingredients using little water. Consistency of the dough is very important otherwise the outer cover might crack while frying.

Make the poornam in a thick pan by mixing all the ingredients as mentioned above. Keep the poornam in the stove till you get a consistency enough to make small balls for the Modak.

After its cooled down a bit, make small balls and keep ready.
Take a portion of the outer cover dough and spread them using a Chappathi roller. It should be thicker than the regular chappathi. Using a small lid or coffee filter lid, make small rounds as shown below.

Put the poornam inside the rounds and close the Modak carefully. Make sure that the poornam is safely covered in all directions so that it does not ooze out while frying. Continue this process and keep the Modagams ready for frying.
Then fry the Modaks slowly in the boiling oil on medium heat only. If you fry them on high heat, the modaks might get fried faster and turn darker. So, fry them carefully on low or medium heat and yield golden coloured ones.


Vakratunda Mahakaaya
Suryakoti Samaprabha
Nirvighnam Kuru Mey Deva
Sarva Kaaryeshu Sarvada


Thursday, November 14, 2013

Carrot Halwa / Gajar Ka Halwa


I have been trying to blog the recipe of Carrot Halwa and Carrot Badam Kheer since a year. Somehow it was not getting included due to two main reasons. First the sweet might get over before I take a picture or the picture taken might be extremely bad to upload. But this time, I managed to get a decent picture of Carrot Halwa. Every time I make the sweets, I try to tell myself not to eat more than few bites. Oh, its really difficult to resist the temptation though.!!!

Ingredients
Grated Carrot - 7 Cups
Ricotta Cheese / Kova / Mawa - 1 Cup
Sugar - 3 Cups
Melted Butter / Ghee - 1/2 cup ( As Required )
Roasted Cashewnuts - To Garnish
Dry Grapes - To Garnish
Cardamom Powder - 2 tsp
Thick Milk - 2 Cups
 
Method
Peel the carrot skin and grate them nicely and make 7 cups of grated carrot ready.
 
In a round thick bottomed vessel, cook them in milk on medium heat till they get cooked fully. You would notice the change in its texture and colour once its cooked thoroughly.
 
Add powdered sugar into the pan and mix them well. Add the cardamom powder and 1 tbsp. of ghee into the pan. Cook them on medium heat and stir constantly.
 
When the sugar syrup completely blends with the cooked carrot, add the mawa / kova or ricotta cheese into the cooking vessel now. Mix them well and slowly add the remaining ghee at regular intervals. When the carrot halwa solidifies little bit, garnish with ghee roasted cashew nuts and dry grapes and enjoy.
 

Tuesday, November 5, 2013

7 Cup Cake / Seven Cup Cake / 7 Cup Burfi


Seven Cup Cake flashed in my mind when I was trying to make a very quick sweet for Diwali. It came out very well and got over first also as my kids loved this cake. At the end, almost i cut the cake into halves and distributed them in order to avoid fights between them. Though the whole world knows about this 7 cup cake, I am just blogging the recipe for future reference. 
Ingredients

Besan Flour / Channa Dal Flour / Kadalai Maavu / Senaga Pindi - 1 Cup
Powdered Sugar - 3 Cups
Melted Butter or Ghee - 1 Cup
Fresh Shredded Coconut - 1 Cup
Whole Milk - 1 Cup

Method
  • In a thick bottomed pan, fry the besan flour on a medium flame until you get a nice aroma. 
  • To that, add all other ingredients and stir them continuously so that no lumps are formed.
  • When it comes to a thick consistency and leaves its sides,switch off the flame. 
  • Pour them over a plate greased with ghee and spread uniformly. Once it cools down little bit and before it becomes hard, cut them into desired shapes.
  • Once the plate completely cools down, take out the cake pieces carefully and store them in an airtight container.
Tips
  • I prefer to make this sweet in a Non Stick Vessel as it comes out very easily and does not stick to the bottom. 
  • Flame should be constantly maintained at a medium level and not too high.
  • Take out the cake mix at the right point to get softy,spongy and tasty cake.

Thursday, October 31, 2013

Badam Besan Milk Burfi / Badam Besan Milk Cake

Ever since I made the regular MysorePak, I wanted to try out the classic combination of milk, badam ( almonds ) and Besan. I really enjoyed making this rich and creamy cake / burfi and it yielded a decent amount of burfis for the amount of ingredients I used. Mostly its a tension free sweet which could be made during Diwali. You can either prepare this sweet on the stove or using the Microwave method. This time, I adopted the Stove Method and made around 30-40 burfis. I doubled the quantity as mentioned under the ingredients in order to get more burfis. So don't get confused with the number of burfis and the ingredients measure.!!! Definitely not a cumbersome process and its a easy, quick sweet to be made with no mistakes.
 
Ingredients
 
Milk Powder / Mawa  -  1 Cup
Besan / Kadalai Maavu - 1 Cup
Almond Powder - 1.5 Cup
Sugar - 3 Cups
Ghee / Clarified Butter -  1.5 cups
Elachi Powder ( Cardamom Powder ) - 2 tsp
Broken Almonds - For Garnishing ( Optional )
( I did not sprinkle broken almonds on top of the burfi as I wanted to present them like MysorePak ).
 
Method 
  • In a thick bottomed cooking pan, dry roast besan flour till you get a nice aroma. Slightly roast the Badam Powder too and keep all the other ingredients ready.
  • In a separate vessel, make a sugar syrup using little water and sugar. When it melts and thickens a bit, switch off the flame. No need to wait for any string consistency. Purpose is to melt down the sugar completely and make a sugar syrup.
  • In the heated kadai, add the roasted Besan Flour, Badam Powder, Milk Powder and half a cup of ghee and the sugar syrup. Stir them well so that no lumps are formed.
  • Continue stirring till you get a nice appetizing aroma and the Badam Besan Milk Burfi froths up. Add the remaining ghee little by little while stirring.
  • Pour it on a plate greased with ghee and spread the mixture evenly by gently shaking the plate. Allow the burfi to cool down .
  • When it cools down to three fourth, cut them into equal squares with a greased knife.
  • Once it completely cools down, remove the burfis carefully and store them in an airtight container.
Tips
  • Use pure ghee in order to obtain the perfect taste and texture.
  • If you don't have almond powder, use the rich and creamy Badam Paste instead. Soak the almonds in water and peel off its skin and then grind them into a smooth paste.
  • If you don't have milk powder, replace them with a rich and full fat milk instead. But it might slows down the preparation process as you need to continuously stir them till it thickens. 
  • To get a flavourful colourful burfi, soak few strands of Kesar ( Saffron ) into the warm milk and pour them over the mixture while stirring. It injects good Kesar flavour and taste into the cake and make it more colourful and yummy. If you have Saffron available, don't omit this choice.

Thursday, October 24, 2013

Moong Dal Sundal / Payatham Paruppu Sundal / Navarathri Sundal


Payatham Paruppu sundal is one of my favourites which i mom make generally on the first day of Navarathri.
Easy to make and little care should be taken in order to get the right consistency. If you add more water while cooking this dal, it becomes soggy and you will end up eating a moong dal pasty sundal. Right amount of water and cook time determines the taste and consistency. No need to soak this Moong dal overnight and all. 

Ingredients
Moong Dhal / Payatham Paruppu / Pesara Pappu - 1 Cup
Hing / Asafoetida - 1 Dash
Oil - 3 tsp
Mustard Seeds - 1 tsp
Curry Leaves - 1 stick
Green Chillies - 1 Big
Dry Red Chili - 1
Grated Ginger - 1/2 tsp
Salt - To Taste
Crushed Coriander Leaves - To Garnish ( Optional )
Fresh Coconut Flakes - 1 tbsp

Method
  • Pressure cook the Moong Dhal up to 1 whistle. Just add water just for the dal to get immersed. Don't add more water during this process. After the cooker gets cooled down, drain the excess water from the dal and keep the cooked and drained dal ready. 
  • In a cooking pan, add oil first. When its heated up, add hing, mustard seeds, dry red chili, green chili, curry leaves, grated ginger in order. Finally add the cooked dal and required amount of salt into the pan. Gently turn few times so that the salt gets mixed up well.
  • Cover the lid and allow them to cook for just 2 minutes on a medium flame. Switch off the flame.
  • Sprinkle fresh coconut flake, coriander leaves ( if you like ) on top of the sundal. 
  • Navarathri neivedhyam is ready.


Suggestions 
  • Cook the dal to the right consistency. 
  • If you wish to increase the sundal quantity suddenly, add some grated carrots into the sundal and serve. 
  • If you have some leftover sundal, you can make any kootu out of it during the next meal.

Saturday, September 7, 2013

Cucumber Kosambari / Cucumber Kosambir / Vellarikai Kosambari


Kosambari also called as "Koshimbir" or "Kosambir" in other parts of India is made generally using soaked Moong dal, fresh coconut flakes and any preferred vegetables like cucumber, carrot, etc., Mostly its served as one of the side dishes in an elaborate festive meal and its also offered as prasadam to God during festivals.
Above all, I like this cucumber kosambari mainly due to its low calorie value. And its an excellent choice for weight reduction.

Ingredients
Fresh Cucumber - 1
Fresh coconut flakes - 1 tbsp
Soaked Moong Dal - 1/4 cup
Salt - As required
Fresh coriander Leaves - To Garnish
Oil - 1 tsp
Hing - 1 dash
Mustard Seeds - 1 tsp

Procedure
Cut the cucumber into small pieces. You can either peel off the skin if its too thick or cut the cucumber with the skin if its tender. Add all the ingredients into a mixing bowl. In the frying  pan, add the oil. When its heated, add the hing and mustard seeds. When it starts sputtering, pour it over the bowl. Mix everything thoroughly and garnish with the crushed coriander leaves at the end. 

Tips / Variations
Try to add salt just before serving the Kosambari as it might get watery. 
Care should be taken while adding salt as even an extra pinch would ruin the entire Kosambari.
Tempering process is totally optional.


Friday, May 24, 2013

Mamidikaya Pulihora / Mango Rice / Mangai Puliodarai


Made this Mango / Mamidikaya Pulihora on Ugadi day 2013 along with other delicacies. Tangy taste of the raw mango along with the spices made this Pulihora a divine treat. This is very much suited for people who cannot have tamarind for some reasons. Simpler process and less preparation time makes it more easier especially during festive time as you will be focusing on many festive treats at the same time. Mango rice along with just appalams / papads  is a good lunch combo on normal days.
Ingredients
Raw Mango - 1
Sona Masoori Rice - 1.5 cup uncooked.
Green Chillies - 2 Big
Dry Red chillies - 2 Big
Mustard Seeds - 2 tsp
Urad Dal / Ulutham Paruppu - 2 tsp
Cumin Seeds / Jeera - 1 tsp
Channa Dal / Kadalai Paruppu - 2 tsp
Ground nuts / Peanuts - 1 Full Handful
Curry Leaves - 1 stem.
Hing / Asafoetida - 1 Dash
Turmeric Powder - 2 tsp
Spice Powder - 1 tbsp ( Dry Roast 1 tsp of coriander seeds, 1/2 tbsp of white sesame seeds, 1 dry red chili and grind them to a fine powder )
Salt - As required
Sesame Oil - 1 tbsp 
Method
  • Cook the Sona Masoori and keep ready. Peel the skin off and grate the raw mango and keep ready.
  • Make the spice powder as described above and keep ready.
  • In a big cooking pan, add oil first and finish the tempering process by adding the above mentioned ingredients. 
  • Add the turmeric powder, grated raw mango into the pan and fry for a minute.
  • Add the cooked rice, spice powders, salt into the pan and mix them thoroughly. Let the Mamidikaya Pulihora remains for atleast an hour before you actually serve. In this way, the tangyness of the raw mango and spiciness from the powders will get into the cooked rice which in turn makes the Pulihora even more tastier.
  • Enjoy with a side of Appalams/ Papads, Vadams or crispy vada or Potato fry.

Tips / Variations 
  • Reduce the amount of the spice powder if the raw mango is not too tangy. Also, the amount of spice powder  can be decided according to your taste buds.
  • Cook the rice to the desired level which is the key point while making any mixed rice.

Monday, May 20, 2013

Crunchy Mint Vadai / Pudina Vadai


Made these crunchy and flavourful mint vadas on the day of Tamil New Year 2013. Have been trying to post the recipe of this vadai since then but it got materialised only today. What is different from the regular paruppu vadai? A question may arise in your mind. I made this mint vadai only with Split Pea Lentil and little bit of Moong Dal and with a cup of fresh mint / pudina leaves.  Thanks to my efforts on grinding, the vadas came out pretty much dry and crispy. Needless to say that there were none left in the serving plate for me to munch while cleaning the leftovers.!!!
 
Ingredients
Split Pea Lentil - 1.5 cups
Moong Dal / Payatham Paruppu - 1 Handful
Green Chili - 1 Big
Dry Red Chillies - 2 Medium
Fresh Pudina Leaves chopped - 3/4 th of a cup.
Cumin Seeds - 1 tsp
Salt - To Taste
Hing / Asafoetida - 1 Dash
Grated Ginger - 2 tsp
Sombu / Fennel Seeds - 1 tsp
Oil - Enough for frying the vadas.
 
Method
  • Soak the Split Pea Lentil and Moong Dal together for 2 hours. Add a handful of Split Pea lentil just before grinding into the soaked lentils.
  • Grind them coarsely along with all the other ingredients except pudina / mint leaves. Add salt only during the last grinding cycle.
  • Add little water while grinding enough to grind the mixture coarsely. Add the fresh pudina leaves to the grounded dal mixture.
  • Heat the oil under medium flame. When its heated, fry the vadas till they become golden brown on medium flame.
  • Complete the process for the remaining vada batter and enjoy the crispy, mint flavoured vadas.
Tips / Variations
  • Don't grind the vada batter to a fine paste.
  • Do not add coriander leaves or curry leaves while making these vadas. Somehow I prefer to enjoy only the unique mint flavour in this vadai.
  • Handful of split pea lentils that are added just before grinding makes it even more tastier.

Tuesday, February 12, 2013

Jangiri - Homemade


Jangiri, one of the tastiest and a very attractive sweet is generally liked by all. It may be due to its beautiful shape, wonderful colour or its yummy taste. It had been a dream for me to make it at home. My Mom regularly makes this sweet in our home during diwali or any other small occasions. She never hesitated to start the preparation and all the time she would make it with a big smile and kindness. In fact, she thoroughly enjoyed the preparation part. I finally tried this sweet during diwali 2012 but not alone. My husband who equally enjoys everything he does, helped me during the preparation. If you are a fan of Jangiri, please do try making it at home on your hand and treat the kids. Don't fail to see the sparkling eyes and happy smiles on their faces. We loved.....our Jangiris and distributed to many of our beloved friends.

Ingredients

Whole Urad Dal - 2 Cups
Rice Flour - 1 tbsp
Sugar - 4 Cups
Kesar Yellow Colour - 1 pinch 
Rose Essence - 1/4 tsp or 3 drops
Saffron Strands - 2 pinch
Oil - Enough for frying the Jangiris.
Flat round Plate - For Frying the Jangiris.
Lemon juice -  4 or 5 drops into the syrup ( This is mainly to prevent crystallization of the sugar ).

Method 
  • Soak the urad dal in water for an hour. After an hour, grind the urad dal by adding very less water like how we grind for Vadai. Just dissolve the kesar food colour in water and add the coloured water while grinding. That way, we will get a light orangish Jangiri after frying. To that batter, add the rice flour and mix it thoroughly. Keep the batter ready.
  • For making Jangiri, take a thick Ziplog Bag and put a big round hole into one of the corners of the Ziplog. The needle can be heated little bit before making a hole. Keep this bag ready. For safety, make 2 or 3 Ziplog bags ready just in case if it gets spoiled in the middle of the process.
  • Meantime, in a big round thick bottomed vessel, make sugar syrup by adding Sugar, enough water to dissolve the sugar. Keep stirring the Sugar syrup till it thickens and sticks to our hand.
  • Add a pinch of Rose Essence, a pinch of Saffron Strands and few drops of lemon juice into the syrup. Keep it on a low flame.
  • Add oil into a flat round plate with 2-3 inches deep as shown in the picture for frying the Jangiris. Heat the oil on a medium flame. Oil should not be heated too much.
  • Fill the Ziplog bag with the Jangiri batter and hold the Ziplog at its top.
  • Carefully squeeze the Ziplog from its top and make small circles into the pan as shown in the picture. Adjust the Batter in the ziplog and bring it to the bottom and squeeze and make more Jangiri designs into the pan.
  • When its fried enough, you would notice them emerging at the top of the oil with no bubbles around the Jangiri.
  • Carefully take out the fried jangiri using a fork or any thin suitable spatula and soak it into the sugar syrup.
  • Likewise, continue the same process for the rest of the jangiri batter. Keep looking at the Sugar syrup and take out the perfectly soaked  jangiris from the syrup. Arrange the jangiris on a plate in order.


Tips / Variations

Keep everything that are required during the preparation ready before starting.
Do not fry the jangiris too much in the oil. Fry them on a low flame till golden brown and immediately soak them into the sugar syrup.
 

Friday, August 3, 2012

Maavilakku / Mavilakku / Maa Vilakku

 
Maa vilakku poojai is performed during Adi month mostly on Fridays. Tradition of putting Maa Vilakku differs from family to family but the basic concept behind this tradition remains the same. We chant prayers and offer Maa Vilakku to our respective Goddesses like Mariamman, Family deity or the main deity of that region. Being a native of Thanjavur, we dedicate this pooja to our main goddess Bangaru Kamakshi Amman.
Maa Vilakku means vilakku made out of "Maa/ Maavu ". We make two special lamps on this auspicious day using a mix of rice flour, jaggery and ghee and put them on a silver plate or on a plantain leaf spread over the silver plate. Some people light a single Maa Vilakku as per their family tradition.
During my childhood, my mom used to perform this pooja in the kamakshi amman temple on Adi friday. I and my sisters used to wait patiently in the temple for her to finish off the pooja and distribute a small ball of Maa Vilakku sweet to us. Until then, we would not move out of the temple. Being a sweet lover, I love this sweet and also this poojai.
Maavilakku poojai at my Mom's Home, chennai in 2011
Ingredients 
Rice Flour - 2 Cups ( Homemade Rice Flour )
Powdered Jaggery - 1.5 Cups
Ghee - 1 tbsp
Cardamom Powder - 3 tsp

Method
  • Soak the raw rice in water for half an hour. Filter the water and spread the wet rice uniformly on a thin cloth or tissue paper for sometime till all the water gets evaporated.
  • When its dried completely, grind them finely using a mixer grinder. Meantime, powder the jaggery and cardamom powder and keep them ready.
  • Mix the powdered jaggery, cardamom powder and ghee into the rice flour thoroughly till you are able to form a small ball out of it.
  • Make two rounds of uniform size and place them over the silver plate or on the plantain leaf if its available. Make two deep small rounds at the centre of each sweet balls.
  • Fill the small rounds with melted ghee and put a nice thread into it.
  • Decorate the plate with thamboolam, flowers as per your tradition and interests. Before offering the Maa Vilakku to the Goddess, light them at the centre. Chant the prayers and do the neivedhyam. During this pooja, its good to recite Kamakshi Stothram.


Sarva Mangala Mangalye Shive Sarvaartha Sadhikey
Sharanye Trayambakey Gowri Narayani Namostutey
 

Friday, May 18, 2012

Semiya Payasam / Vermicelli Payasam


Semiya Payasam / Vermicelli Payasam in one of the favourites in my family. Though we all mostly make this sweet during festivals and special occasions, the preparation itself makes a normal day so special.!! Semiya Payasam is made by roasting the vermicelli with ghee, slowly cooked and simmered in milk and sugar, flavoured with crushed cardamom powder and little saffron and garnished with ghee roasted cashew nuts. It tastes heavenly if made using whole milk. As the process is simpler, its easy to make a normal day into a very special day....Its all in our hands!!! Have a beautiful day with a cup of sweet semiya payasam.
Ingredients
Semiya / Vermicelli - 1 cups
Milk - 4-5 cups ( Used 2% Milk )
Sugar - 3/4 th of a cup
Cardamom Powder - 1 tsp
Saffron - 1 pinch ( Optional )
Ghee - 2 tsp
Cashew nuts - 8-10 ghee roasted
Method
  • In a kadai / cooking vessel, add a tsp of ghee and roast the cashew nuts first and keep them aside. Then add another tsp of ghee and roast the vermicelli till it turns golden colour.
  • When you get a nice aroma, add enough water to cook the vermicelli.
  • When its well cooked, add milk,saffron and sugar and allow them to cook for another 5-6 minutes.
  • Don't forget to stir the payasam once a while.
  • Add cardamom powder and roasted cashew nuts to the Payasam.
  • You can have this Payasam either warm or chilled.
  • Finally add the roasted cashew nuts to the Payasam and enjoy.
Tips / Note
Vermicelli payasam thickens after a while as the vermicelli absorbs most of the milk. Also, it gets thickened when its refrigerated. So, just before serving add warm milk to the Payasam and mix them well and serve.

You can add roasted raisins to the Payasam along with cashew nuts.

LinkWithin

Related Posts Plugin for WordPress, Blogger...