Sunday, March 22, 2015
Thursday, March 19, 2015
Broccoli Curry
Broccoli, also called as popularly "Green Cauliflower" is a powerhouse of nutrients. Broccoli is a major cancer fighter and boosts the immune system of our body. It is a good source of Potassium, folate and fiber. Its good for Bone Health, Heart Health and Cholesterol reduction and in weight reduction. Broccoli is getting popular in Indian Cuisine these days. In my kitchen, I have made many Indian dishes with broccoli like Broccoli curry, Broccoli Aloo Paratha, Broccoli Pakoda, etc., Out of all, this version of Broccoli curry is very simple and takes less preparation time.
This Broccoli curry is just like how to make the Beans thoran or Cabbage Poriyal. The tiny green florets always attract the kids and they will love to bite them.
Ingredients
Broccoli Florets - 5 cups
Oil - 3 tsp
Hing - 1 Dash
Mustard Seeds - 2 tsp
Urad Dal - 2 tsp
Dry Red Chillies - 3 or 4
Curry Leaves - 1 stick
Salt - As Required
Fresh Grated Coconut - 2 tbsp
Method
- Wash the green tiny broccoli florets, drain them and keep ready.
- In the cooking vessel, add oil first. When its heated, finish the tempering process by adding the hing, mustard seeds, urad dal , dry red chillies and curry leaves.
- When its done, add the green florets and add little water for them to cook with the steam inside.
- Close the lid and let them cook for 3-4 minutes on medium flame.
- When they are cooked to your desired level, add required amount of salt and fry them openly for a minute or two.
- Finally add the coconut flakes to the broccoli florets. Switch off the flame.
- Enjoy this curry with sambar, rasam or in any south indian meal.
Tuesday, March 17, 2015
Rasa Upma / Instant Upma with Leftover Rasam
My Mom invented this rasa upma during my childhood, I could say. While doing the so called "night study", I used to pester her to make something just to satisfy my late night hunger. She would do some magic and come up with a plate of hot rasa upma. Later she described us how she exactly made that tangy, spicy upma with the leftover rasam.!!! We requested her many times to make this special upma for us. With no chutneys or sides too, this upma tastes delicious and melts in your mouth.
I decided to make this Rasa Upma today with my leftover tomato jeera rasam. It truly reminded me of my mom and my school days.
Ingredients
Sooji / Rava - 1 cup
Leftover Rasam - Between 2 to 3 cups
Water - A Cup
Hing - 1 Dash
Mustard Seeds - 2 tsp
Peanuts / Kadalai - 1 handful
Urad Dal - 1 tsp
Channa Dal - 1 tsp
Curry Leaves - One Small Stick
Dry Red Chillies - 2 big ones
Salt - Little required as the leftover rasam itself contains good amount of salt
Oil - 1 tbsp
Method
- In a cooking vessel, add oil and heat it on medium flame. When heated, add hing,mustard seeds into the oil. When they sputter, add peanuts and fry them on medium flame.
- Add urad dal, channa dal, curry leaves, dry red chillies into the oil and finish the tempering process.
- Pour the leftover rasam totally into the cooking vessel with a cup of water and allow them to boil.
- Add little salt if required. After 4 - 5 minutes, slowly add the roasted rava into the kadai.
- Let it cook on low flame till the rava gets cooked and blends well with the leftover rasam.
- After its done, enjoy a plate of hot rasam upma and stop worrying about leftover rasam. In fact, I started making little more rasam during mealtime especially to make this rasa upma.
Monday, March 16, 2015
Karadayan Nombu 2015 / Karadaiyan Nombu 2015
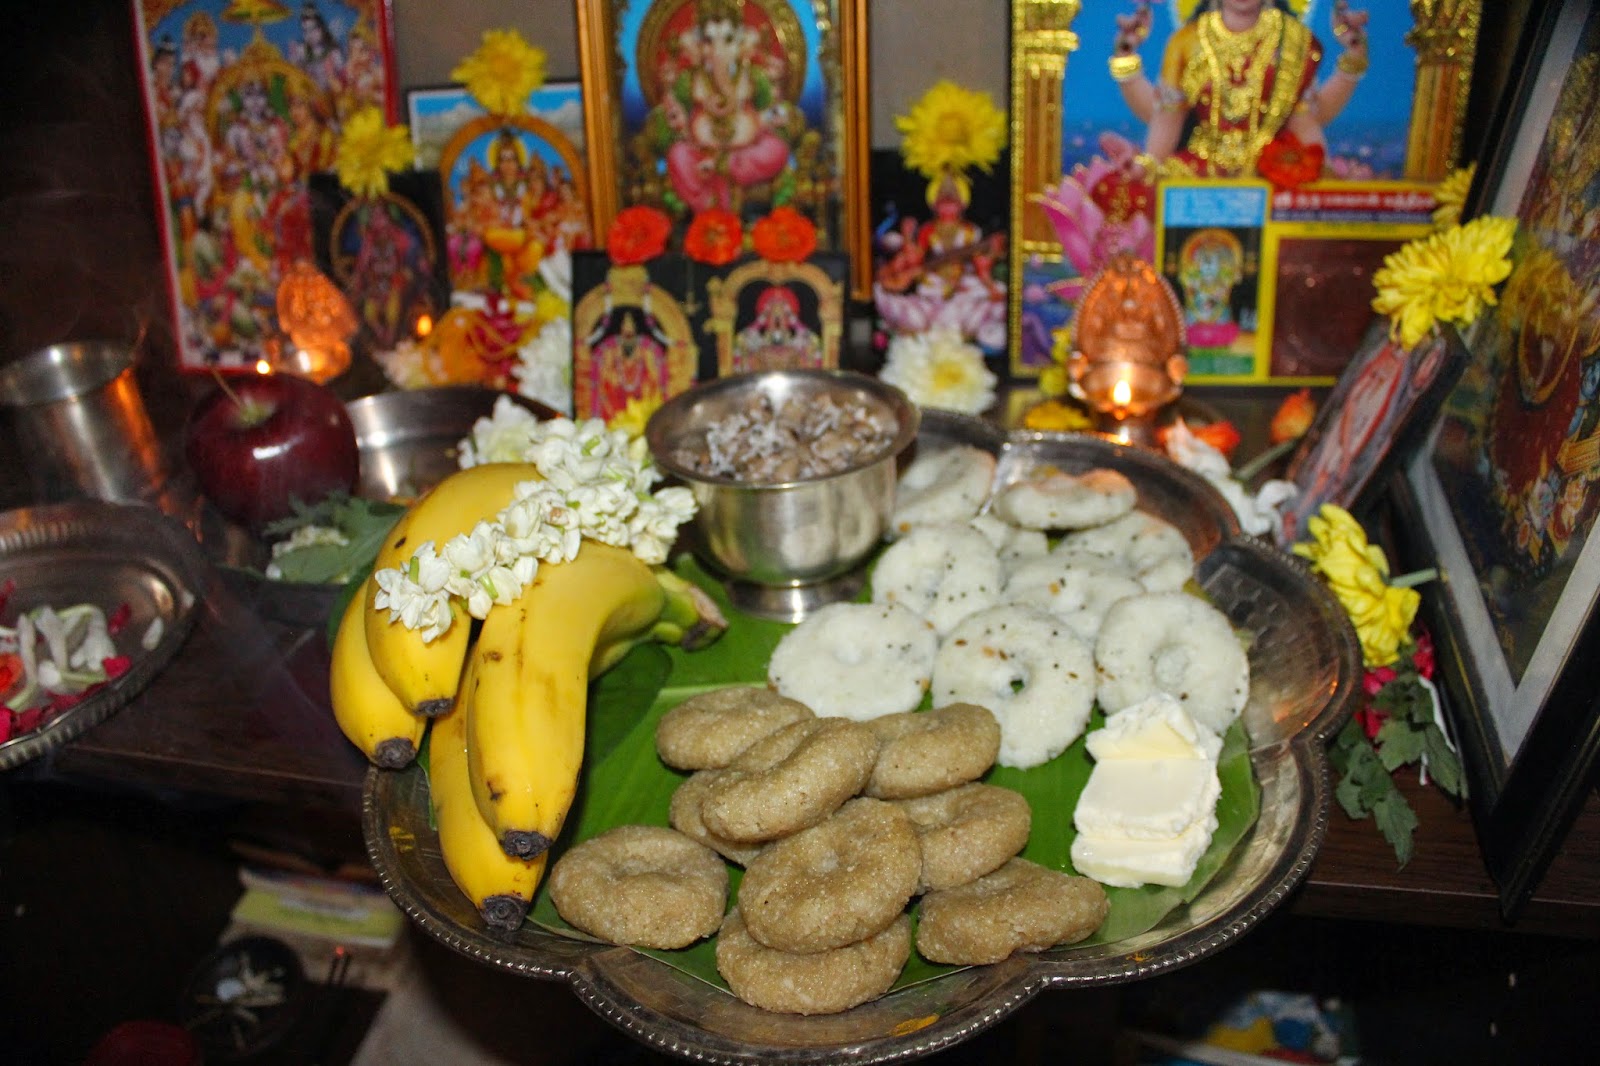
Wishing you all my dear bloggers "Happy Karadayan Nombu". This year Panguni Masam begins at 6:45 PM on March 14 Eastern Standard Time. Like every year, I made both sweet and Savory Adais and offered to Goddess Kamakshi for the well being of my mother this time especially, my husband, my dear family and my whole family in the universe. We celebrated with lots of prayers and tied the "Saradu" yellow thread and enjoyed the Adais with my good friend subha.
For recipes of Sweet and Savory Adais, please see my previous posts.
Sweet & Savory Adais:
http://sribhojanams.blogspot.com/2012/04/karadaiyan-nombhu-adai.html
Friday, March 6, 2015
Gongura Pachadi / Gongura Pachidi / Gongura Thogayal - Andhra Style
Gongura ( Red Sorrel Leaves), a leafy green vegetable is very famous in Andhra cuisine. Its called as "Pulicha Keerai" in tamil. Red stemmed gongura is more sour than the green stemmed variety. Gongura is very rich in Iron, vitamins, folic acid and antioxidants that are required for nutrition. Gongura is widely used in many Andhra dishes. This version of the Gongura Pachidi was learnt in Bangalore couple of years ago from my daughter's nanny. It was very delicious and it had a nice punch in its taste and went along well with steamed white rice. I have been doing this pachidi ever since I learnt this from the nanny. This version also reminds me of the Gongura Pachidi that are served in many Andhra Restaurants in their special Andhra Thali Meals.
Try mixing few spoonful of this Pachidi in hot rice with few drops of ghee and enjoy with a side of fried Appalam.
Gongura Leaves - 1 Bunch
Red Onion - 2 Medium
Garlic Pods - 15.
Dry Red Chillies - 10
Coriander Seeds - 3 tbsp
Cumin Seeds - 1 tsp
Cumin Seeds - 1 tsp
Hing \ Asafoetida - 1 Dash
Olive Oil - 2 tbsp
Gingelly Oil \ Nalla Yennai - 1 tbsp
Salt - To Taste
Procedure
- Wash and drain the Gongura leaves and keep them ready. Keep the garlic pods, red onion pieces ready for the process.
- On medium heat, add little oil into the kadai. Add dry red chillies,cumin seeds and coriander seeds first. Roast them to golden brown and transfer it to the mixer grinder and grind them to a powder along with Hing / Asafoetida.
- Add red onion pieces and garlic pods to the remaining oil and fry them till they become translucent. Then, transfer the contents to the mixer grinder and grind them coarsely.
- Then, on the same kadai, add the washed gongura leaves with the remaining oil and fry the gongura leaves till they become soggy and mashy..After they get cooked, transfer them to the mixer grinder and grind them for just a round or two. That's it. Add required amount of salt to the Pachidi and mix well.
- Gongura Pachidi is now ready to serve with hot white rice.
Variations
You can add more oil to the Gongura Pachidi if you want to keep it for more days.
You can add the shredded raw red onion pieces to the Gongura Pachidi. Some people like the taste of the crunchy raw red onion pieces in the gongura pachidi.
You can adjust the number of red chillies as per your taste buds.
Tips
While adding the red onion pieces for frying, keep aside 3 tbsp of the shredded red onion pieces. This could be added to the grounded gongura pachidi either directly or added to the tempered oil later.Don't grind the pachidi too pasty. It should be grinded coarsely with all the onions, garlic, gongura leaves to retain a special punch and texture in it.
Tuesday, February 17, 2015
Vaazhaithandu Rasam / Vaazhaithandu Mor Rasam / Banana Stem Buttermilk Rasam
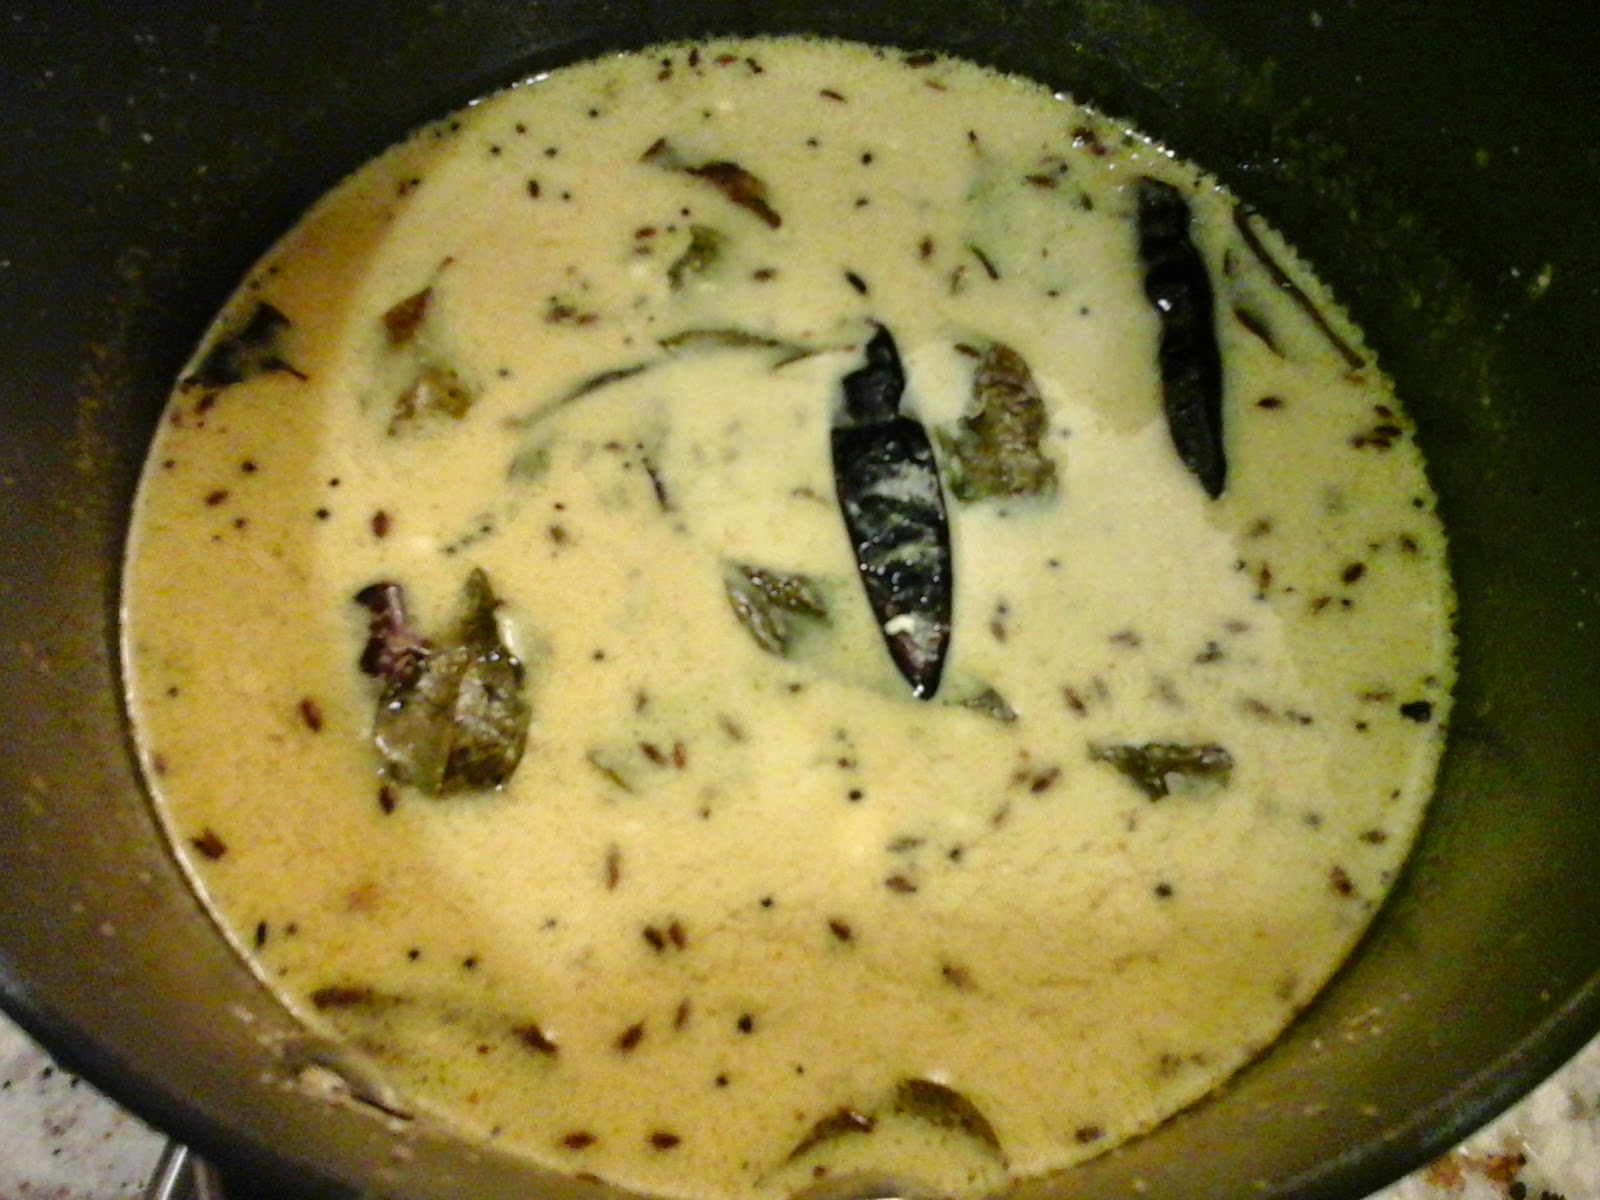
As we have started getting Banana Stem quite often in our area, I wish to make us of this vegetable in my kitchen frequently. Previously I have blogged few recipes using Banana Stem in my blog. This week I wish to make some watery form of this Banana Stem. Have tried raita, curry, kootu, Mor Kootu, etc., with this banana stem already. This Mor Rasam was very tasty and it can be enjoyed with a side of Kathirikai Kara curry / Brinjal Spicy Fry , Ladies Finger Fry / Bindi Fry or any suitable curry. You can make this delicious and healthy rasam during special occasions in this simpler way and get more appreciations.!!
Ingredients
To Grind :
Hing - 1 DashFresh Coconut Flakes - 1 tbsp
Green Chillies - 4 or 5 Medium
Ginger shredded - 1 tbsp
Cumin Seeds - 2 tsp
Curd - 1 tbsp
Water - Enough to make a paste.
Banana Stem Medium - 1
Tempering :
Oil - 1/2 tbspHing - A Dash
Mustard Seeds - 1 tsp
Cumin Seeds - 1 tsp
Urad Dal - 1 tsp
Channa Dal - 1 tsp
Curry Leaves - 5 or 6
Dry Red Chillies - 2 or 3
Salt - To Taste
Thick Buttermilk - 1 or 2 cup Enough to have the rasam consistency.
Turmeric Powder - 1 tsp
Water - As required.
Procedure
- Take out the outer covers of the Banana Stem / Vaazhaithandu completely. Chop the inner banana stem into tiny pieces and add them into a bowl of water. Add few tsps of curd into the water in order to avoid discolouration.
- Grind all the banana stem pieces with the remaining ingredients as mentioned above and make a smooth paste.
- In a cooking vessel, boil the grounded paste along with some turmeric powder, hing and little water till the paste cooks to a desired level.
- Add required amount of buttermilk and water into the vessel and bring them to the rasam consistency but not too watery like tamarind rasam. Add salt at this stage into it.
- Let it boil for another 1 or 2 minute. Switch off the flame.
- Do the tempering with all the ingredients as mentioned above and pour them over the banana stem rasam.
- This rasam can either be enjoyed alone or can be mixed with hot rice.
Thursday, February 12, 2015
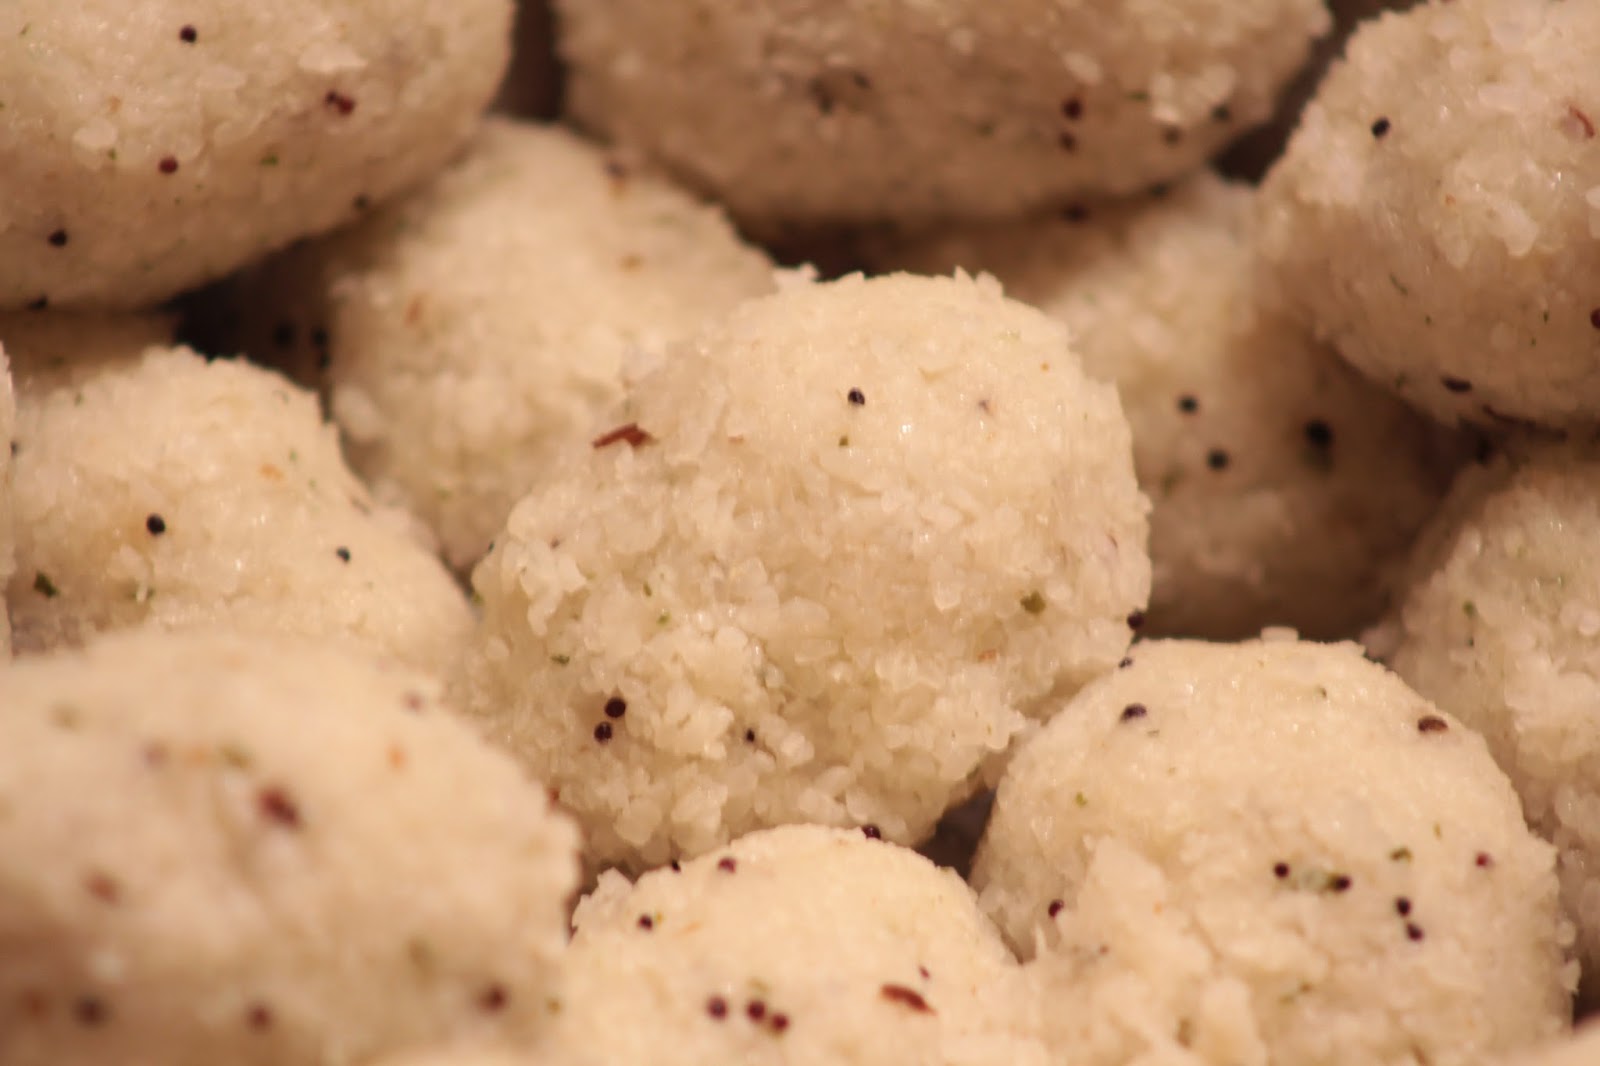
Upma Kozhukattai / Upma Kozhakattai / Pidi Kozhukattai - Steamed Rice Balls
Upma Kozhukattai is one of my favourite childhood tiffin varieties. These steamed rice balls can be made in both sweet and salty taste. Its an excellent tiffin option especially for kids who refuse to enjoy upma as such.!!! Well, my mom would have tricked us and offered these balls when we were kids. I love both the versions of this upma Kozhukattai. Sweet balls can be served with few drops of melted ghee to make it more delicious whereas the salty balls can be served with a spicy chutney on its side.
Salt Upma Kozhukattai / Salt Steamed Rice Balls
Idly Rava / Broken Rice Rava - 1.5 CupHing - A Dash
Salt - To Taste
Oil - 2 tsp
Mustard Seeds - 2 tsp
Cumin Seeds / Jeera - 1 tsp
Urad Dal - 1 tsp
Channa Dal - 1 tsp
To Grind :
Fresh Coconut Flakes - 1 tbsp
Green Chillies - 2 Medium
Cut Ginger pieces - 1/2 tbsp
Fresh Curry Leaves - 4 or 5
Water - As required to grind and make a paste
Method
- You can make the broken rice rava at home start from scratch or can use the store brought Rice Rava / Idly Rava to make this upma balls.
- This time, I tried with store brought Idly Rava only and it turned out very good and tasty. But it cannot compete with the taste made using the home made rice rava. I always vote for homemade Rice Rava.
- Before starting, grind the paste with the ingredients as given above and keep it ready.
- In a big kadai / cooking vessel, add oil first. When its heated, add mustard seeds, cumin seeds, urad dal, channal dal in succession.
- Then, add the grounded paste into the kadai / vessel. Stir them for a minute.
- Add the rice rava into the vessel and mix them well.
- Add 3 cups of water and required amount of salt at this stage into the vessel.
- Allow them to cook on medium flame with the lid on.
- When its cooked, switch off the flame and allow them to cool down a bit.
- When its warm enough to make balls, take a lemon size upma and make small balls and arrange them on a wide plate.
- Its wiser to apply a coat of oil on your hands and palms before making the balls which eases the process.
- After making the balls with all the cooked upma, arrange the balls on a steaming plate carefully and steam them for 5- 8 minutes on medium flame.
- You can steam them either using an Idly Steamer or any other steamer.
- After they are steamed properly, serve them with a side of spicy coconut chutney or any spicy chutneys of your choice.
Ingredients
Broken Rice Rava / Idly Rava - 1 Cup
Powdered Elachi / Cardamom Powder - 1.5 tsp
Jaggery - 3/4 of a cup
Water - Enough to make the Jaggery Syrup
Ghee - 3 or 4 tsp
Grated Coconut flakes - 1 tbsp
Ghee roasted cashew flakes - 1/2 tbsp ( optional )
Method of Preparation
- In a cooking vessel / kadai, dry roast the idly rava on a medium flame with few drops of ghee.
- When you get a nice aroma, add 2 cups of water into the vessel and cook them on low flame.
- Meantime, make a jaggery syrup in a separate vessel by adding the jaggery and little water ( 1/4 cup ). The syrup is just the melted jaggery in water. So the syrup should be neither thick nor thin. It should be in melted form. Add the crushed cardamom powder and pour the jaggery syrup into the vessel and mix them thoroughly.
- After a minute, add ghee and fresh coconut flakes, roasted cashews into the vessel.
- Mix them well and switch off the flame.
- After its cooled little bit, make the sweet balls as we did earlier for the salt version.
- Steam cook them in an Idly cooker or any suitable steamer.
- After its cooked perfectly, sprinkle some drops of ghee over the sweet balls and serve hot.
Tips and Suggestions
- Steam the balls till you notice some sweats over the balls. I consider this as my checking point and switch off the flame. If we miss that, then the balls might get over cooked and get mushy.
- While making the sweet balls, apply a coat of melted ghee on your palms and apply regular oil while making salty ones.
- I prefer to grind curry leaves, coconut flakes, green chillies everything and then add it as a paste just for my kids. Otherwise, they are patient enough to knock out every curry leaf, green chillies from the balls.
Subscribe to:
Posts (Atom)