Sunday, May 15, 2016

Spicy Okra Curry / Vendaikai Masala Curry


Okra / Vendaikai / Bendakaya / Ladies Finger / Bindi is one of the favourite vegetables which is almost seen in all Indian Kitchen. I cannot live without having few bindi in my refrigerator. I always love to make something out of bindi in any form. Though we make many varieties using this tender green fingers, this spicy okra curry is one of our home favourites. Sometime, if you get bored of making the same okra fry in standard form in your meal, you can very well substitute this okra masala curry to make it interesting.

Ingredients

Tender Okra / Bindi cut into small squares - 2 full bowls.

Oil - 1 tbsp
Hing / Asafoetida - 1 Dash
Urad Dal / Ulutham Paruppu - 2 tsp
Curry Leaves - 1/2 stem
Dry red chillies - 2
Turmeric Powder - 1/2 tsp
Grounded Powder - 1 tbsp
Garam Masala Powder - 2 tsp
Salt - As Required
Fresh Ginger Garlic Paste - 3 tsp
Shredded Tomato - 1 tbsp
Shredded Onion - 1/2 cup

For Grinding 
  2 tsp of coriander seeds
  2 dry red chillies
  1/2 tsp cumin seeds

Method

  • Wash ,clean the okra and cut into small squares as shown in the photo above. Cut the onion, tomato and keep them ready.
  • Grind the powder as described above in a blender and keep it ready.
  • In the cooking vessel, add oil first. When its heated, add mustard seeds, urad dal, dry red chillies, curry leaves.
  • After the tadka is done, add chopped onion pieces and fry them for a minute.
  • Add the freshly made ginger garlic paste into the cooking vessel and fry till the raw smell vanishes.
  • Add the okra, tomato pieces and all other ingredients including salt into the vessel.
  • Coat the okra/bindi thoroughly with all the powders. Allow them to cook for 4-5 minutes with the lid closed.
  • Remove the lid and allow the okra to get nicely roasted on a medium flame.
  • When they look crispy enough for you, switch off the stove.
  • Serve this spicy, delicious okra curry either with hot rice or roti.

Tips / Suggestions 
Try to prepare this curry using fresh tender okra / bindi only to get a delicious taste.

Thursday, May 12, 2016

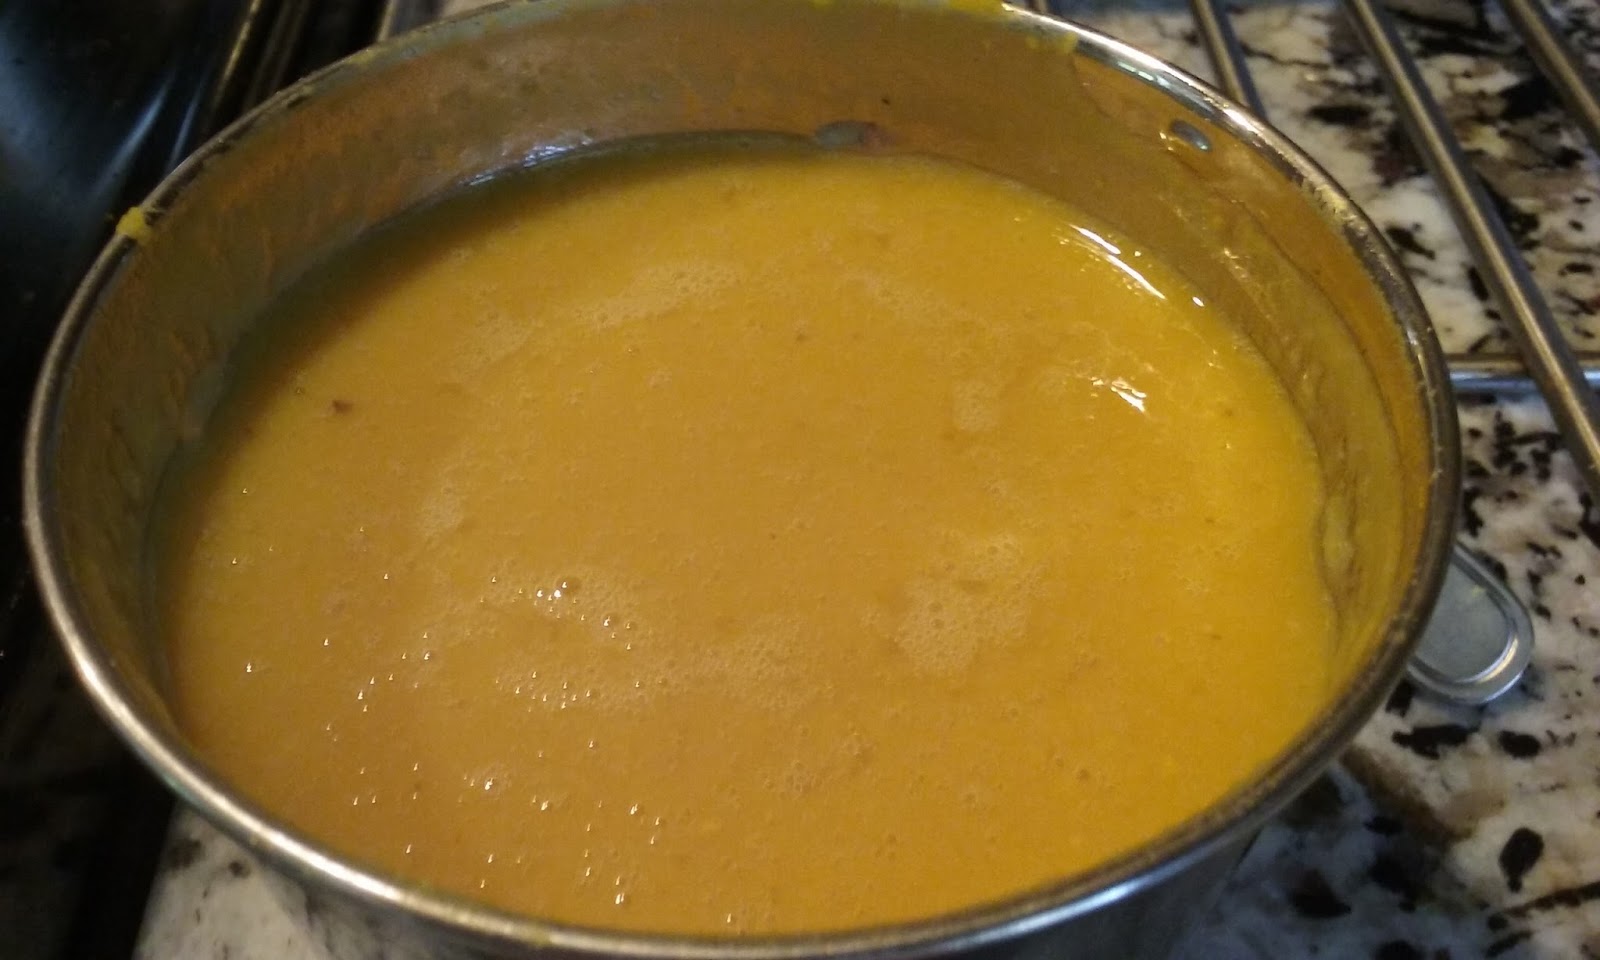
Pineapple Rasam / Annasipazha Rasam


Pineapple Rasam is one of my favourite rasams / soups. The unique flavours of this rasam emanating from the vessel during the preparation process itself  kindles your hunger and the spicy delicious rasam is an excellent accompaniment in any South Indian Meal. Whenever I see a pineapple at my kitchen, I make sure that a portion of this golden yummy fruit gets transformed as I like.!!!

Coming to the preparation process, it takes less than 15 minutes to make this rasam. Quality of the pineapple plays a key role in this rasam. 

Ingredients

Fresh Tasty Pineapple chunks - 2 cups

Tamarind extracted water - 1/2 cup

Tomato Puree - 3/4 cup

Pineapple Puree - 1 1/2 cup

Water - As Required

Turmeric Powder - 1 tsp

Rasam Powder - 1 tsp

Cumin & Black Pepper Powder - 1/2 tbsp

Salt - To Taste

Green Chilli - 1 

Fresh Ginger- A small cube

Cooked toor dal - 1/4 cup

For Tempering

Asafoetida - A Dash

Tomato pieces - 1 tbsp

Pineapple pieces tiny - 1 tbsp

Cumin Seeds - 1 tsp

Mustard Seeds - 1 tsp

Curry Leaves - 1 Stem

Dry Red Chillies - 2 

Ghee / Clarifies Butter - 1/2 tbsp

Method

Soak the tamarind in warm water and extract the juice and keep the filtered thick tamarind extract water ready.

Cook the toor dal and dilute 1/2 cup of the cooked toor dal and keep it ready.

Make the Pineapple puree by grinding the cleaned pineapple chunks, a green chili and the ginger cube in a blender without adding any water and keep it ready.

Make the tomato puree by grinding a fully ripen tomato in a blender and make it ready.

In a cooking vessel, add the tamarind extract, pineapple puree, tomato puree. To that, add turmeric powder, rasam powder, little asafoetida, half the quantity of cumin&black pepper powder and required amount of salt.. Add a cup of water and cover the vessel with a lid. 

Allow the content to cook till the raw smell of the tamarind goes off.  At this stage, add the diluted dal water into the rasam vessel. Add required amount of water into it. 

Cover the lid and allow them to cook on a low flame.

Meantime, do the tempering process. In a tadka / tempering pan, add ghee first. When its heated, add mustard seeds, cumin seeds, dry red chili, curry leaves, asafoetida and the remaining cumin/black pepper powder in order. When they are nicely tempered, pour them over the rasam.

Keep it on the stove till you notice nice froth on the top layer of the rasam. Switch it off once you get enough froth on the top.

Serve the hot, spicy, aromatic rasam with hot rice and ghee and enjoy. It can be a good appetizer too.


Tips /  Suggestions

Addition of  tamarind extract is optional. I basically like to blend the pineapple flavour with tamarind in my rasam. 
Do not boil the rasam for more time, then you might loose the real flavour and freshness. As soon as you get enough froth at the top layer, switch off the stove.

Thursday, May 5, 2016

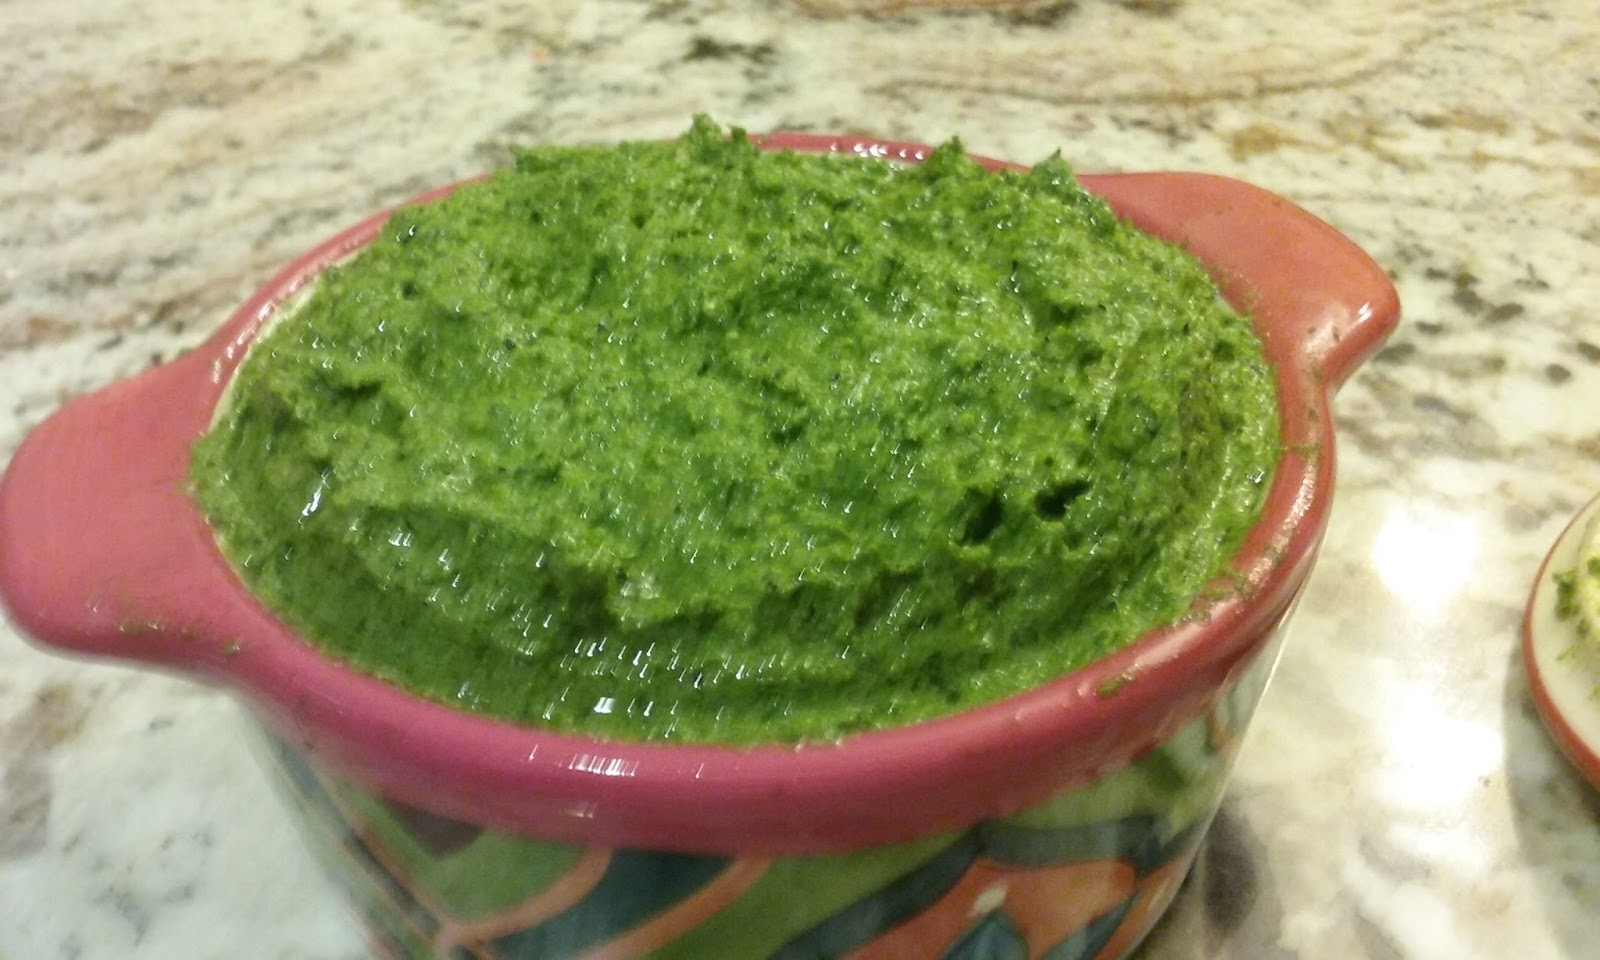
Kale Pesto with Walnuts


Kale is one among the most nutrient dense foods on the planet. It is rich in Protein, fiber and has vitamins A,C, and K. Folate content and Omega - 3 is high in Kale which is the main key for brain development. Kale can help lower cholesterol which in turn reduces the risk of heart disease.  It has numerous cancer fighting substances.

Using this super food, I made a super Kale Pesto with toasted walnuts. It can be stored in air tight refrigerator for 2-3 weeks but its better to enjoy its real freshness.

Ingredients

Kale leaves without stem --  2  cups
Garlic Pods --- 6 or 7
Peppercorns - 1 tbsp
Extra Virgin Olive Oil - 1/2 cup
Parmesan Cheese - 1/4 cup
Toasted Walnuts - 1/2 cup
Salt - To Taste
Lemon Juice - Juice of One lemon completely.

Method 


Pulse the washed kale leaves, garlic pods, peppercorns, olive oil, salt, lemon juice in a food processor or blender until smooth.

Add the Parmesan cheese and walnuts and pulse until the walnuts are ground to your desired consistency.

Store it in glass jars and enjoy with hot pasta, bread, crackers, sandwiches, etc.,

Notes


I did not add any basil leaves in this pesto as I wanted to enjoy the Kale taste as much as possible.
Trust me, your dinner rocks with this pesto sauce. With any kind of Pasta, this simple pesto completely enhances the meal. With a side of fresh, crunchy Italian salad, its divine.

Wednesday, May 4, 2016

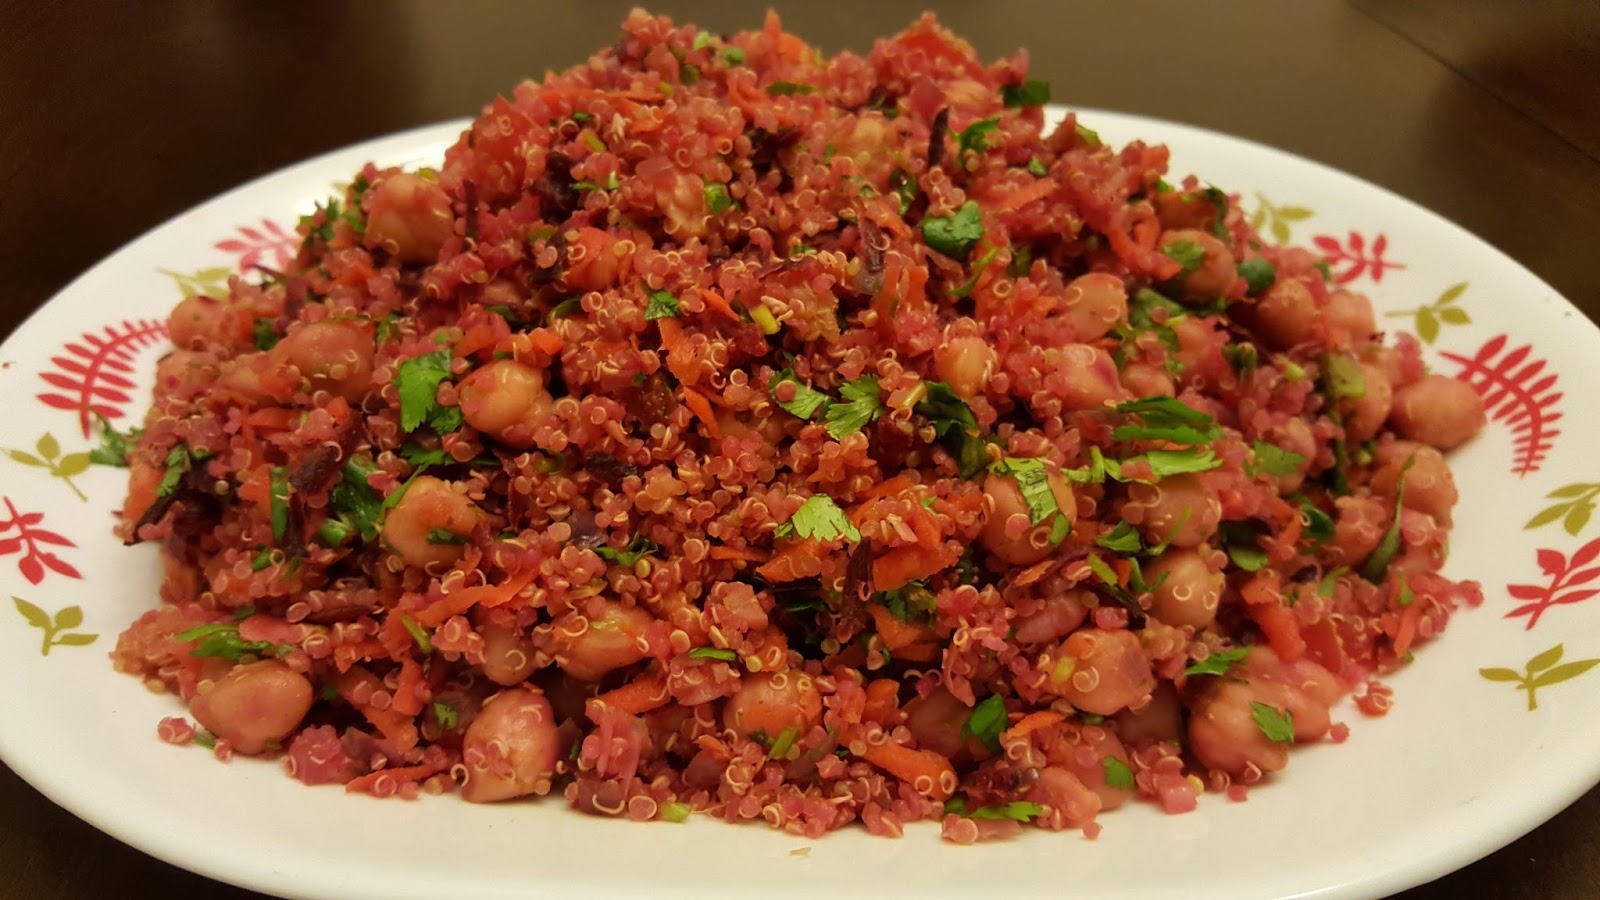
Quinoa Chickpea Salad


Quinoa , a tiny high protein grain from South America  is seen in many Indian Kitchens nowadays. Though I don't use it regularly in my kitchen, I try to make some attractive dishes using this grain. One of my favourite quinoa recipe is this colourful quinoa salad. To add to its richness, I have added some chick peas to the salad.

It can be a perfect meal for any time of the day with a side of Masala Chas / Buttermilk. Due to its crunchy, spicy taste and excellent aroma, even salad haters could have a plate of this salad as it swings away from the blandness side. Also its not cold like a regular green salad. 

Ingredients

Cooked Quinoa -   2 Cups
Cooked Chickpeas -  1 Cup
Shredded Red Onion - 1/2 cup
Finely Shredded Green Chillies - 1 tbsp
Finely crushed garlic - 2 tsp
Grated Carrot - 1/2 cup
Grated Beetroot - 1/2 cup
Tiny tomato pieces - 1/2 cup
Red chili powder / Paprika - 1 tsp
Cumin Powder - 2 tsp
Lemon Juice - 2 tsp
Salt - To Taste
Shredded Coriander leaves - 1/2 cup
Oil - 3 tsp


Method
  • Cook the quinoa, chickpeas using the regular cooking method. For cooking a cup of quinoa, add 2 cups of water. On medium heat, cook the quinoa for around 15 minutes till it gets fluffy.
  • For cooking the chickpeas, soak the chickpeas overnight and pressure cook them for 4-5 whistles. 
  • Grate the vegetables and keep all the ingredients ready.
  • In the cooking pan / kadai, add oil first. Then, add the crushed garlic, onion, green chillies one by one and fry them till the raw smell goes away.
  • To the pan, add the cooked chickpeas and the powders and mix them well.
  • Add the cooked quinoa along with the grated vegetables. Add required amount of salt into the pan.
  • Switch off the flame. Turn the salad upside down and squeeze little lemon juice over the top.
  • Mix them well and transfer the salad into the serving bowl.


Tips / Suggestions

Do not overcook the chickpeas as it gets mushy, making it difficult to be added in the salad.Similarly, cook the quinoa till they get fluffy. You can customize the spice level to your taste. Do customize as you like and enjoy in the summer.

Saturday, April 30, 2016

Vallarai Keerai Kollu Podi / Brahmi Leaves Powder / Vallarai Keerai Idly Podi


" Vallarai Keerai" in Tamil  called as "Brahmi" leaves in Hindi is widely used in Ayurveda Medicine. This green leaf is used to fight against Alzheimer's disease, improving memory, fight against ADHD ( Attention deficit hyperactivity disorder )  and as a general tonic to reduce stress and promote good human health.

Using these rich green leaves, I made an aromatic and flavourful Herbal Green Leaf Powder / Podi which can be enjoyed with hot rice and little ghee on top. It can also be enjoyed with Idli / Dosas too. I made it more nutritious by adding horsegram / kollu to this powder.

You can customize this mixture by substituting Kollu / Horsegram with Toor dal. Add garlic to this powder if you like that taste of it. But its purely optional.

Ingredients

Vallarai Keerai - 2 Big Bunch Bunch

Curry Leaves - 3 Sticks

Horsegram // Kollu / Ulavu -  1/2 cup

Urad Dal / Ulutham Paruppu - 2 tbsp

Cumin Seeds / Jeera - 1 tsp

Dry Red Chillies - 6 or 7

Asafoetida - 1 Dash

Salt - To Taste

Method

Wash the Brahmi Leaves and dry them on a thin muslin cloth or paper for  6-8 hours till they get dried completely. Dry Roast the brahmi leaves and curry leaves together on medium heat in a pan or kadai. Allow them to cool completely.

Dry roast all other ingredients except salt in the same pan till golden brown. Cool them completely.

Grind all together in a mixer grinder / blender to a fine smooth powder. Add required amount of salt and asafoetida and grind once again for 2 seconds to mix them.

Store it in an airtight container and enjoy. 

Tips /Suggestions

As its a dry powder, add a tsp of ghee while serving this with hot rice. If you are using this as a gun powder for Idly / Dosas, add few tsps of Sesame oil and serve. It enhances the taste for sure.

You can make vallarai keerai vadai, vallarai keerai adai, Vallarai keerai kootu / Paruppu too.

Monday, April 18, 2016

Happy Birthday Amma

Its been a long time since I published posts in my food blog.  Ever since I lost my wonderful mother, I got uninterested in many things that I enjoyed doing earlier. Life after amma's death is difficult at times, making me realize the importance of everyday life. No one is going to pamper us the same way as amma does. I felt as if my mom came in front asking me to start writing posts again. She was an incredible cook commented on my food recipes in her own sarcastic funny way which i loved to hear..Missing my amma so much..

When i make any kind of sweet dishes, memories of my mom occupies my mind totally. All sweet memories of her. My time with my mom is incomplete, yes, it is. I never had a proper "Good Bye" from her, was not fortunate to see her face and the kindness on her eyes at the end. I paid the price for staying far away from her.

During her birthday week, I made an elaborate south indian thali and enjoyed with family and friends.

Amma's Tribute --  All learnt from her

This post is my hearty tribute to my dear mother who really inspired me to achieve many more things in my life. Love you Amma...as always till I live in this world.

If God can give me a single wish, I would really love to see you atleast once again for few minutes, talk with you.

Wednesday, April 1, 2015

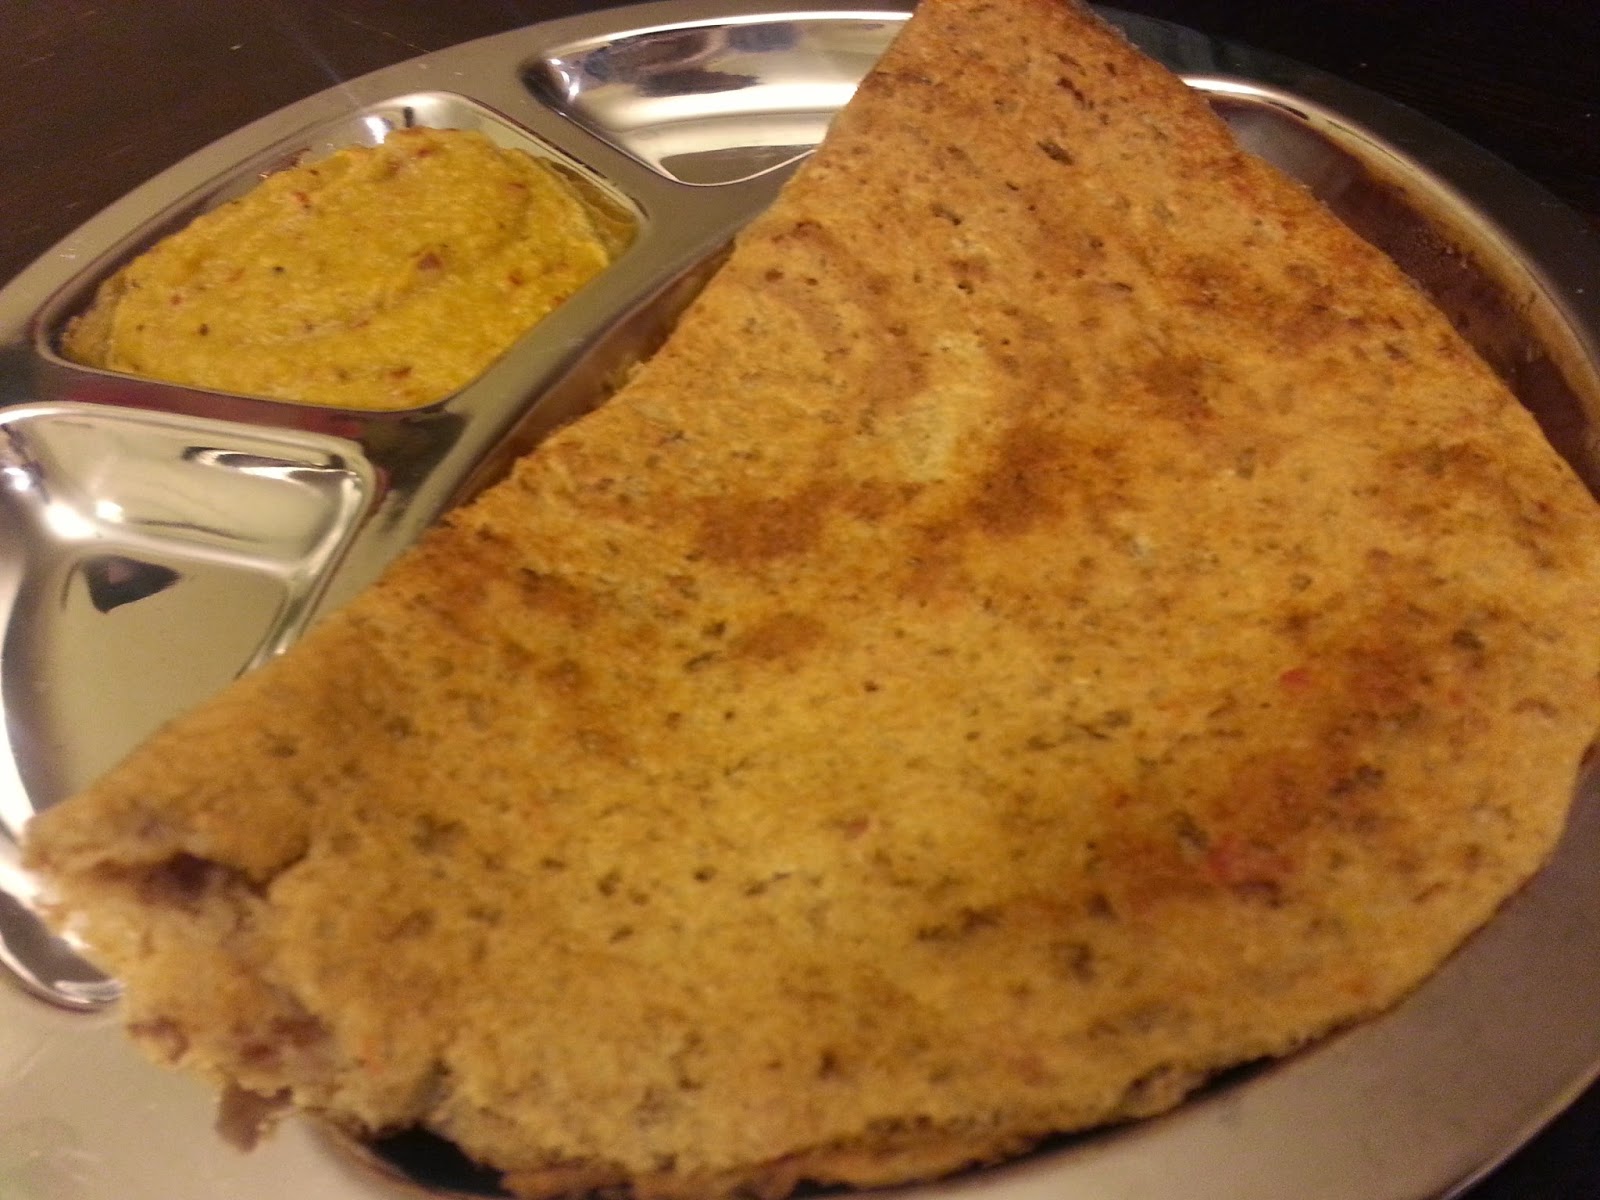
Sprouted Horsegram Dosa / Sprouted Kollu Dosa / Kollu Dosa


The biggest challenge for moms like me is deciding what to make for the next meal.Considering all the factors like a healthy option, liked by kids, less preparation time, easy process, its a bit more tough job for any responsible mom. Who says that feeding a family is easy? Mind should constantly think of healthy options and should hunt for the same. Of course, there is a saying " We need food to live but not live to eat food". But in this polluted atmosphere, seeing hundreds of infections and diseases, its essential to focus on what we eat. During this daily hunt, i came across another healthy option to satiate my mind through my good friend hema. She offered me a healthy, tasty, sprouted horse gram dosa / Kollu Dosa  grinded with red bell pepper and other ingredients. Dosas were truly delicious and I tried them in my kitchen too. My family loved the crispy golden dosas and the texture somehow reminds me of the pesarattu texture. I customized the dosa recipe slightly to our tastes and tried both plain dosas as well as dosas with carrot and onion. Dear bloggers, you can add this recipe confidently in your healthy recipe book.

Some Health Benefits of Kollu / Horse Gram 

Most Protein Rich Lentil found on the Planet
Low fat and high carbohydrate content
Lower Cholestrol Level
Slow digestible starch helps obesity and diabetic patients
Anti fungal, anti oxidant.

Some Side Effects of Kollu / Horse Gram

Should drink plenty of water as it generates lot of heat
Should be avoided by pregnant women
Excess of horse gram / Kollu can cause bile production.

Ingredients

Sprouted Horse Gram / Kollu - 2 Cups
Urad Dal - 1 Cup
Idly Rice - 1 Cup
Fenugreek Seeds - 2 tsp
Sabudana Seeds - 1 tbsp
Red Poha / Red Aval - 1 tbsp
Jeera / Cumin Seeds - 1 tsp
Salt - As Required
Water - Enough to grind the Dosa Batter
Ginger - 1 small cube
Dry Red Chillies - 4 or 5
Hing - As Required
Ripe Red Bell Pepper - 1 Big

Method

  • Wash and soak the Horse gram in water for 4-5 hours. Drain the water and make sprouts with the horse gram. It might take atleast a day or two to see some good sprouts.
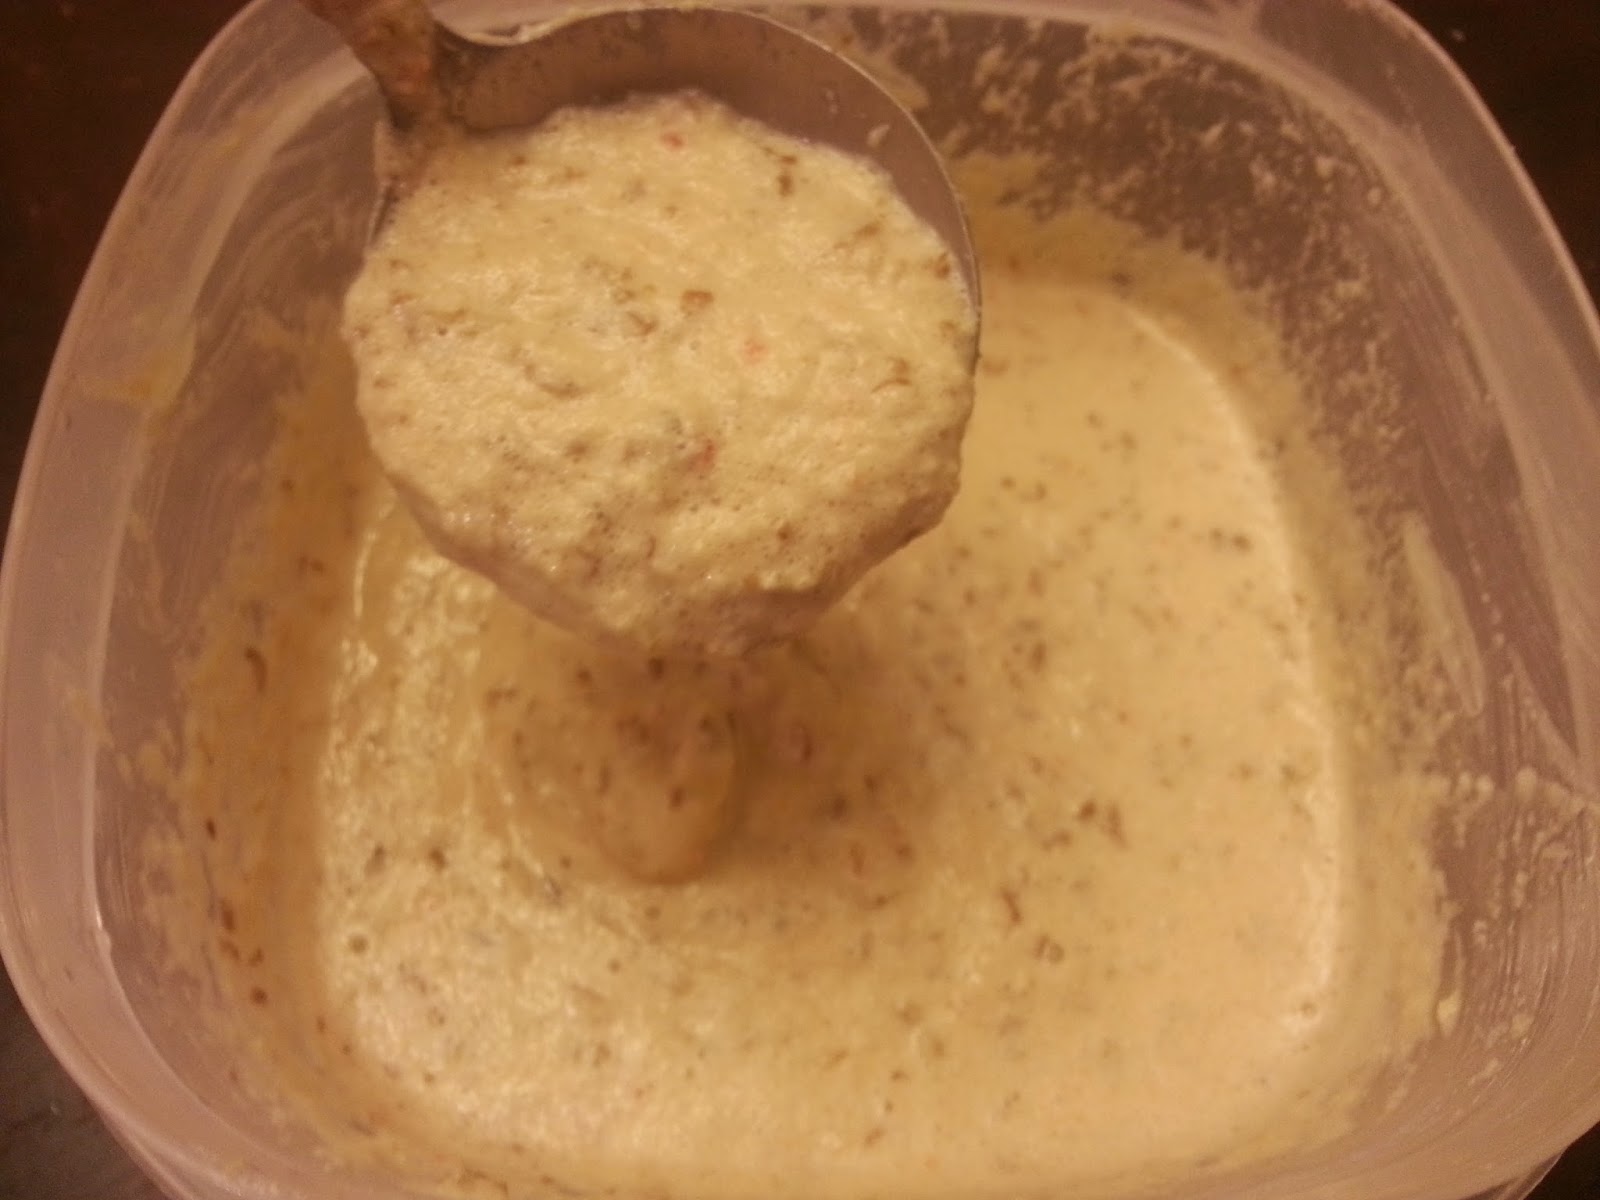
  • Soak the other ingredients in water for 4-5 hours and grind them along with the sprouted horse gram in a mixer grinder. Add little water at intervals while grinding and make a smooth batter.
  • Add hing and required amount of salt to the batter and mix them well.
  • Keep the dosa batter outside for fermentation. This horsegram batter gets fermented quickly like pesarattu batter. So calculate the time accordingly and prepare the dosas. Otherwise store the batter in the refrigerator.
  • Before making the dosas, add little water to the batter and mix well.
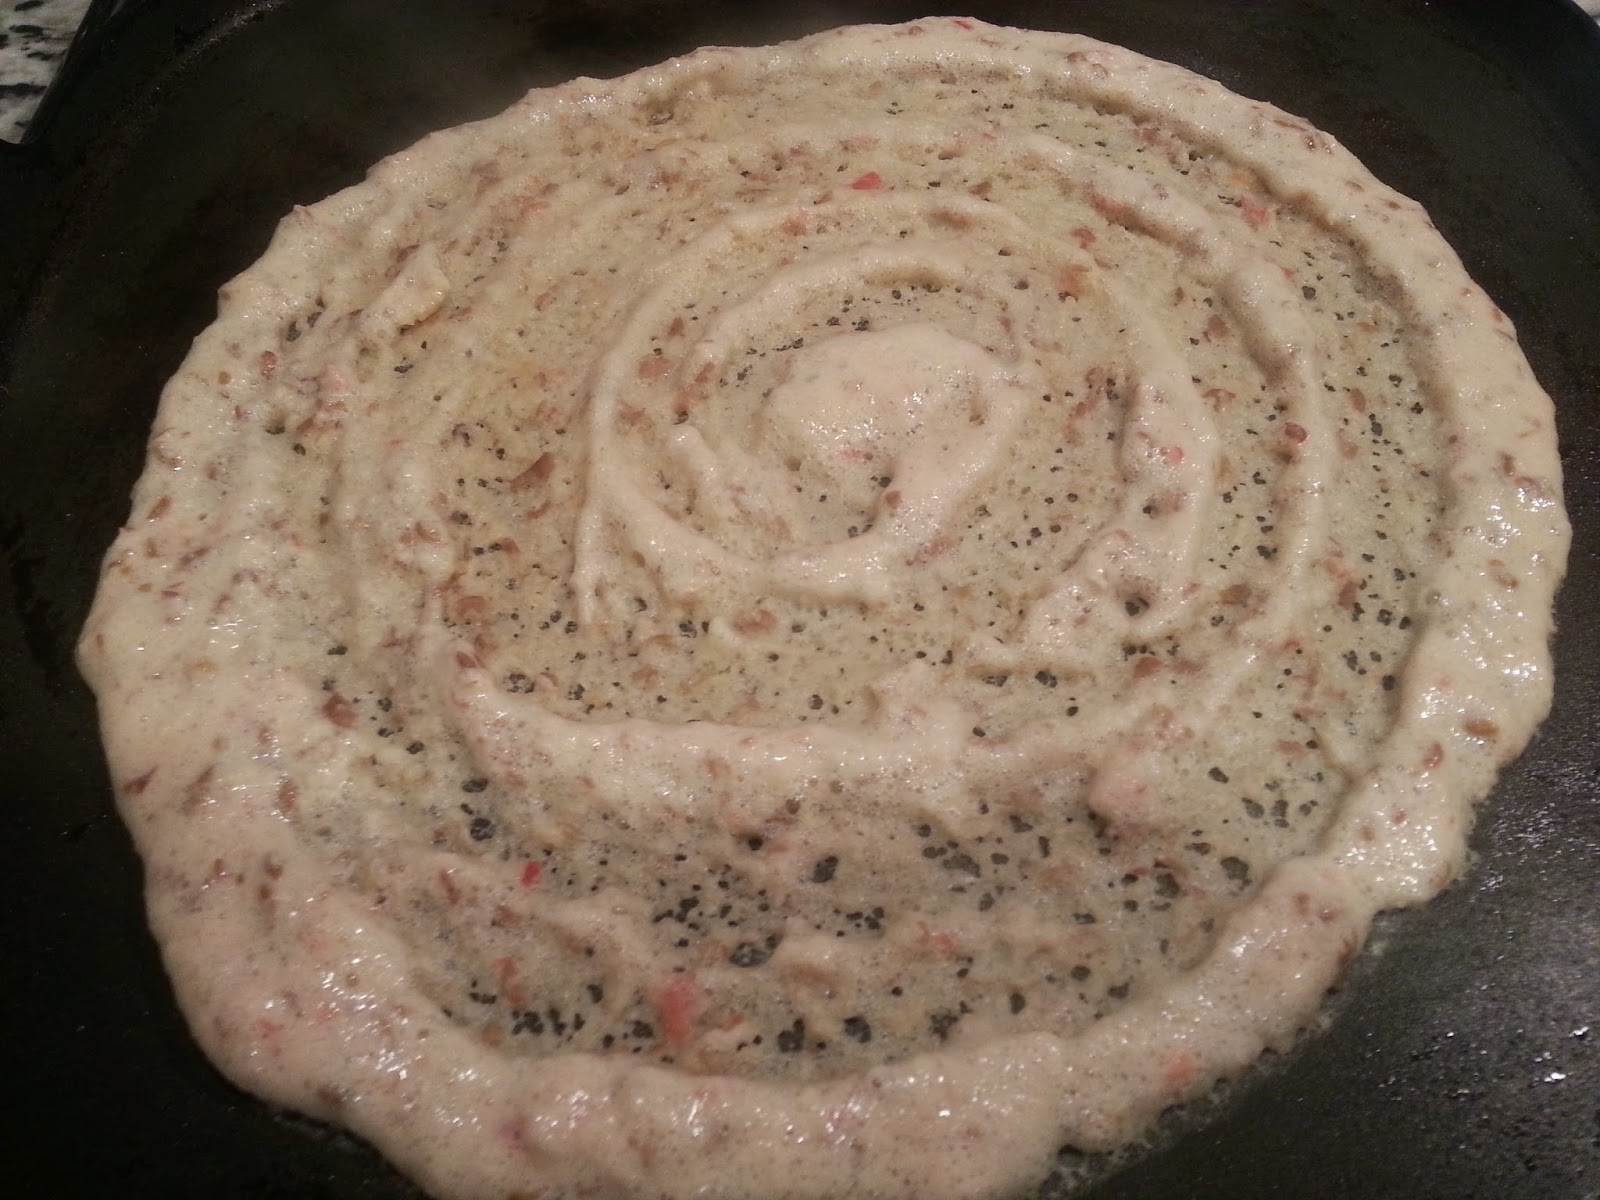
  • In a heated dosa pan, pour a cup of the dosa batter and spread the evenly on all sides. Apply drops of oil on all sides and fry them on medium heat. Flip them to the other side and fry again.
  • Serve the dosas with a side of spicy onion chutney.

Tips 

  • Soak all the lentils and rice together and grind them together for this dosa.
  • Addition of a ripe red bell pepper enhances the taste of the dosa greatly and its a healthy addition too.
  • If you wish, you can add some grated carrot,onion and coriander leaves on one side of the dosa and fry. Kids specially love this addition as its very colourful.

LinkWithin

Related Posts Plugin for WordPress, Blogger...