Sunday, February 23, 2020

Healthy Salad for Weightloss


Earlier, I was not a big fan of raw salads. I found it really difficult to pick them and chew little by little, I totally did not enjoy it. Slowly, few salads that I had at outside restaurants triggered my tongue and I discovered the way of enjoying the salad in my own terms. Its always good to eat raw vegetables and fruits daily. If you like to reduce your weight or fat from your body, consumption of raw vegetables helps you to achieve the results quickly. This is one of the salads I make often. I don't follow any rule or formula specifically while making a salad for myself. I fix my salad with any leftover veggies and if I like the combo, I will record it and follow the same pattern sometimes.  This salad was also recorded in the same way. 

Ingredients

For the Salad :

Romaine Lettuce - 1 cup roughly chopped
Cucumber - 1/2 cup chopped 
Grated Carrot - 1/2 cup
Steamed Corn - 1/2 cup
Cherry tomatoes - 1/2 cup ( Cut the cherry tomato in half )
Mixed Bell Pepper chopped - 1/2 cup ( I used red bell pepper, orange bell pepper and green bell pepper ).
Salt - As required
Coriander Leaves - 1 tbsp ( Shredded Leaves )

For the Dressing:

Lemon Juice - 1 tbsp
Salt - As required
Black Pepper powder - 1 tsp
Mexican Seasoning Powder - 2 tsp
( If you don't have this, you can add 2 tsp of crushed red chili flakes and cumin powder )


Preparation

Wash all the vegetables and cut into desired shapes.
Assemble them in your salad mixing bowl.
Meantime, make the dressing and keep it ready.
Add required amount of salt and pour the dressing into the bowl.
Mix it thoroughly and enjoy.

Tips 

You can add any chopped nuts of your choice into this salad and enjoy. Nuts like Walnuts, pumpkin seeds, sunflower seeds and almonds are best suited.

Friday, February 21, 2020

Dangar Pachidi / Dangar Pachadi / Urad Dal Raita


Dangar Pachidi / Urad Dal Raita /Dangar Thayir Pachidi is a very traditional recipe,which is not talked by people nowadays. In fact, I wonder how many people of our generation know about this easy thayir pachidi.  This is one of the no cook raita / thayir pachidi which can be easily prepared at home. This fiber rich pachidi is a good source of Iron, folic acid and is best suited for women. It reduces cholesterol and has numerous health benefits too. It serves as a good accompaniment to Vatha Kuzhambu, Milagu Kuzhambu or any spicy Kara Kuzhambu.
We can add vegetables if we like, I added few fried  ladiesfinger / okra into this pachidi. My grandma used to add fried vathals along with tadka into this pachidi. Dont forget to make this yummy pachidi with a vegetable of your choice and enjoy with some spicy kuzhambu. This Pachidi helps you greatly especially when you are making a very big feast with 15 items for some guests. 

Ingredients

Thick Curd - 1.5 Cup
Water - As required
Black Urad Dal - 1 tbsp
Salt - As Required
Oil - 2 tsp
Hing / Asafoetida - 1 Dash
Mustard Seeds - 1 tsp
Jeera / Cumin Seeds - 1 tsp
Curry Leaves - Few
Dry Red chili - 1
Turmeric Powder - 1/2 tsp
Red Chilli powder - 1/2 tsp
Cut Okra / Ladiesfinger / Vendaikai - 2 Cup ( As you Like )

Preparation

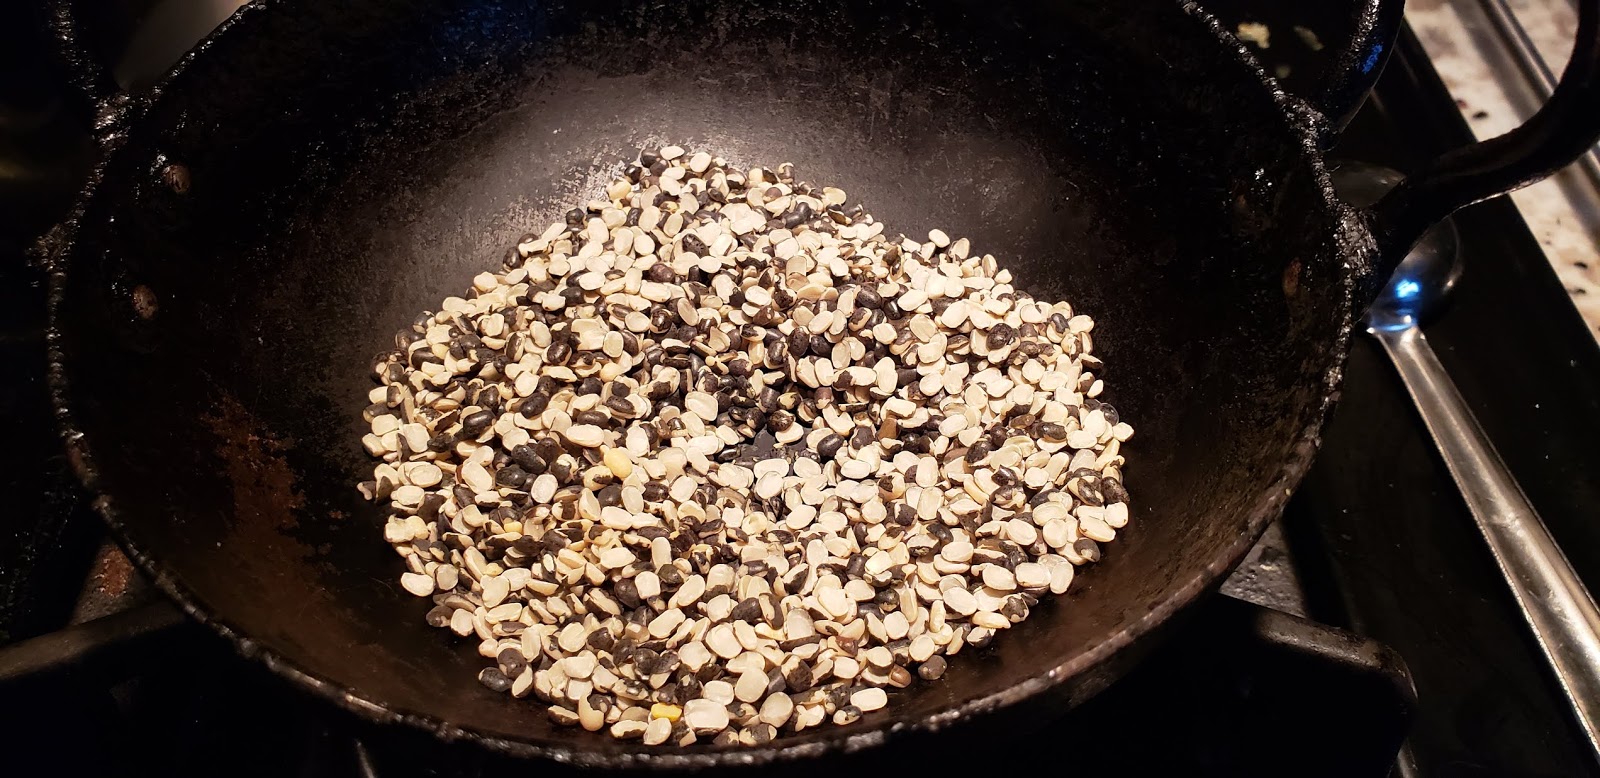
  • Dry Roast the Black Urad dal till you notice a nice aroma.

  • Powder it in a mixer and add it to the curd mixture. Add water to adjust the consistency of the pachidi.
  • Add required amount of salt to this and keep it aside.

  • Meantime, add oil in a frying pan. When its heated, add mustard seeds, jeera, hing, curry leaves, dry red chili, turmeric powder. 
  • After that, add the cut okra,salt,red chili powder and fry them till the okra is nicely cooked and fried.

  • Transfer the hot fried okra/ ladies finger curry into the Dangar Pachidi mixture.
  • Enjoy with Vatha kuzhambu and Appalam. 

Tips 

1. You can add grated carrot or grated cucumber / zucchini into the pachidi directly. If you prefer to add freshly grated veggies, make tadka separately and pour it over the pachidi.
2. I like to make this Pachidi with black urad dal. You can make this with white urad dal too. 
3. This pachidi tastes very good with fried veggies or vathals.
4. I like to make this with fresh curd or light sour curd as its a no cook Pachidi.

Tuesday, February 4, 2020

Gooseberry Cucumber Curd Pachidi / Nellikai Vellarikai Thayir Pachidi


In every meal of the day, I love to include one curd pachidi with either cucumber, carrot or any other suitable vegetable. Though we don't get fresh Gooseberries year round here, I bought a pack of frozen gooseberries from the Indian store.  Using those gooseberries, I made this fresh curd pachidi for our Saturday lunch thali. I make this pachidi whenever I buy frozen gooseberries. Gooseberry also called as "Nellikai" in Tamil is a good source of Vitamin C, boosts immunity in our system, good for diabetes and has numerous health benefits. I also added a small cucumber along with gooseberries while making this pachidi but its totally optional. Personally I like the blended mixture of cucumber with gooseberries and coconut.

Try to make this curd pachidi often in your kitchen and enjoy. Try to add tadka to your curd pachidi always, it definitely adds more flavor and enhances the taste of the curd pachidi. 

Ingredients

Gooseberries - 5 or 6 medium size
Cucumber - 1 Small
Green chillies - 3 
Fresh Coconut flakes - 1/2 cup
Cumin seeds / Jeera - 2 tsp
Ginger - 1 small piece
Salt - As required
Fresh Thick curd - 1 cup
Coriander leaves - To Garnish

For Tadka

Oil - 1 tsp
Hing - A Dash
Mustard Seeds - 1 tsp
Urad Dal - 1 tsp
Curry Leaves - 2 or 3
Dry red chili - 1

Preparation

Grind gooseberries, shredded cucumber, coconut flakes, green chillies, jeera, ginger along with little curd in a blender. Add required amount of salt and grind again for few seconds. Transfer the mixture into a serving bowl. Add the remaining curd to the pachidi and mix it well. If its too thick, add little water to the pachidi and adjust the consistency. Prepare the tadka in a pan with little oil and pour the tadka over the curd pachidi. Garnish with few crushes coriander leaves and include this delicious curd pachidi in your thali / meal.

Tuesday, January 21, 2020

Avocado Chappathi / Avocado Roti / Avocado Paratha


Avocado is one of the veggies which always occupy a permanent space in our refrigerator. Avocado is incredibly nutritious, high in Potassium, loaded with fiber, good for heart, etc., Today I made Avocado Chappathis using a perfectly ripen Avocado, instead of making my regular guacamole. The rotis are extremely softer and it melts in your mouth. No need to add water while kneading the roti dough, the fatty texture from the avocado itself is enough to knead the roti dough. With a side of cucumber salad and spinach chole, the dinner was perfect with hot Avocado rotis.

Avocado roti dough should be made a little thicker as it would be easier to make the rounds. 

Ingredients 

Ripen Avocado - 1
Salt - As required
Ajwain Seeds - 1/2 tsp
Crushed green chili - 1 medium
Olive Oil - 1 tsp
Whole Wheat Flour - 1 Cup
Bajri Flour - 1/4 cup
NO WATER REQUIRED


Preparation

First, peel the Avocado and add it in the mixing bowl. Smash the Avocado completely and make a smooth paste. Add all the other ingredients into the mixing bowl and knead the dough without adding any water. Keep it aside. After 20 minutes, make a small round and fry the roti on the heated tawa
both sides. Apply little ghee on top of the avocado roti before serving. Enjoy the rotis with good accompaniments. 


Sunday, January 12, 2020

Majjiga Pulusu / Mor Kuzhambu without Coconut


Any gravy or side dish made with curd or buttermilk always tempts me. Though I love to make Mor Kuzhambu in my regular meal, sometimes if you run out of fresh coconut or not in a mood to grind the paste for mor kuzhambu, Majjiga Pulusu is the better option. Neither we need fresh coconut nor we need to grind the paste for making this yummy Pulusu. My husband taught me how to make this simple, easiest Majjiga Pulusu using the leftover sour yogurt. You can either make this Pulusu with just onions or with tomatoes, grated cucumber or any veggies of your choice.  Pour this over a plate of hot rice and enjoy this with a side of some spicy potato fry.

When you are making a big meal and if you like to include a gravy item with yogurt, Majjiga Pulusu is a wonderful choice. 


Ingredients 

Thick Sour Yogurt/curd -  2 Cups
Water - As required
Red Onion - 1/2 cup sliced
Salt -  To Taste
Coriander Leaves - To Garnish

Tadka 

Turmeric Powder - 1/4 teaspoon ( Optional )
Hing / Asafoetida - 1 Dash
Mustard Seeds - 1 tsp
Cumin Seeds / Jeera - 1 tsp
Dry Red chilies - 2 
Grated Ginger - 1/2 teaspoon
Green Chili - 1 
Curry Leaves - 1 Small Stem
Urad Dal - 1 tsp
Channa Dal - 1 tsp

Preparation

Take 2 cups of thick yogurt/curd in a vessel.  Add some water into it and adjust the consistency as you like but try not to make it thin. Add required of salt into it.  On its side, heat 2 tsp of oil in a tadka pan. Add the ingredients as mentioned under Tadka. Pour the tadka over the vessel and let it remain on the stove for 3 to 4 minutes on medium flame. Switch if off and garnish with coriander leaves. Enjoy this pulusu with hot rice. 

Monday, December 11, 2017

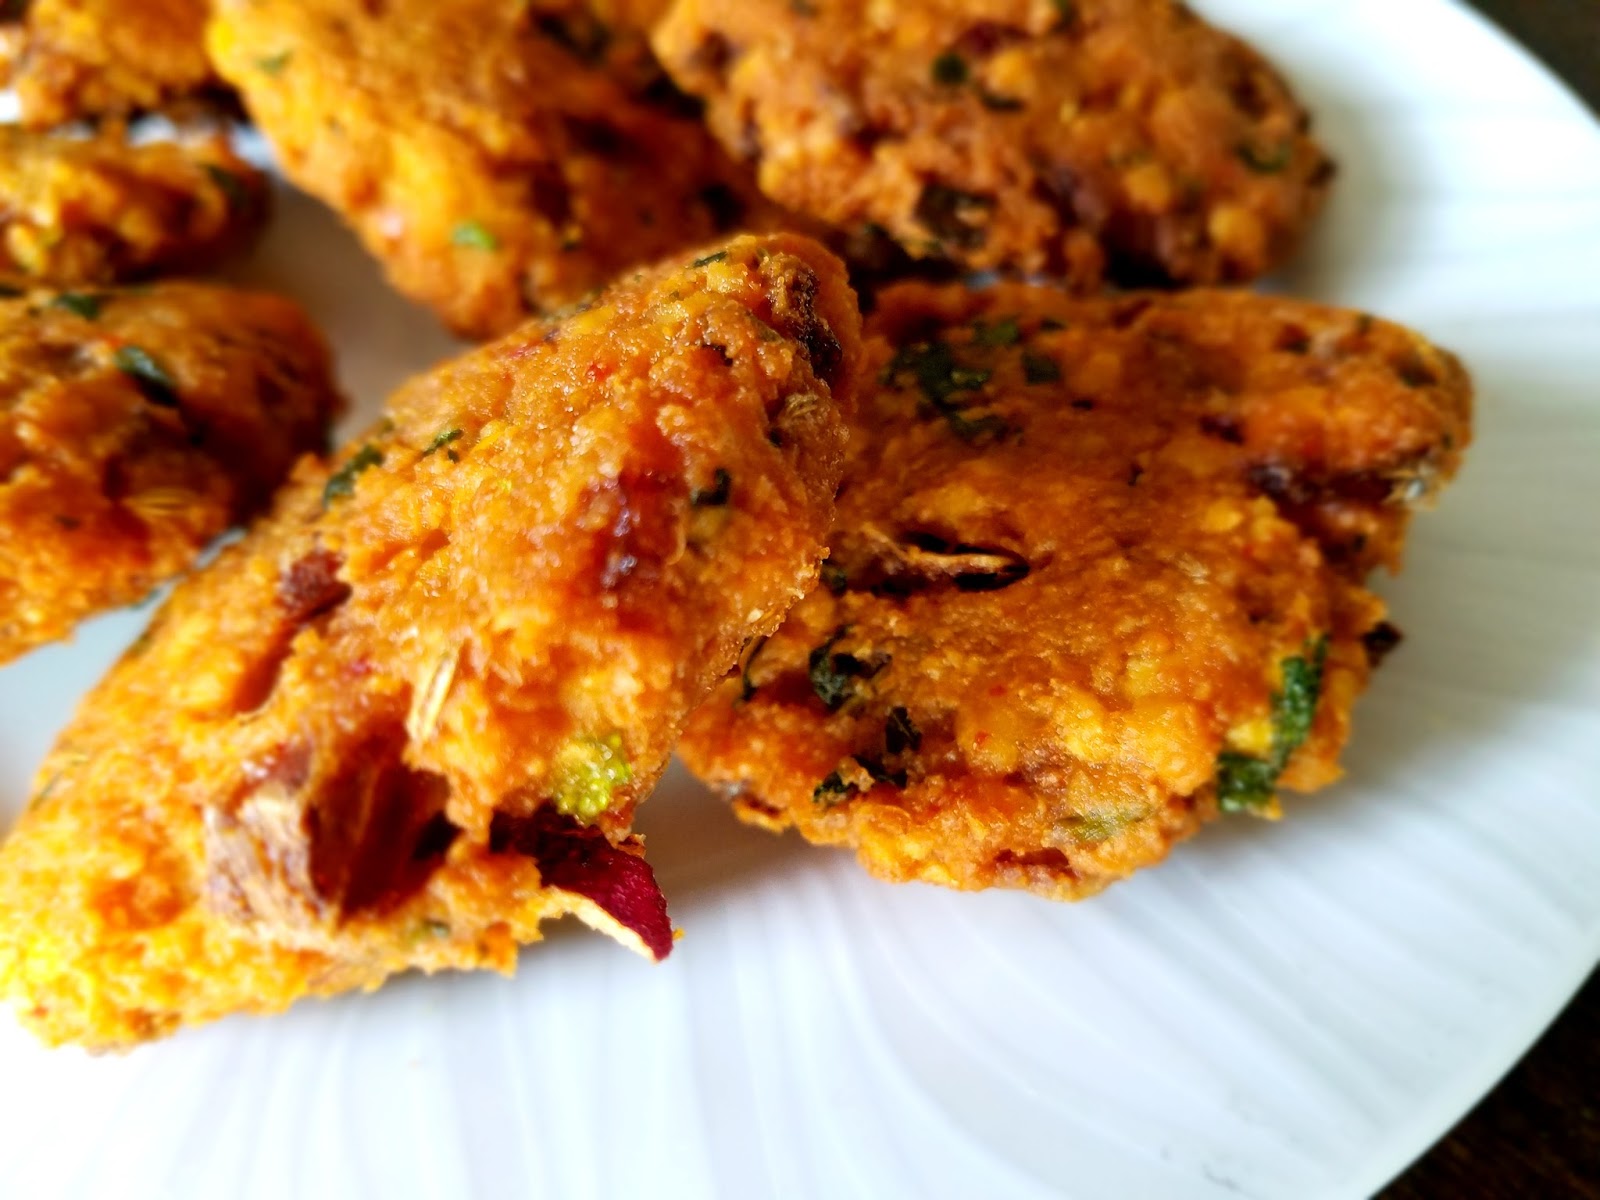
Masala Vadai / Crunchy Masala Vadai / Masala Vada


During rain, our mind instantly thinks about enjoying a cup of chai / tea with few hot masala vadais on its side. Somehow I cannot forget the taste of the newspaper wrapped masala vadais that I and my sisters enjoyed during childhood.  Especially after school, we used to buy few crunchy masala vadais from a nearby stall where they made fresh vadas daily. Just to reminisce, still I wrap atleast 2 or 3 vadas in newspaper and have it with my tea. Though I rarely make fried vadas at home nowadays, we thoroughly enjoy each and every vadas we make. Absolutely no vadas will be left untouched.!!!

While making masala vadas , I am sticking on to this version firmly. Its mainly due to the crisp and crunch vadas it yields. Somehow in my home, they don't enjoy soggy vadas, especially soggy masala vadas.

Ingredients

Split Pea Lentil -  1 Cup
Channa Dal / Bengal Gram Lentil - 1 Cup
Fennel Seeds / Sombu crushed - 2 tsp
Hing / Asafoetida - 1 Dash
Salt - To Taste
Rice Flour - 1/2 tbsp
Crushed Garlic - 2 Pods
Crushed Ginger - 1/2 tbsp
Green chillies - 4 Medium
Dry Red Chilli - 1 
Chopped coriander leaves - 1 handful
Crushed curry leaves - 1 stick
Finely chopped red onion - 3 medium
Oil - Enough to fry the vadas
Water - Enough to grind the batter coarsely. 

Method 
  • Wash the dals thoroughly and soak them in warm water for an hour.
  • Grind them along with crushed garlic, green chillies, dry red chilli to a coarse paste.
  • Add the rest of the ingredients into the mixing bowl. Add required amount of salt and a dash of Hing into the vada batter. 
  • Simultaneously keep the kadai with oil on medium flame. When you notice flames on top, then the oil is ready for frying.
  • Grease the palms with little oil and take a small portion of the batter and make a round Pattie shaped  vada.
  • Gently drop them one by one into the heated oil. Fry them on both sides till they turn golden brown and look crunchy.
  • Serve them with a side of spicy kara chutney. Enjoy with a cup of coffee or tea.!!

Tips
  • Don't add too much water while grinding. Sprinkle little water which is just enough for grinding.
  • Don't fry the vadas on high flame as it will not help in getting golden vadas. It might turn them darker and also the inner part of the vadas might not get cooked perfectly.
  • If possible, try to keep the vada batter in the refrigerator for 15 minutes before frying. It helps in getting golden crispy vadas with inside part perfectly cooked.
  • Adjust the number of chillies as per your spice level.

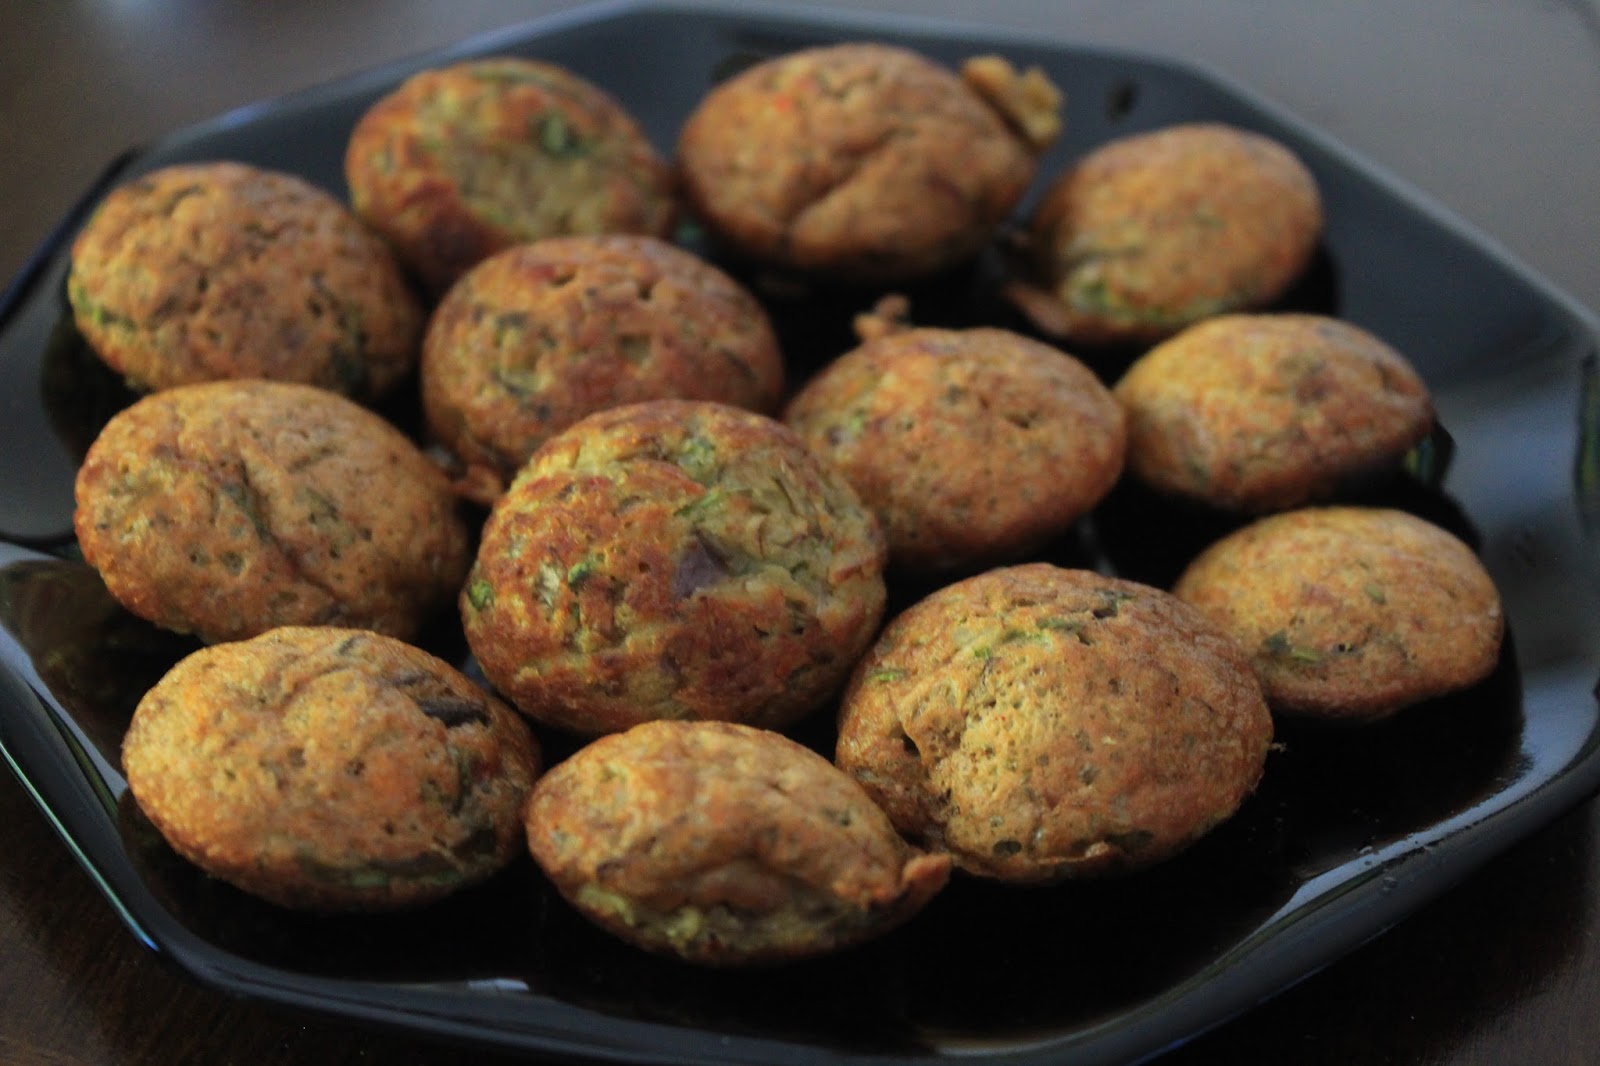
Banana Flower Paniyarams / Vaazhaipoo Paniyarams - Using Leftover Adai Batter


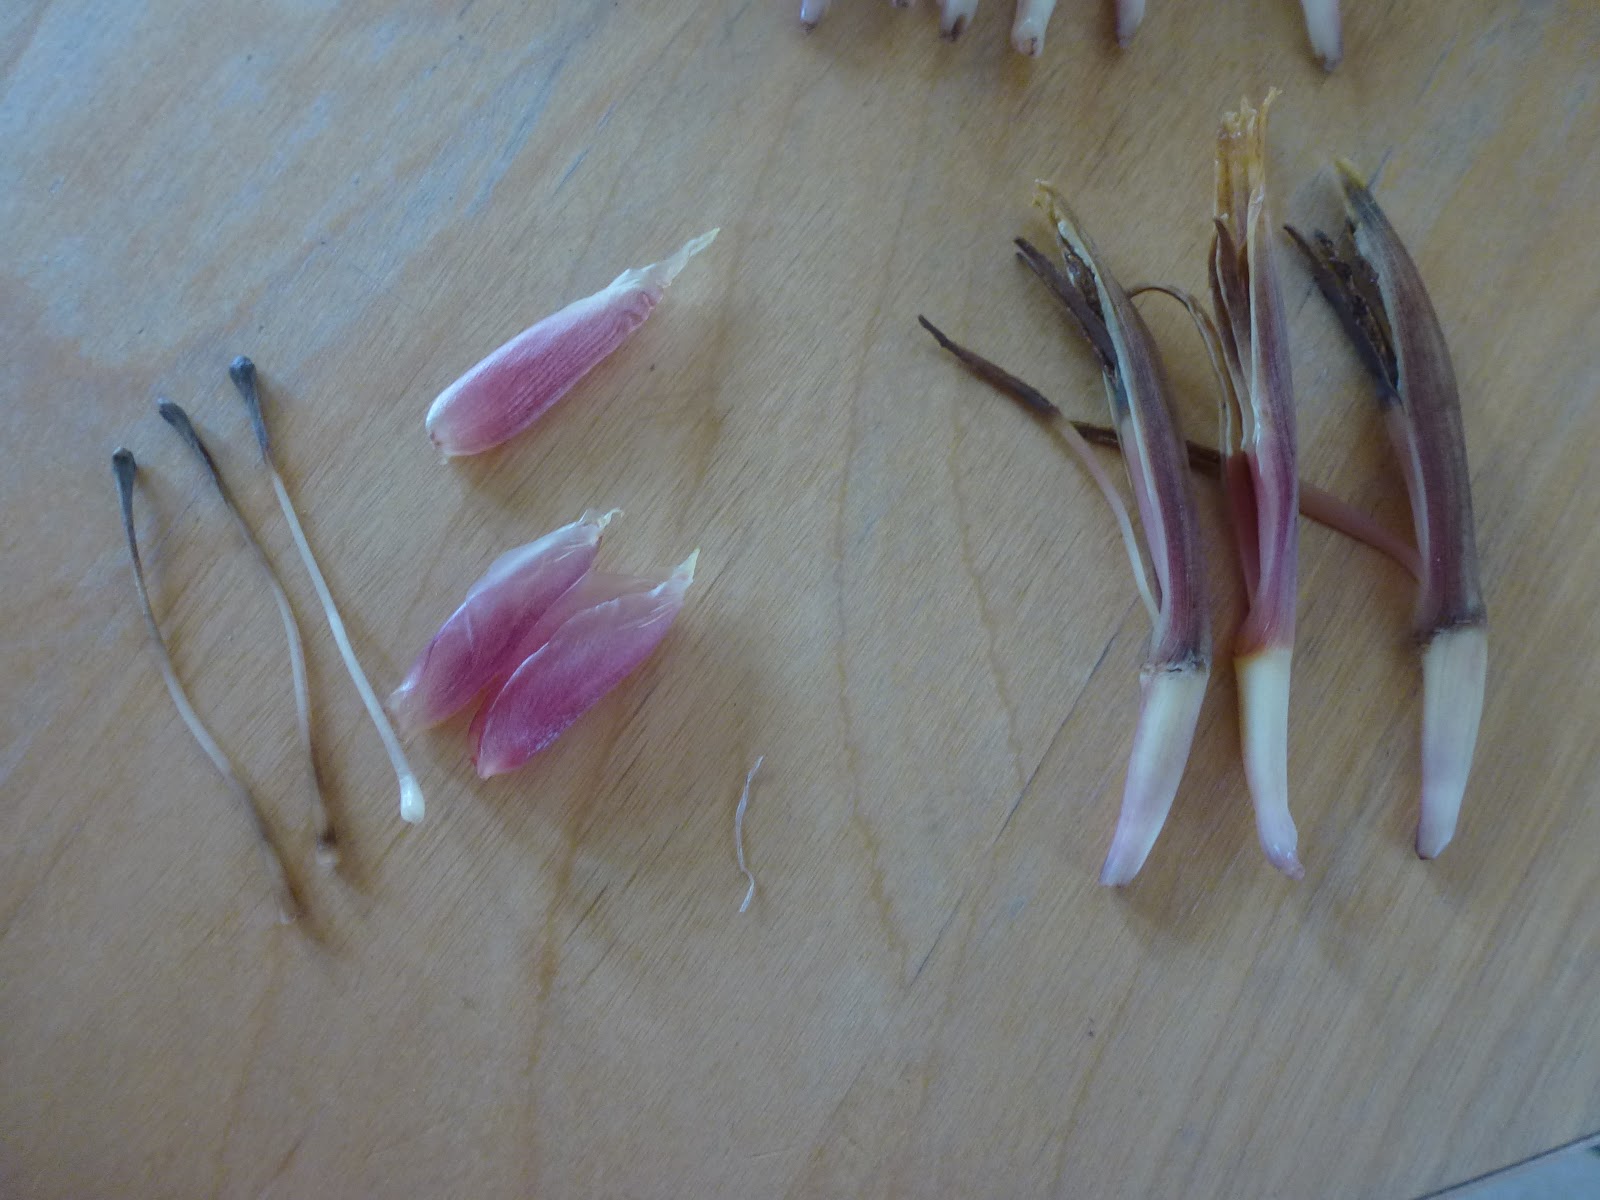
Banana flower / Vazhaipoo also called as Banana Blossom is an incredible, edible flower which is highly nutritious. It is considered as a Super food for women especially during the menstruating period. I wanted to make some delicious breakfast with coconut chutney but not idly or dosa. I had only some leftover Adai batter. Also, I had a full bowl of pre cleaned / pre cut cut banana flower florets soaked in diluted buttermilk sitting on my counter top. So I decided to make Paniyarams with banana flower and adai batter. As the Adai batter is salted and spicy, just add the chopped banana flower, few coriander leaves and mix them well. 

 Ingredients

Leftover Adai Batter - 5 Cups
Chopped Banana flower florets - 2 Cups
You can adjust as per the availability and your taste.

Method

  • For making the paniyarams, keep the paniyaram plate on the stove.
  • On medium flame, add drops of oil into the paniyaram moulds first. Then fill the moulds with the batter not upto the rim of the mould. Just pour only 3/4th of the mould. Fill all the moulds with the rest of the batter. 
  • Add drops of oil towards the sides of the Paniyarams.
  • Steam cook them with the lid closed on medium flame for 3 to 4 minutes.
  • Open the lid and flip the paniyarams carefully to the other side. Close the lid again.
  • Steam cook again for another 3 minutes. Turn both sides and check if they turn golden brown.
  • As the banana flower is added to the batter, its better to cook them for more minutes if not golden brown. 
  • Enjoy the Paniyarams with a side of coconut chutney or any spicy chutney.

Tips

  • Don't overcook the Paniyarams as they might turn black. 
  • Don't steam cook the Paniyarams on high flame.

LinkWithin

Related Posts Plugin for WordPress, Blogger...