Monday, November 7, 2016

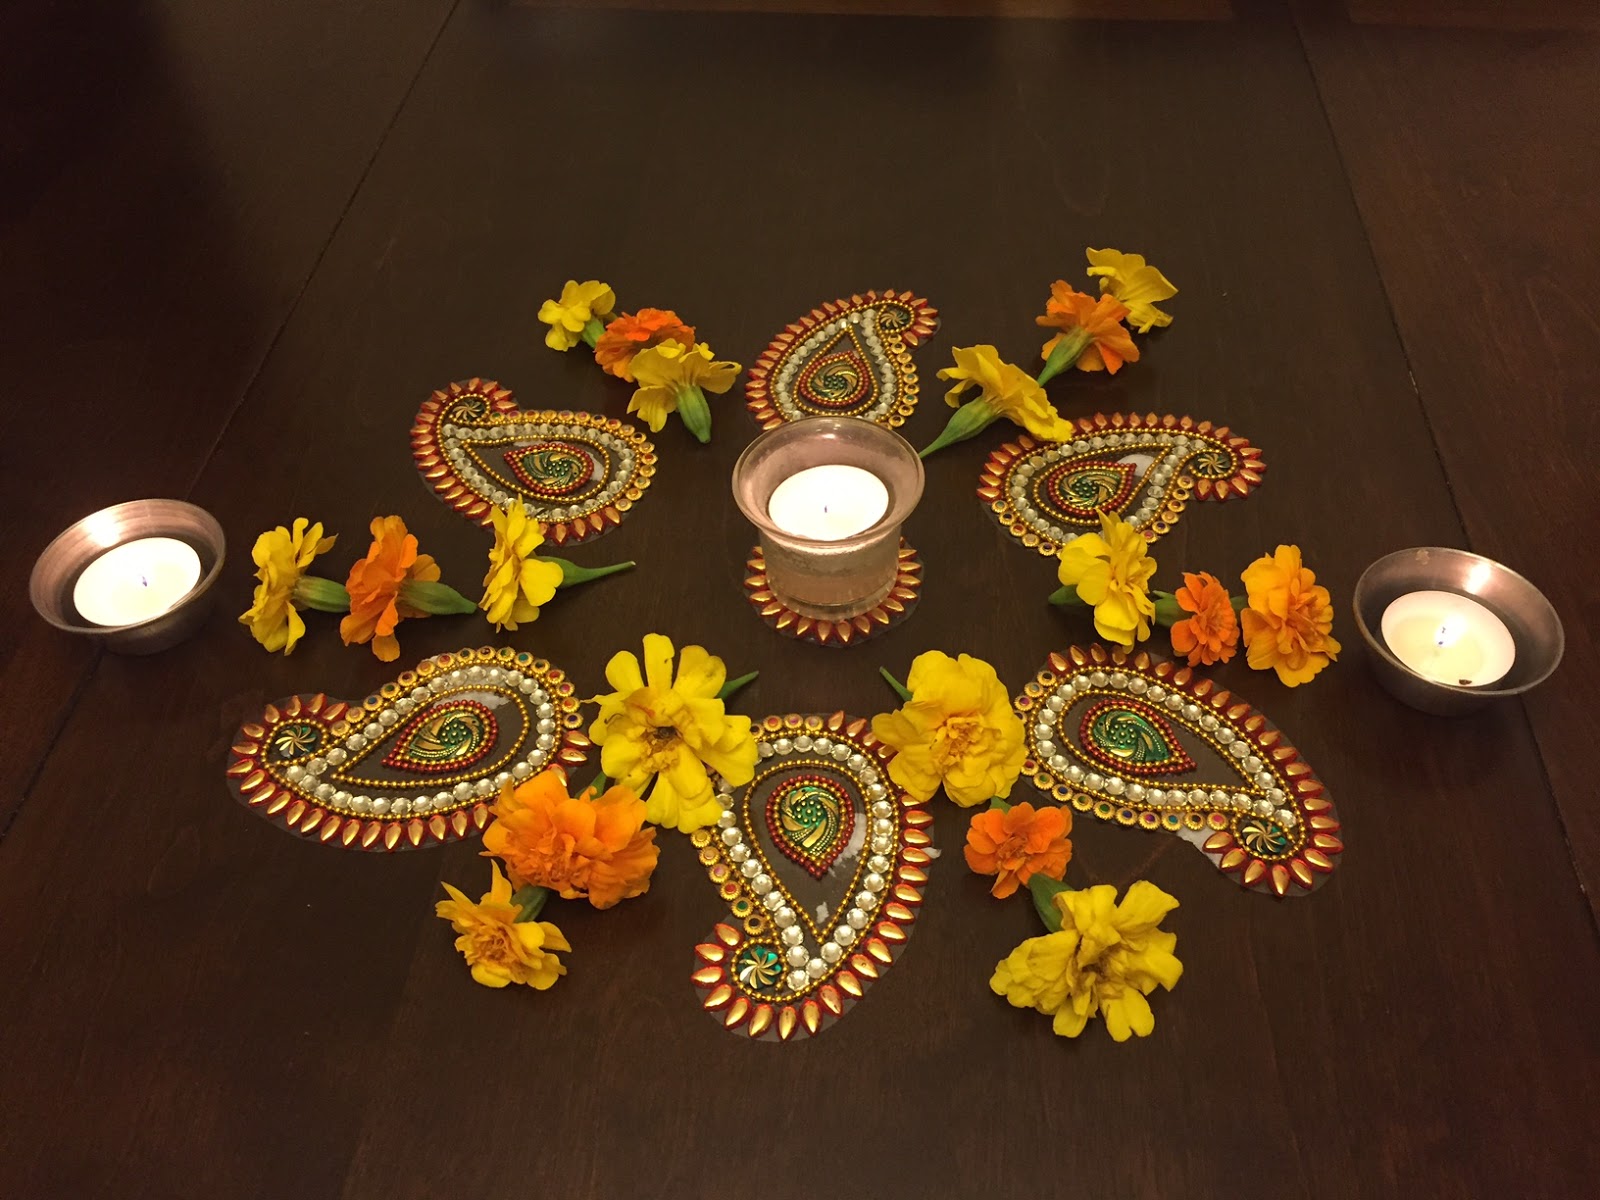
Diwali 2016 / Lakshmi Pooja 2016 At Home


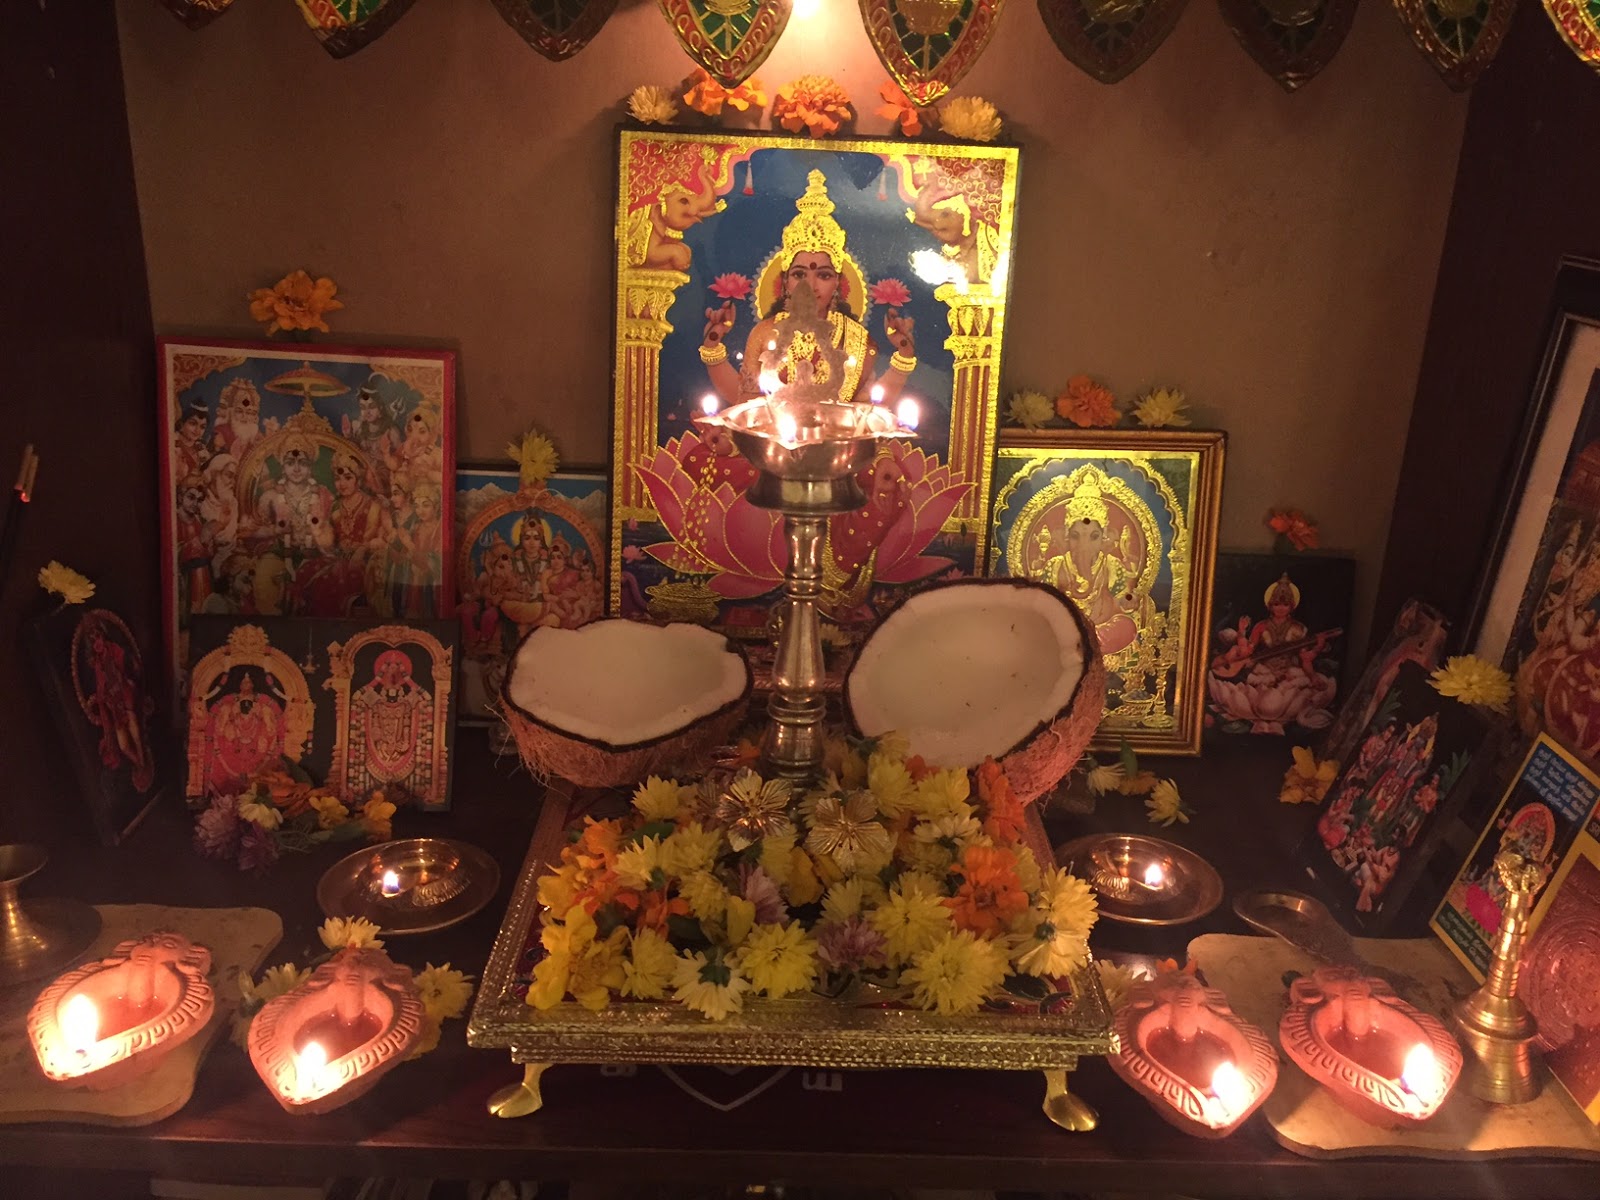
Diwali, festival of lights has been my favourite festival since my childhood. I would always dream of Diwali every year, would open and embrace my new diwali dress secretly, would collect the fire crackers and count them every single day, would enjoy the sweet samples that my mom made during Diwali. Those memories are priceless. Keeping that in mind, I am trying my best to make my kids diwali an enjoyable one which they should remember in their life time and relish as I do.

Diwali this year 2016 was celebrated at home only with my kids as my husband had gone to India on an official trip. So, the energy level was little down. Inspite of that, I triggered the event with music, good festive food, decor at every corner of the home, lights and dinners with extended family. Performed the Lakshmi Pooja in the evening and offered new jewelleries to goddess lakshmi and made prasadams too.

Hope to  enjoy the next  Diwali with my husband and kids together. Wishing you all a very Happy, Colourful Diwali this year...

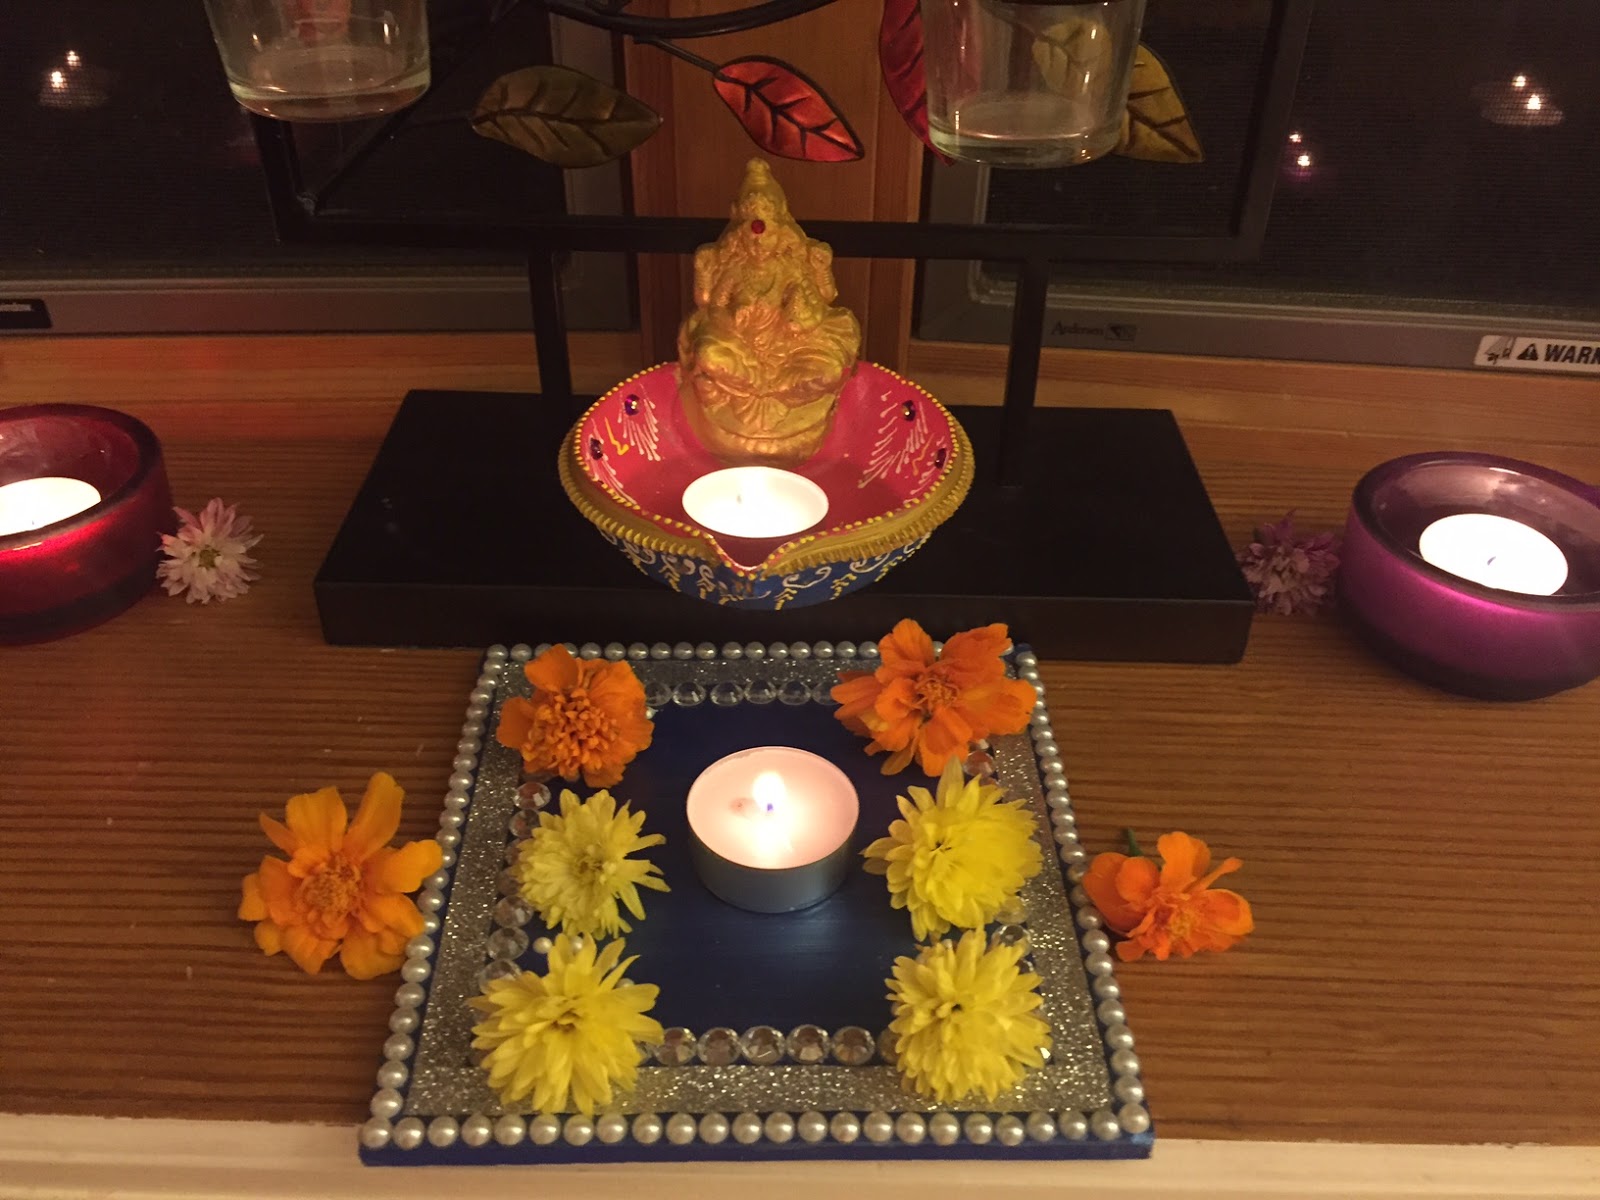
Decor made by my kids

Decor by my kids

Diwali Goodies -- Kesar Peda, Mixed Nuts Burfi and Kara Boondi


Navarathri 2016 / Golu 2016

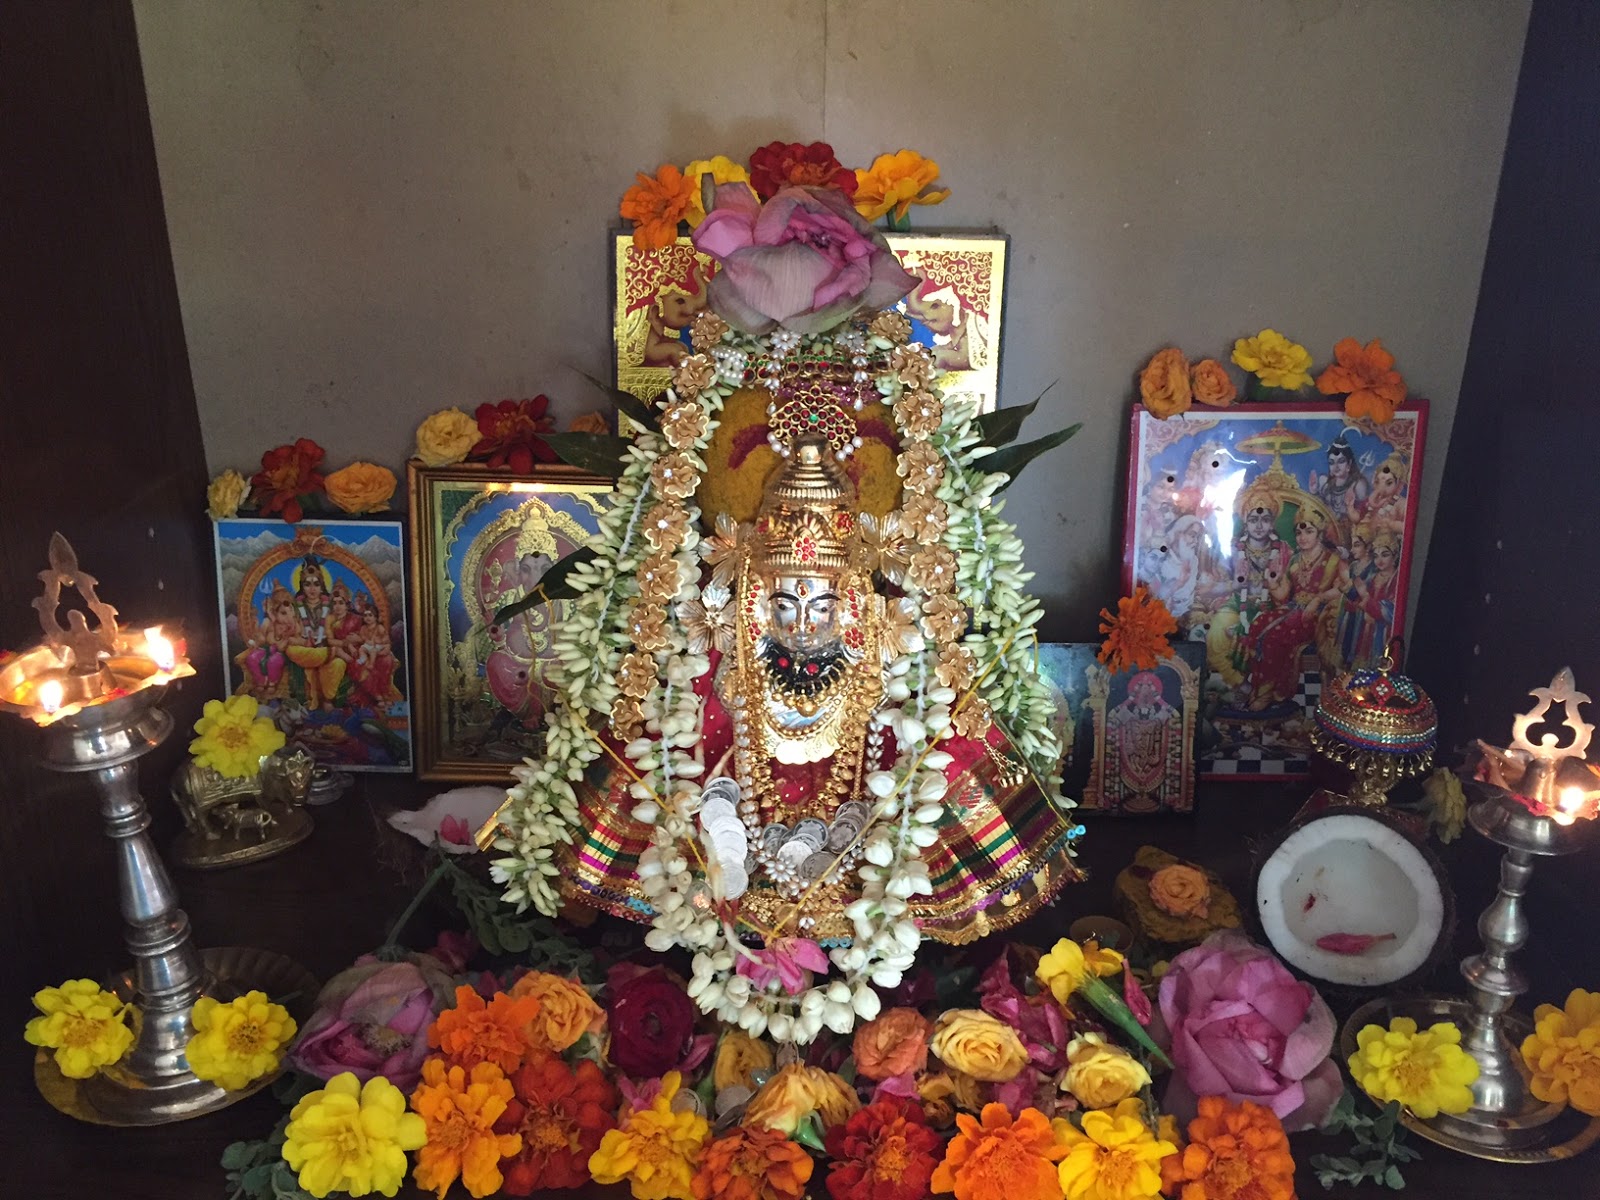
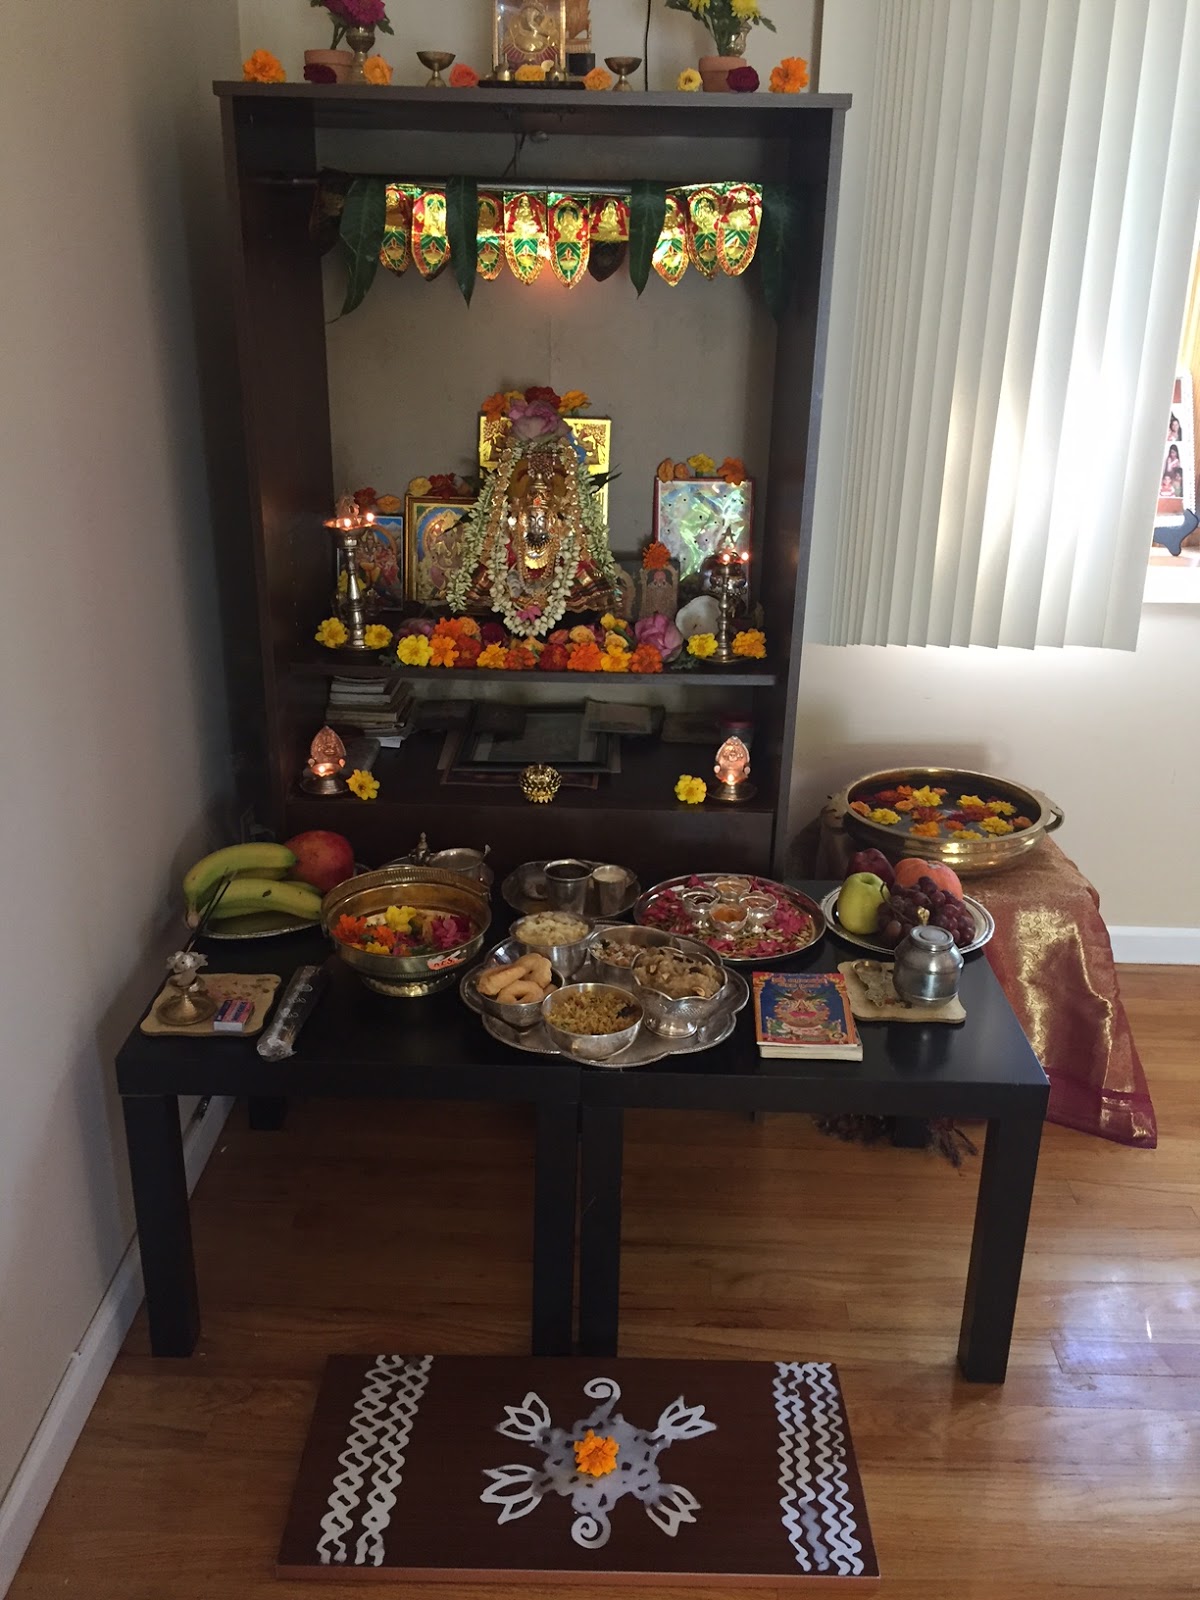
Navarathri Golu 2016 at my home
Navarathri 2016  started in full swing, thamboolam invites poured in, full sight of navarathri dolls at many Indian grocers here, colourful sarees taken out with matching jewelleries, all kinds of lentils, beans occupied the kitchen counters for sundals...It went on and on. Mind was so refreshed to welcome Navarathri Devi at home.

I single handedly decorated the Golu this time as the kids and my husband were too busy at their respective works.Of Course, the steps were organized and kept ready by my husband.  Trust me, it was very tiring for me to keep the dolls and decorate alone. After keeping the Golu, I sat and enjoyed my hard work with great satisfaction. Well, my dear friends, I hope you would like my Golu this year and would appreciate my work!!! Please give me your suggestions to improvise my Golu.

Navarathri Mornings started with "Sri Lalitha Sahasranamam" followed by other devi songs. One kind of Sundal was offered as Neivedhyam to our Navarathri Devi. During the 9 days, many of my friends attended the Lalitha Sahasranama Pooja in the mornings and we enjoyed a full feast of South Indian Food.

First Day Neivedhyam -- Kesari and Moong Dal Sundal
Totally, it was really good to see vibrant colours of sarees, kids in Indian dresses. I am sure you would have enjoyed Navarthri Golu at your homes too and celebrated Navarathri Devi in a grand way. Wishing to make a beautiful Golu next year too....


Wednesday, September 28, 2016

Ganesha Chathurthi 2016 / Vinayaka Chathurthi 2016 / Vinayaka Chavithi 2016

Cute Ganesha made by my husband

Ganesha Chathurthi / Vinayaka Chathurthi 2016 was also celebrated in a grand manner at home this year.  As the Ganesha pooja and palavalli decoration is totally done by my husband every year, I am able to focus only on making yummy prasadams for Lord Ganesha. Since morning, all ganesha devotional songs would be filling the house. We all would be doing our chores listening to the songs.
My husband collected all the Pathris for ganesha pooja from our backyard garden with the help of my son. Then they started making the Palavalli with fruits. Meantime, my husband made his own ganesha from scratch using Rice flour, turmeric powder and sandol powder. His ganesha was set aside and was getting ready for his big pooja.

In the kitchen, I was making varieties of modaks, vadai, and other items in full swing. My only intention was to finish off all kitchen works before the actual pooja started. Finally I achieved that too. ( As my husband and kids more...time at the pooja place ).

We had a very long pooja for Lord Ganesha and my husband loved to recite the stories at the end. My kids got so hungry towards the end. This made me understand that if our stomach was not full, our mind was unable to think, focus on prayers. 

Finally, the pooja got over and we enjoyed the Prasadams.


Our Ganesha enjoying in our Palavalli and ready to eat the Prasadams.
 My Prasadams for this year included : 

  1. Undrallu
  2. Black Channa Sundal
  3. Medhu Vadai
  4. Puliogare
  5. Payasam
  6. Maha Neivedhyam
  7. Ulundhu Kozhakattai / Urad Dal Modak
  8. Sweet Modak / Thengai poornam Kozhakattai
  9. Pappaarthi / Dal Payasam with rice balls in it
  10. Palaarthi / Milk Based Payasam with rice balls in it.
  11. Vada Pappu,
  12. Panagam
  13. Dates

Prasadams for 2016 Ganesh Pooja


Varalakshmi Vratham 2016 / Varalakshmi Pooja / Varalakshmi Vratham


Though this post comes very late, I could not proceed without sharing this beautiful festival that we celebrated on August 12th, 2016. Like every year, I followed the same rituals since morning, getting better year by year with improvised planning. I was able to focus peacefully on prasadams, decorating the amman while listening to Sri lalitha sahasranamam.

This year, my daughter and son were also fortunate to enjoy this festival at home. I and my daughter performed the pooja and tied the yellow threads. We were showered with lots of fresh flowers from our own garden and also from Vivek Flowers.

For the whole day, we had been seeing more ladies for Thamboolam. Made good prasadams for the festival and served the guests too.

Prasadams for this year included Puliogare, Paramannam, Medhu vadai, Chickpeas Sundal, Vella Payasam.

Missed my mom's blessings this year.


Tuesday, June 7, 2016

Palak Paneer / Spinach Gravy with Indian Cottage Cheese


While making a north indian dinner or lunch, including Palak always make the menu more colourful and healthy. My family loves Palak Paneer a lot, whether its Palak Paneer, Methi Paneer, Saag Paneer for that matter. Paneer coated with this yummy green gravy steals the show. And that too, if its homemade paneer then the taste will be amazing. Well, this is the most frequently made dish at my home for my rotis and I have been forgetting to blog this recipe for long.  This version is pretty simple, easy and retains the colour, flavour and taste of the Palak / Spinach.

Ingredients
Spinach Leaves - 6 cups
Tomato - 1 
Red Onion - 1 Medium
Green Chillies - 2 Small
Cumin Seeds - 1 tsp
Turmeric Powder - 1/2 tsp
Kashmiri Red Chili Powder - 1 tsp
Coriander Cumin Powder - 2 tsp
Garam Masala Powder - 1 tsp ( I used Kitchen King Garam Masala ).
Salt - To Taste
Sugar - 1/2 tsp
Oil - 1/2 tbsp
Ghee or butter - 1/2 tbsp
Paneer cubes - 15 Squares or less ( As you like )
Ginger Garlic Paste - 3 tsp
Water - As required for getting the gravy consistency. 
Ginger Julians - 6 or 7 julians to garnish.
My Homemade Paneer
Method
  • Wash the Spinach Leaves thoroughly without any sand. Wash the other veggies and keep them ready.
  • Fine cut one green chilli, red onion into tiny pieces and keep them ready.
  • In a kadai / cooking pan, on a medium heat, steam cook the spinach leaves and tomato with the lid open. After its cooled, drain the water and keep it aside. You can add the water into the gravy. 
  • Grind the cooked spinach, tomato along with cumin seeds, green chili into a smooth paste.
  • Cut the paneer into small squares and keep them ready. You can shallow fry them on a flat pan if you wish with little oil. 
  • In the cooking pan / kadai, add half the amount of ghee and oil first. When its heated, add the ginger garlic paste, shredded red onion, green chili and fry them till the raw smell vanishes.
  • To that add the grinded paste along with all other powders and sugar and fry them till the spices blend well with the gravy. Add the cooked water that you kept on the side.
  • Add required amount of salt and cook for another minute. Add the Paneer cubes into the gravy and let the Palak Paneer cook on a medium flame for 2-3 minutes with the lid closed.
  • Add the remaining ghee/butter on its top and some finely shredded ginger julians on its top.
  • Serve the tasty Palak Paneer along with rotis or hot basmati rice.


Tips / Suggestions 

  • Don't over cook the Spinach / Palak as it might lose its colour. 
  • Try to have the right consistency for the gravy, neither thick nor watery.
  • Make this dish with fresh ginger garlic paste and notice the difference in the taste.
  • Homemade Paneer definitely uplifts the taste of Palak Paneer.
  • Generously add some butter on its top just before serving. 
  • Dont forget to serve them in a fancy, restaurant style container finally.!!!!

Monday, May 23, 2016

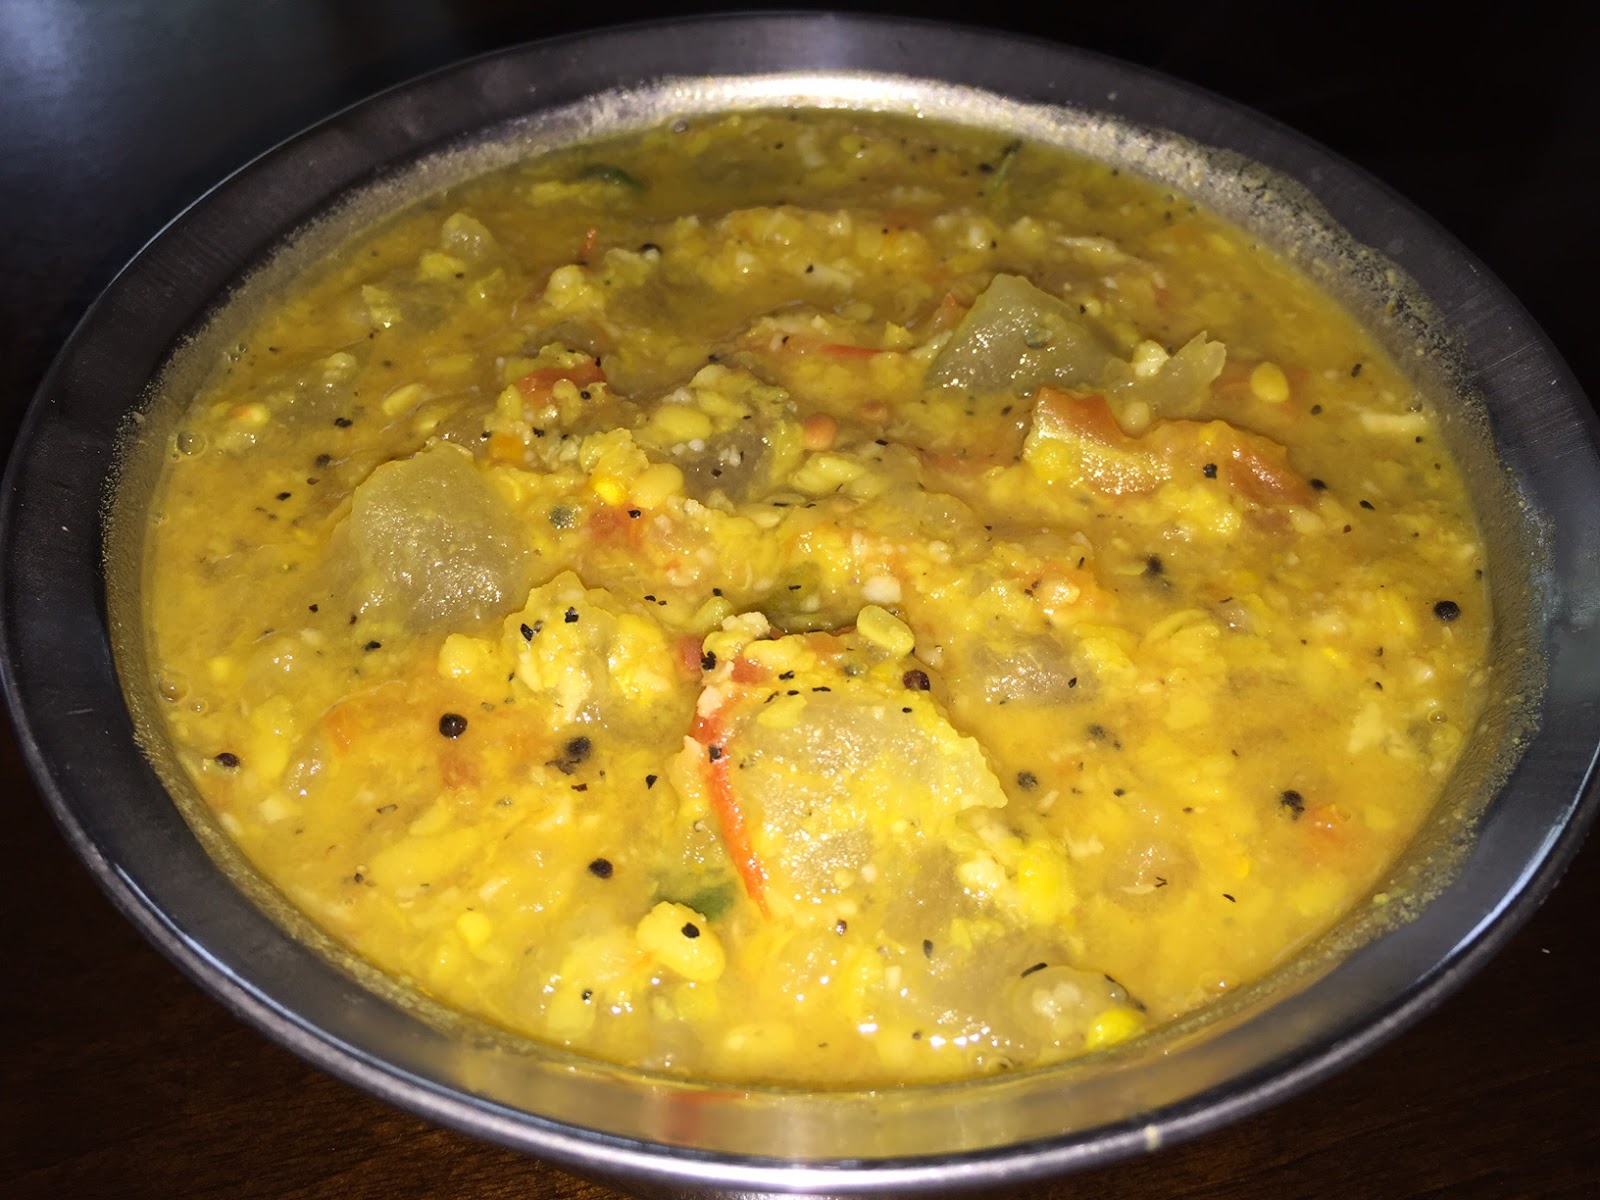
White Pumpkin Kootu / Vellai Poosanikai Kootu - Simple, No Grinding Method


In any Tamilian Meal, kootu will be served along with other vegetable curries. There are many varieties of Kootu served with different vegetables like white pumpkin, Sorakai ( Bottle Gourd ), Avaraikai ( Flat Beans ), Beans,  Red Pumpkin, Chow Chow ( Chayote ), etc., I always love to include a Kootu in my complete meal, especially with water based vegetables as it tastes very well.
This version of White Pumpkin Kootu is my mom's version with no grinding required. As she was a busy mom, she preferred to make healthy items with small short cuts at times. This kootu is just a one pot item which can be cooked in a pressure cooker for 2 whistles and served after tempering right away.  With less time, you can comfortably add a healthy accompaniment to your meal.

Ingredients
Into the Pressure cooker :
White Pumpkin pieces - 3 cups
Moong Dal / Payatham Paruppu - 3/4 cup
Turmeric Powder - 1 tsp
Tomato chopped - 1/2 cup
Green Chillies - 2
Water - Little. ( Enough for the dal to get cooked ).

Tempering / Tadka :
Hing / Asafoetida - 1 Dash
Mustard Seeds - 1 tsp
Cumin Seeds - 1/2 tsp
Urad Dal - 1 tsp
Dry Red Chillies - 1
Curry Leaves - 1/2 stem
Oil / Ghee - 2 tsp

Salt - As Required
Fresh Coconut flakes - 1.5 tbsp.

Method
  • Cut the white pumpkin into bigger chunks and keep ready. Chop the tomato, green chillies and keep ready. Add all the ingredients mentioned under "Into the Cooker" in a pressure cooker and cook for 2 whistles.
  • After the pressure is released completely, open the cooker and add required amount of salt and coconut flakes into the cooked kootu.
  • Let it cook for a minute. Then prepare the tadka in a separate tempering pan. Pour the tempering over the cooked kootu in the pressure cooker.
  • Serve with hot rice and as a nice accompaniment in your meal.

Tips / Suggestions
  • If you have a small pressure cooker, you can add the ingredients directly into the cooker and cook.
  • If you have a medium / big cooker, then you can cook them in a separate vessel inside, even along with rice.
  • If you don't have a pressure cooker, no need to worry. You can cook them over the stove in a thick bottomed pan and follow the same steps.
  • Don't add too much water while cooking. Otherwise you wont get the right kootu consistency.
  • Add only fresh coconut flakes to the kootu. If the coconut is smelly or little bit old, then it spoils the kootu totally after making, wont stay for a longer time.
Wednesday, May 18, 2016

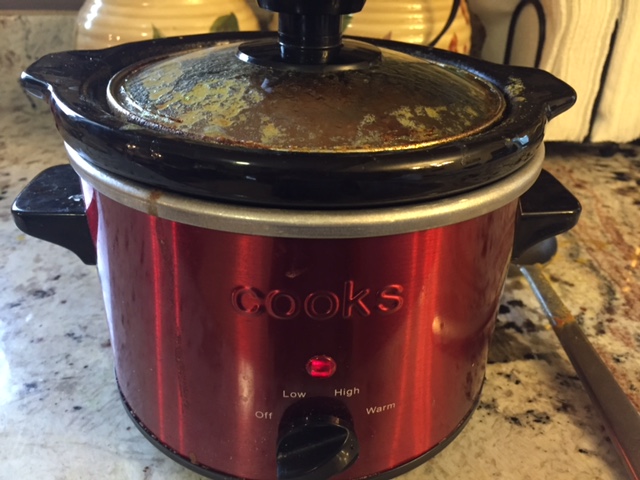
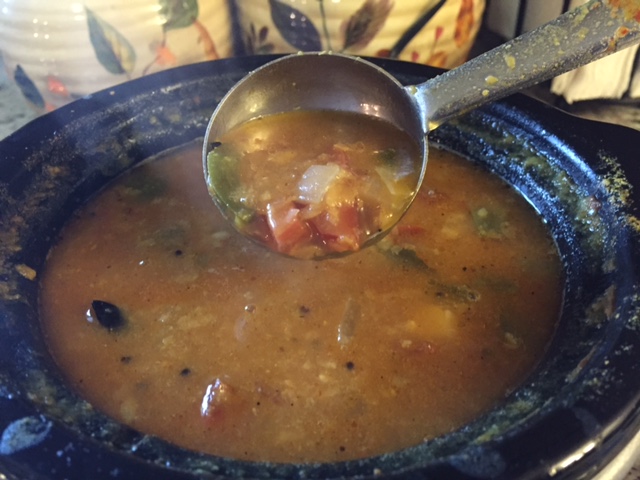
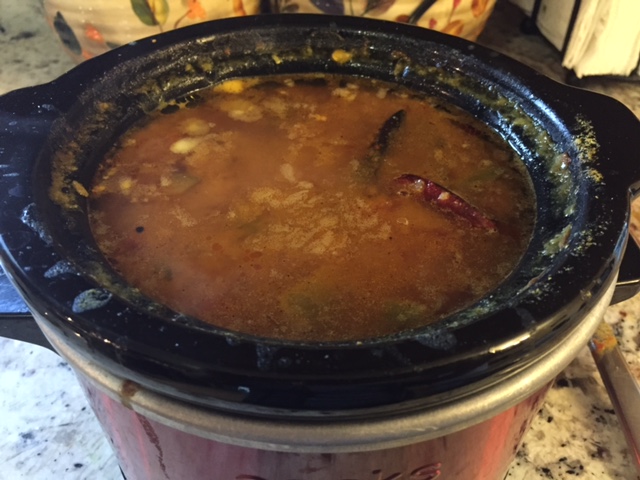
Easy Hotel Sambar using Crockpot / Slow Cooker


Morning Breakfast is an important meal for the family. A simple hot breakfast will kick start the day with lots of energy. To decide on the menu for the weekday breakfasts is really challenging. Whether its a pongal, kichidi, idli , dosa, vada or any other item, the main accompaniment "Sambar" comes as a rescue. Sambar is a South Indian gravy which combines the goodness of lentils, vegetables, aromatic spices and tangy tamarind extract cooked and simmered on the stove for its delicious taste.
To make my life simpler, I always hunt for short cut ways to satisfy my need. Crockpot / Slow cooker helps me a lot nowadays in my kitchen.
Crockpot Sambar is very easy to make, take less efforts. If you fill your crockpot / slow cooker with all the ingredients, then in the morning, a nice aroma will emanate from your kitchen which in turn will greet you with a steaming smile.

Ingredients

To the Crockpot / Slow Cooker 
Shredded Red Onion - 1/2 cup or Small Pearl Onion - 10 or 12.
Shredded Ripe Tomato - 1/2 cup
Shredded Green Bell Pepper - 1/4 cup
Small Brinjal - 1
Green Chillies Medium - 2
Hing / Asafoetida - 1 Small Dash
Turmeric Powder - 1 tsp
Toor Dal / Thuvaram Paruppu - 3/4 cup
Moong Dal / Payatham Paruppu - 1/4 cup
Water - 6 cups
Tamarind Extract - 1/2 cup ( Not too thick, medium thickness is enough )

For Tempering / Tadka 
Ghee / Clarified Butter - 1 tbsp
Hing / Asafoetida - 1 Dash
Mustard Seeds - 1.5 tsp
Methi Seeds / Fenugreek Seeds - 1 tsp
Dry Red Chilli - 1
Fresh Curry Leaves - 1 Stem
Sambar Powder - 1 tbsp
Coriander Powder - 1/2 tbsp
Red Chili Powder - 1/2 tsp

Towards the End to Slow Cooker 
Salt - As Required
Water - As required to adjust the consistency level.
Ghee - 1 tsp for flavour.
Jaggery - small cube

Coriander Leaves - To Garnish.


Method

  • First cut the vegetables as specified and keep the other ingredients handy.
  • Add all the ingredients as mentioned under "To the Crockpot / Slow Cooker". Allow them to cook under "High" for 7 to 8 hours.
  • After 8 hours, check the slow cooker. By this time, the gravy would have been mushy and well cooked.
  • Finish the tempering / tadka in a separate pan. When its sizzling, pour the tadka over the sambar.
  • Add the other ingredients mentioned under "Towards the End to Slow cooker".
  • Allow the sambar to cook for another 5 minutes under "Low".
  • Garnish with coriander leaves on top and enjoy this warm hotel sambar with any of your favourite tiffin.

Tips / Suggestions
  • If you want to serve Sambar for breakfast, then you can set the Slow cooker in the night before going to sleep. If you need this for dinner, set the slow cooker after breakfast to High.
  • Sambar will not overflow or spill from the Crockpot / Sambar while cooking on High setting. So, no need to worry.
  • Add salt before adding tadka / tempering.
  • Moong dal enhances the taste of the Sambar, enriches its texture. So, dont forget to add.
  • Do not forget to add Jaggery into the Sambar.
  • I added a tsp of Tamicon to half a cup of water, diluted it and added to the Sambar. It tasted well though. So, its your choice. You can either add real tamarind juice or Tamicon.

LinkWithin

Related Posts Plugin for WordPress, Blogger...